How Do You Deep Clean An Old Refrigerator?
Assessing the Situation
Before you get knee-deep in that cleaning frenzy, take a moment to check out what exactly you're dealing with inside your old fridge. Spotting the red flags early on makes scrubbing down this appliance a whole lot more effective.
Signs Your Old Refrigerator Needs Deep Cleaning
Keep an eye out for these clues that your fridge is screaming for a scrub:
| Sign | Description |
|---|---|
| Funky Smells | If your fridge smells like a science experiment gone wrong, chances are you've got some spilled milk or forgotten leftovers stinking up the place. |
| Stain City | Those stubborn spills that have been ignored too long might start leaving stains. |
| Ice Rink Inside | Too much frost isn't just chilly, it can cramp your fridge’s style and gulp down more energy. |
| Food Funeral | If your food's going bad faster than usual, dirt might be messing with the temp control. |
| Mold Alert | Mold hanging out in the corners means it's cleanup time, not a quick once-over. |
Fixing up these messes helps keep your fridge running like a champ.
Preparing for the Deep Clean
Getting ready is half the battle when you're tackling a full-blown fridge cleanse. Here’s your prep checklist:
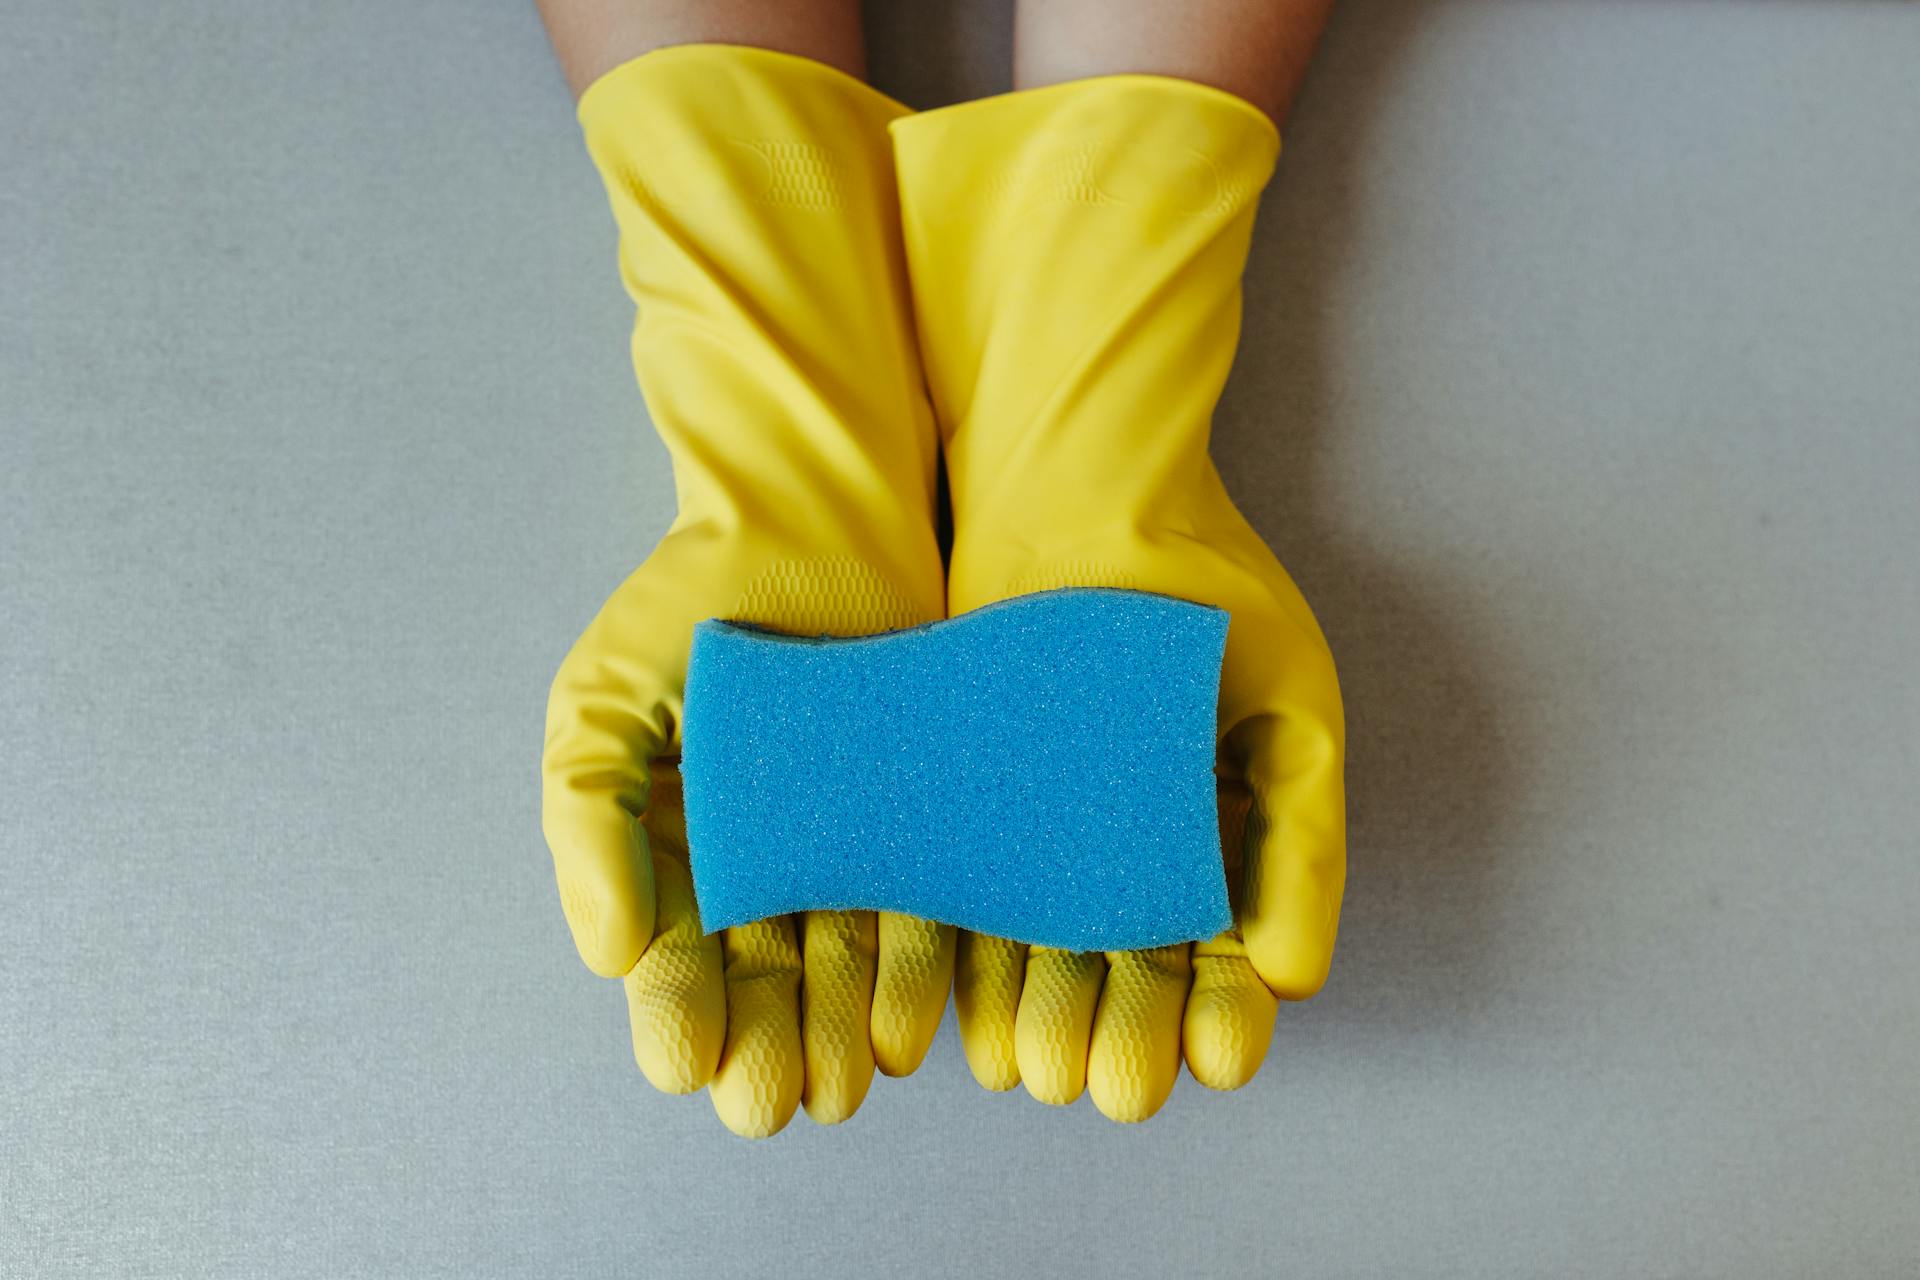
- Stock Up on Supplies: Snag some cleaning heroes like vinegar or baking soda, grab a few sponges, a soft cloth, and maybe even a vacuum for any rogue dust bunnies.
- Evict the Food: Clear out every single item from the fridge. Check expiration dates to dodge any gross surprises and have a table nearby for the still-edible stuff.
| Food Item | Reason to Toss |
|---|---|
| Expired Nibbles | Outdated food might as well wear a 'Do Not Enter' sign. |
| Smelly Suspects | Stuff like strong cheese or fish can sticky-up the air. |
| Leaky Containers | Make sure everything’s sealed tight to avoid messy mishaps. |
- Create Some Space: Have a plan for where to stash your food temporarily. A cooler is your best friend here for the items that need to chill out.
- Schedule It Out: Make sure to block off a good chunk of time, probably a few hours, especially if it’s cluttered like a teenager's bedroom.
Prepping these essentials means you're ready to tackle that fridge clean with gusto. Want more tips on keeping things fresh in the office fridge? Check out our handy guide on how to keep your office refrigerator odor-free.
Getting Down to Business
Cleaning out your old fridge ain't just about tossing old milk—it’s a bit of a mission but totally worth it. Here's the lowdown on sprucing up that box of chill.
Clearing Out the Fridge
Start by emptying everything. Yep, everything. This is your chance to find that rogue zucchini from last month and any mysterious Tupperware mysteries. Got a table or a countertop? Use it to spread things out as you do Sherlock on those dates and decide what’s staying and what’s taking a hike.
| Item Type | Action |
|---|---|
| Fresh Produce | Toss anything moldy or shriveled up |
| Dairy Products | Bin the expired stuff |
| Leftovers | If it’s over three days, don’t risk it—toss it |
| Condiments | Check dates and chuck the sour ones |
Get a cooler for the good stuff, so it doesn’t sweat while you’re doing your thing.
Removing Shelves and Drawers
Now, carefully take out all the shelves and drawers. Seriously, go gentle on those. You don’t wanna break something and then have a jigsaw puzzle piece missing later. Got stubborn shelves? Ease ’em out; they might be stuck because no one’s moved 'em since Y2K.
Once free, give them a bath in warm soapy water. If they’re grungy, let them soak a bit, and then scrub away. A thorough rinse and then let them chill and dry off completely.
Thorough Cleaning Inside the Refrigerator
With the fridge stripped bare, get in there with a mix of warm water and vinegar or some gentle soap. It's scrub-a-dub-dub time! Pay attention to:
- Walls and ceilings: Scrub away gunk to keep the stink at bay.
- Corners and crevices: Dirt loves these spots. An old toothbrush can be your cleaning sidekick.
- Gaskets (the rubber parts around the door): Wipe these to dodge mold or mildew attacks.
Dry it all up well, 'cause water spots and mold are not invited to this party. Still got whiffs of things past? Natural cleaners can come to the rescue—hit up our Dealing with Odors and Stains section for the goods.
Boom! Your fridge is now ready for a makeover that’d make any kitchen proud.
Tackling the Outside
Giving the outside of your fridge a once-over is just as crucial as scrubbing the inside. A shiny fridge isn't just easy on the eyes—it also helps keep your kitchen squeaky clean.
Cleaning Those Exterior Surfaces
Start by gathering your go-to cleaning gear:
- A bit of dish soap
- Some warm water
- Soft cloths or sponges
- Baking soda for those pesky stains
- Vinegar, if you're feeling fancy for a little extra shine
- Whip Up a Soap Mix: Stir some mild dish soap into a bowl of warm water.
- Swipe the Shine: Grab a soft cloth or sponge, dip it in your soapy water, and give all the outside surfaces a good wipe-down. Don't forget the doors, handles, and sides.
- Stubborn Stains? No Problem: Sprinkle a tad of baking soda where the stubborn stains sit, and gently scrub with a damp cloth until they're gone.
- Rinse It All Away: Go over everything with a clean, damp cloth to clear away any soapy spots.
- Dry Things Up: Use a dry cloth to buff the surfaces, and for stainless steel, a lightly damp cloth can boost that shine.
| Cleaner of Choice | What It Does |
|---|---|
| Dish soap | Everyday mess clean-up |
| Baking soda | Kicks stains away |
| Vinegar | Puts a shine on it |
Evicting Dust from Behind and Under
Dust loves to gather behind and under your fridge, and that can slow it down. Here's how you can fix that:
- Turn Off the Power: Safety first! Unplug that bad boy before getting hands-on.
- Scoot the Fridge Out: Gently slide the refrigerator away from the wall. A buddy can really help here to dodge any scratches or bumps.
- Vacuum It Up: With your trusty vacuum and its hose attachment, suck up the dust bunnies from the back and sides.
- Dust and Swipe: Use a damp cloth to wipe down any spots the vacuum can't reach.
- Peek at the Coils: If you can reach them, check that those coils are clean—dirty coils mean a sluggish fridge.
Keeping both the outside and behind your fridge spotless can make it last longer and work better. If you're looking for more tips on kitchen gadget care, check out our piece on how to keep your office refrigerator odor-free.
Dealing with Odors and Stains
Ah, the battle with that old fridge smell and those strange spots that seem to pop up out of nowhere. Don't worry, you're not alone. Here's how you can conquer those pesky issues without breaking a sweat – or breaking out the heavy-duty chemicals.
Natural Cleaning Solutions
No need to don a hazmat suit here. There are simple, safe, and super-effective natural cleaning solutions that’ll do the trick. Check out these options you can whip up with everyday stuff:
| Potion | What You Need | How to Use it |
|---|---|---|
| Baking Soda | Just a cup of this kitchen hero | Add some warm water to make a paste. Smear it over the funky spots, let it chill, and wipe away. |
| Vinegar | Equal parts of vinegar and water | Pop it in a spray bottle; spritz on the spots and swipe. Kicks odors to the curb like a pro. |
| Lemon Juice | The juice of a squeezed lemon | Wipe down areas for a clean feel and a zingy scent that makes you go “ahhhh". |
| Essential Oils | A few drops of what tickles your nose | Mix these with other solutions or dab on a cotton ball for a fragrant touch. |
These DIY cleaners pack a punch, whisking away dirt and odor while keeping your kitchen chemically clean.
Tips for Removing Lingering Smells
Keep that fridge smelling like a daisy with these easy-peasy tricks:
- Sniff Out the Culprits: Be nosy about what’s lurking. Get rid of expired stuff and yesterday’s sad leftovers before they wage war on your senses.
- Baking Soda is Your Buddy: Park an open box of it in the fridge to slurp up odors naturally.
- Activate the Charcoal: Chuck a charcoal bag in there. These little heroes suck up smells and moisture like a charm.
- Spritz Some Essential Fragrance: Soak a cotton ball in your favorite scents like lemon or lavender and place it inside for a pleasant waft every time you open the door.
- Boot Out Spills Right Away: Spot a spill? Mop it up before it morphs into a nasty smell you’ll regret.
If your workplace fridge could use some pampering too, swing by our tips on how to keep your office refrigerator odor free.
Giving your old fridge a thorough going-over isn’t just about making it look spic-and-span. It's about having a healthier place to stash your grub. With these tricks up your sleeve, your fridge will be fresh, and your food will thank you as you continue your culinary capers.
Putting It All Back Together
Once you’ve scrubbed every nook and cranny of your old fridge, it's time to pop everything back in and fill it with your must-have goodies. This last leg is all about setting your fridge up to run smooth and staying clutter-free.
Reassembling Shelves and Drawers
Start off by slotting those shelves and drawers back where they belong. If you’ve ditched the grime from any of these bits, double-check they’re completely dry before they go back in. You don't want soggy shelves, trust me!
| Component | How-To Steps |
|---|---|
| Shelves | Slide each shelf back snugly into its designated space. |
| Drawers | Align those drawers with the tracks, then shove ‘em in till they click. |
| Crisper Bins | Make sure the crisper bins are set right to keep fruits and greens crispy. |
Ensure these parts are secure so your fridge keeps cool and neat as a pin.
Restocking Your Freshly Cleaned Refrigerator
Now your fridge is set, it’s time to get the food back in. Here’s the lowdown on making your fridge a storage savant:
-
Group Like with Like: Bundle items together like dairy, meats, fruits, and veggies. This way, grabbing your morning smoothie fix becomes a breeze.
-
Watch the Expiry Dates: Before the food goes back in, chuck anything that’s seen better days. Leftovers like chicken paprikash come with a ticking clock; check out how long does chicken paprikash last in the fridge? to avoid any surprises later on.
-
Use Containers That Work for You: For things like cut-up fruit, airtight containers are your best pals. Keeps everything crisp and delish.
-
Mind the Temperature Spots: Keep stuff in the right zones for max freshness: dairy up top, meats below, veggies in their special drawer.
-
Label Things Up: Loads of containers? Slap on some labels so everyone can find what’s theirs without turning the fridge inside out. Handy when you've got a full house or roomies digging around.
Restocking gives your fridge a fresh function while helping meal prep and cutting down waste. Plus, nothing beats that ‘I did it!’ feeling when you open a spick-and-span fridge!