Cheesecake Bites: A Sweet Snack
Introduction to Freezing Cheesecake Bites
Hungry for a treat that hits the sweet spot without the wait? Say hello to frozen cheesecake bites—your nifty answer to dessert on demand. Want that velvety, rich cheesecake flavor without turning on the oven? These little champs have your back. Freeze 'em up in flavors like classic vanilla, decadent chocolate, or a burst of fruity goodness, and get munching whenever your sweet tooth calls.
Benefits of Freezing for Quick Snacks
Freezing cheesecake bites isn’t just smart; it’s downright genius:
- Grab-and-Go Goodness: Pop open the freezer, and boom! Dessert time. No fuss, just flavor.
- Small but Mighty: Keep your cravings in check with just one (or maybe two…we won't tell).
- High Fives for Efficiency: Whip these up, stash 'em, and be snack-ready for parties, Netflix marathons, or surprise guests.
- Flavor Lockdown: Freezing keeps your cheesecake bites tasting like you just baked them—day one delicious.
Got space in the freezer? Here’s how long you can keep your mini masterpieces chill and ready:
| Item | Freezing Time |
|---|---|
| Cheesecake Bites | Up to 3 months |
| Unfrosted Cheesecake | Up to 3 months |
| Frosted Cheesecake | Up to 2 months |
Freezing cheesecake bites means you’ve got a slice of heaven—right in your freezer. Thaw and enjoy anytime you need a sweet escape. For more tasty treats that’ll make your fridge a friend, check out our guide to refrigerator meal recipe ideas.
Making Cheesecake Bites
Whipping up some tasty cheesecake bites is as easy as pie—or cake, actually. With the right recipe and know-how, you'll be sneaking a bite whenever you fancy, especially since you can freeze them for future snacking.
Creating the Perfect Cheesecake Bites Recipe
Start with a straightforward, no-bake cheesecake bites recipe that hits the sweet spot. Here's a basic rundown to get you rolling:
| What You Need | How Much |
|---|---|
| Cream Cheese | 8 oz |
| Powdered Sugar | 1/2 cup |
| Vanilla Extract | 1 tsp |
| Graham Cracker Crumbs | 1 cup |
| Unsalted Butter | 4 tbsp (melted) |
| Extras | Chocolate chips, fruit, nuts (whatever tickles your fancy) |
- Mix up the cream cheese, powdered sugar, and vanilla extract in a bowl until it's smooth as silk.
- In another bowl, stir the graham cracker crumbs into the melted butter until they're best buddies.
- Line a mini muffin tin with cupcake liners or give it a spray with something non-sticky.
- Scoop about a tablespoon of the graham mix into each liner and press down to make a crust.
- Dollop some cream cheese mix on top and smooth it out nicely.
- If the mood strikes, add toppings—maybe chocolate chips or fruit—before popping them in the freezer.
This is just the starting line. Feel free to jazz it up with your own flavors and toppings!
Tips for Portioning and Shaping
Making your cheesecake bites all nice and even might seem tricky, but a few tricks can have you turning out beauty after beauty in no time.
-
Cookie Scoop Your Friend: Keeps things even Steven so every bite freezes just right.
-
Shape with a Mold: Fancy shapes? Silicone molds keep everything tidy and fun during the freeze.
-
Roll into Balls: Skip the scoop and roll 'em! It’s fab for adding a coat of crushed nuts or coconut.
-
Freeze Like a Pro: Hit ‘em up with a parchment-lined baking sheet in the freezer before moving to containers to keep sneaky stick-age at bay.
These tips will have your cheesecake bites coming out just right every time—your friends and taste buds will thank you. For more snack-saving ideas, check out our piece on can i put croutons in the fridge?.
Freezing Process
Preparing Cheesecake Bites for Freezing
Before tossing your cheesecake bites into the freezer, you gotta make sure they're good to go. Pop 'em in the fridge for at least an hour once they're ready. This will firm them up—otherwise you’ll end up with a squishy mess.
After they're chillin', grab a baking sheet and cover it with parchment paper. Arrange the bites so they're not playing bumper cars with each other. Trust me, you don't want to scrape them apart when it's snack time.
Got a crowd to please? Check how many fit on a sheet below:
| Baking Sheet Size | How Many Bites Fit? |
|---|---|
| Standard (13x9 inch) | 24 - 30 |
| Half Sheet (18x13 inch) | 40 - 50 |
Packaging and Storing in the Freezer
Once you've had the bites in the cold for about two hours, it's time to tuck them away for future feasting. Move 'em into a freezer-safe container or a trusty zip-top bag. Using a bag? Give it a little hug to squeeze out as much air as you can—no one likes freezer burn, right?
Slap a label with the date and what’s inside. This way, you won't mistake cheesecake for leftover pasta. Use the guide below to know how long they’ll taste just as fab:
| Storage Method | Keep 'em Fresh For How Long? |
|---|---|
| Freezer-safe Container | Up to 3 months |
| Resealable Plastic Bag | Up to 3 months |
| Vacuum-Sealed Bag | Up to 6 months |
Lay the bags flat in the freezer—like a game of Tetris—to save space. Voilà, endless cheesecake snacking is just a freezer door away! And if your freezer needs a breath of fresh air, check out how to keep your deep freezer odor-free.
Thawing and Enjoying
Safely Thawing Cheesecake Bites
Time to dig into those yummy frozen cheesecake bites! But hold on, thawing them right is the secret sauce to keep their taste and texture spot-on. Here's the scoop on how to do it like a pro:
- Fridge Method: Pop those cheesecake bites in the fridge for a nice nap, a few hours or overnight. This chill way keeps them just right without turning soggy.
- Room Temperature Trick: In a rush? Leave them on the counter for about 30 minutes to an hour. But keep an eagle eye—no one wants cheesecake soup!
- Microwave Magic: If you’re in a real pickle, go microwave on low. Just zap for a few seconds at a time, and be a hawk so they don’t start cooking.
| Thawing Method | Time Needed |
|---|---|
| Fridge | 4-8 hours (or overnight) |
| Room Temp | 30 minutes - 1 hour |
| Microwave | 10-30 seconds (peek often) |
Serving and Enjoying Frozen Cheesecake Bites
Now that your cheesecake goodies are thawed, let the fun begin! Here’s how to jazz up your cheesecake experience:
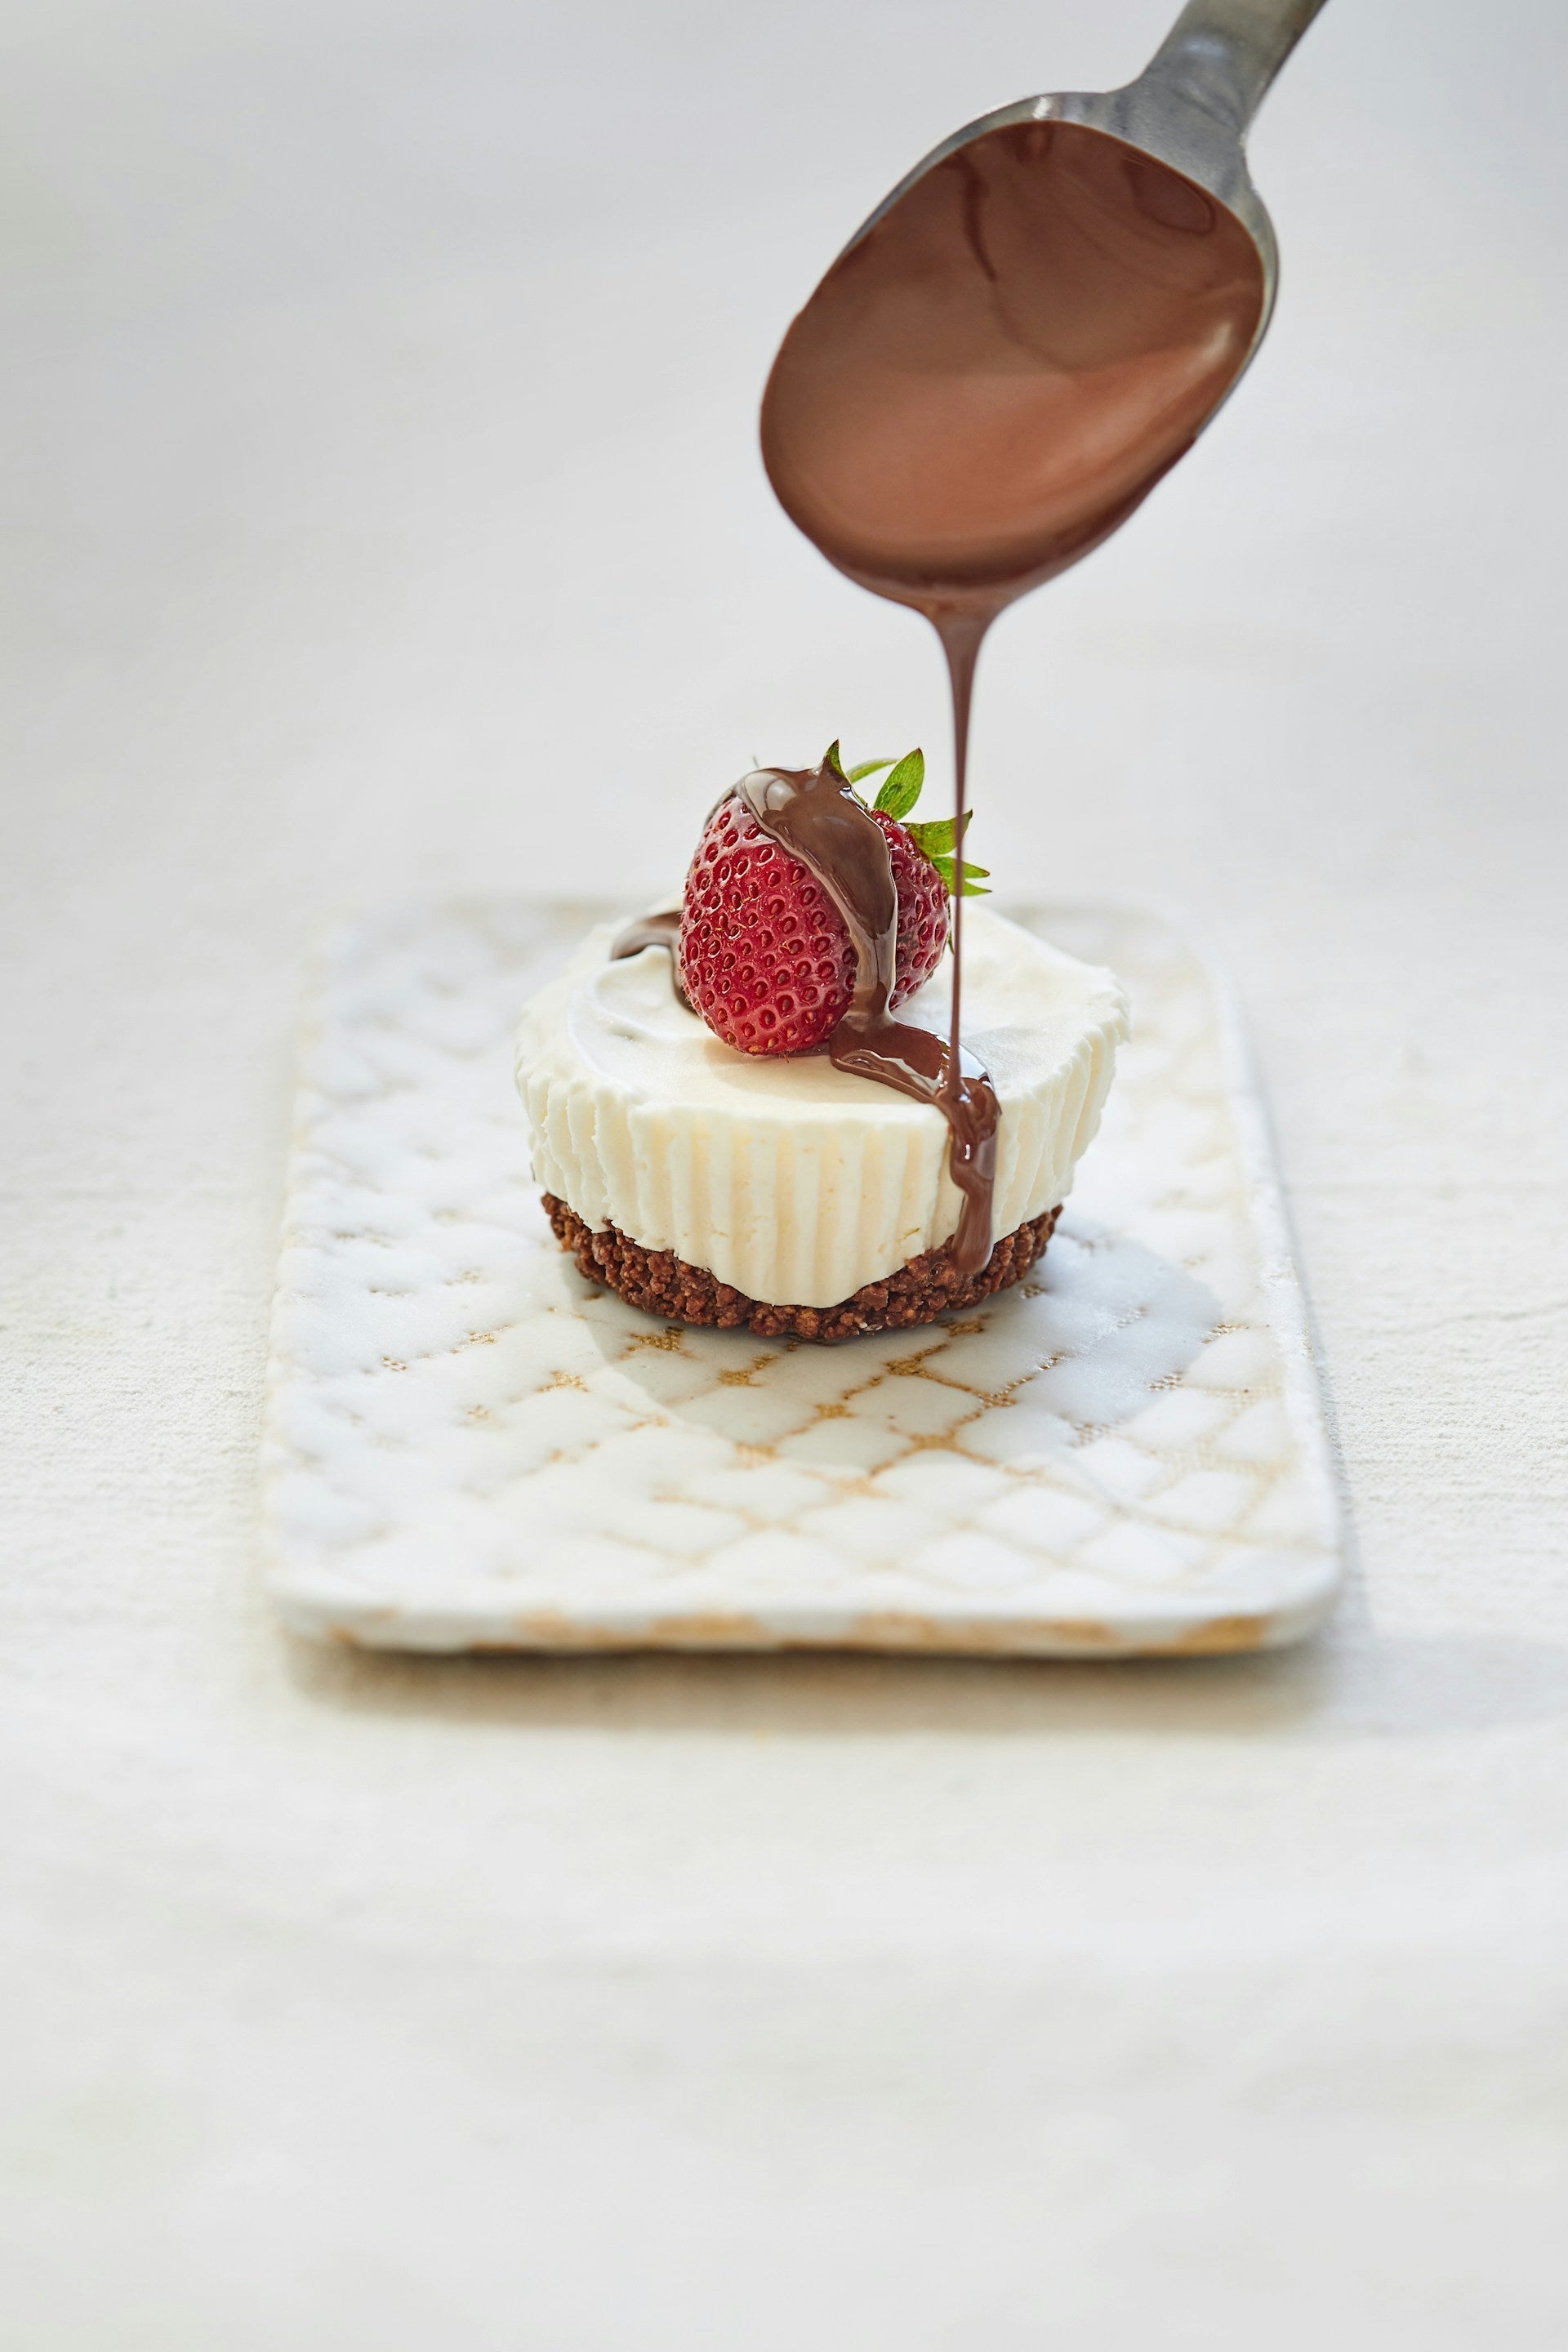
- Simple and Sweet: Lay out the cheesecake bites on a fancy platter. Dress them up with some fresh fruit, fluffy whipped cream, or a little chocolate or caramel drizzle.
- Parfait Perfection: Break some bites into pieces, layer them with creamy yogurt and fresh berries in a glass for a dessert that's delicious and looks fancy.
- Party Platter Bonanza: Hosting? Get everyone salivating with an assortment of flavors. There’s something for every sweet tooth!
- Mini Delights: Munch on them for a quick sugar hit. Bite-sized joy, perfect for a little daily happiness.
Want more nifty tricks to keep your snacks in tip-top shape? Peek at our articles on how long does chocolate pudding pie last in the fridge or how long are egg bites good in the fridge. Playing with cheesecake bites is all about letting loose in the kitchen and making tasty memories!
Variations and Tips
Whipping up tasty cheesecake bites is like a little trip to Flavor Town. You can jazz up these morsels to match your mood or the season. Here are some fun flavor ideas and tricks to make sure these little frozen beauties turn out just right.
Flavor Variations for Cheesecake Bites
Playing around with flavors can turn your regular cheesecake bites into something special. Check out these enticing combos:
| Flavor Twist | What to Mix In |
|---|---|
| Vanilla Dream | A splash of vanilla extract into your creamy mix |
| Chocoholic | Melt some chocolate or toss in chocolate chips |
| Strawberry Fling | Blend in fresh strawberry puree |
| Cookies & Dream | Crumble up some Oreos into the crust |
| Matcha Magic | Stir in matcha powder with the batter |
| Nutty Peanut Butter | Swirl in creamy peanut butter |
| Zesty Lemon | Add a punch with lemon zest and juice |
You can also switch up the crust with options like graham crackers, almonds, or nuts to go along with your flavor adventures.
Tips for Spot-On Frozen Cheesecake Bites
To get your cheesecake bites to freeze just right and stay tasty, keep these pointers in your back pocket:
-
Chill Before Freezing: Make sure those cheesecake bites cool down all the way before they hit the freezer. This stops water droplets from forming which could turn into ice nasties.
-
Line ‘Em Up Right: Pop the bites on a baking sheet with wax paper before freezing. This stops sticking, making it a breeze to take them out later.
-
Seal the Deal: Once they’re frozen solid, move them into airtight containers or freezer bags. Squeeze out the air to avoid freezer burn blues.
-
Time Stamp: Jot down the date on your containers, so you know how long they’ve been chilling. They generally stay good for about two months if stored right.
-
Easy Thawing: When it’s time to munch, let them thaw slowly in the fridge or just let them sit out. Skip the microwave if you want to keep them nice and creamy.
By mixing up flavors and following these tips, you’ll be snacking on cheesecake bites that are not just delicious but also perfect for sharing with pals and family. If you're curious about other frozen treat tips, check out our article on can you put frozen yogurt in the freezer to make frozen yogurt?.