Best Ways To Store Learning Pea Seeds In The Fridge
Storing Learning Pea Seeds in the Fridge
Importance of Proper Seed Storage
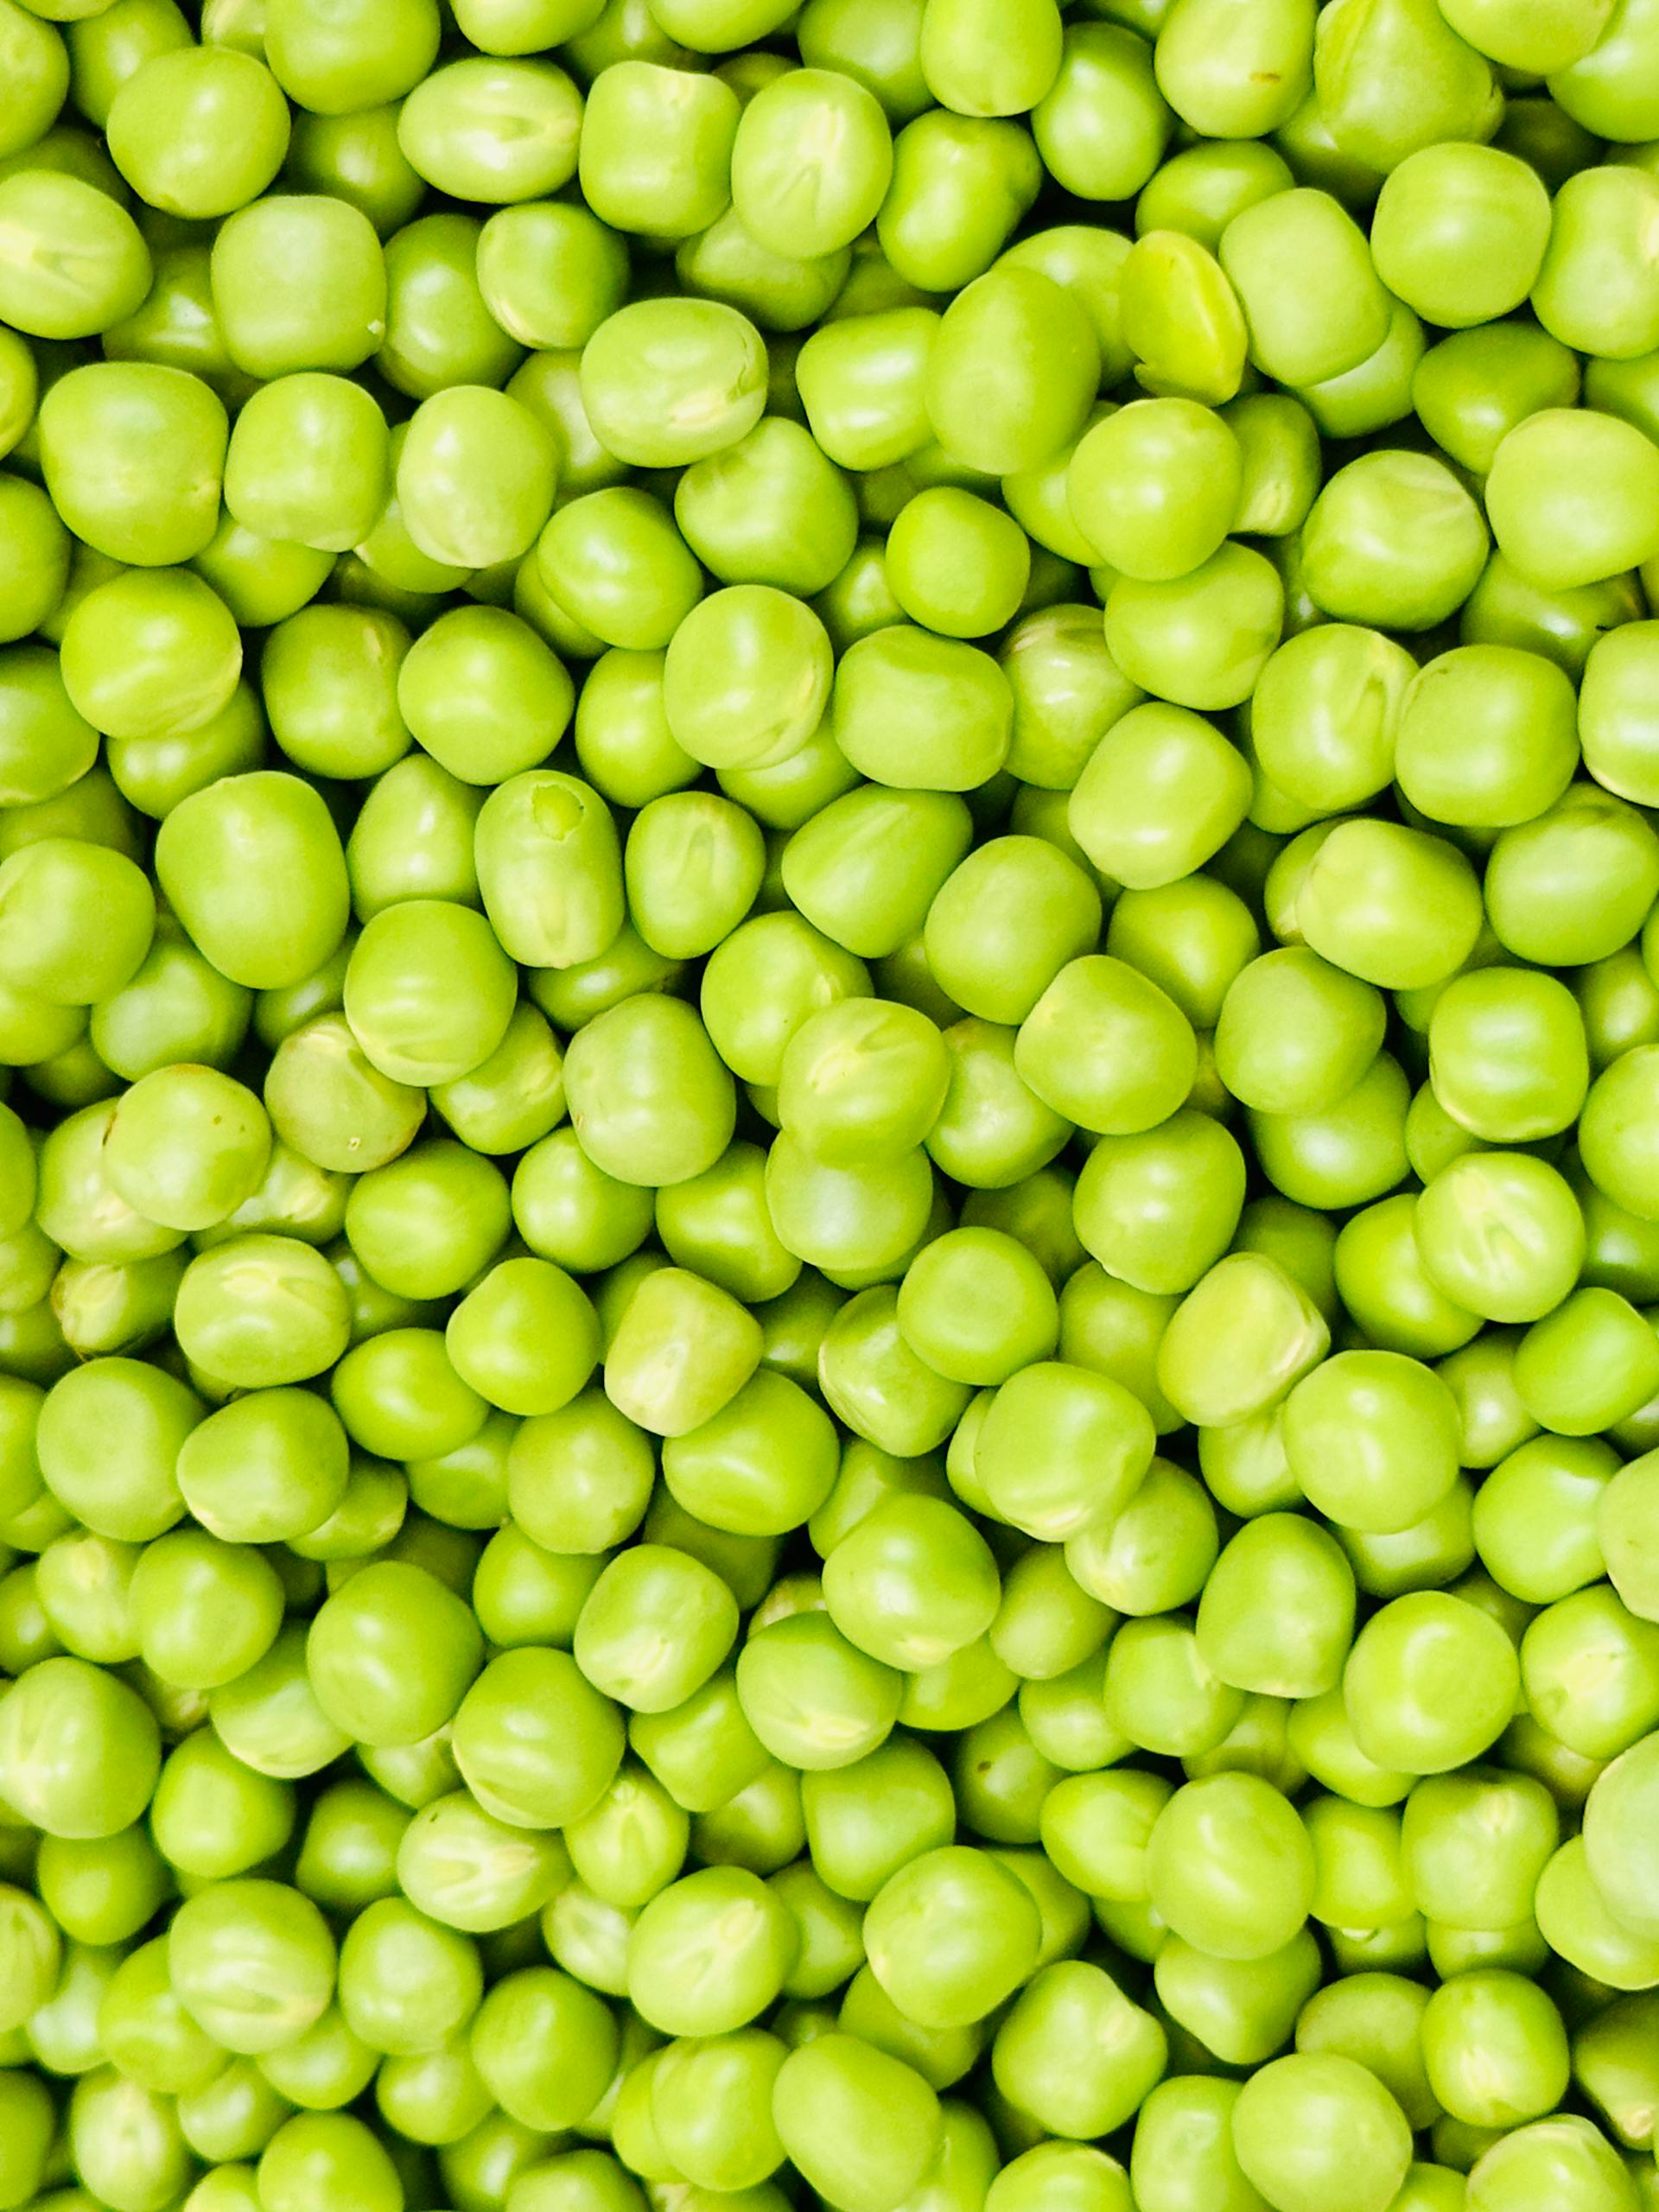
Keeping learning pea seeds spry and lively is key for them to kick it off and grow into strong plants. I've found that how you store these little guys can make a world of difference. If they're left to fight against moisture, wild swings in temperature, or uninvited bugs, they might just pack it in and call it quits. By giving them a cozy spot where they’re safe from those nasties, I can set them up for success when it's time to plant.
Benefits of Storing Seeds in the Fridge
Tucking learning pea seeds away in the fridge has some cool perks. That chilly fridge air keeps the seeds from racing toward their expiration date, letting them hang about much longer than if they were left at room temp. Some seeds don’t need the fridge treatment, but for seeds like these that are a bit temperature-sensitive, it's a good idea.
Benefits of Refrigeration for Pea Seeds:
| Perk | What It Does |
|---|---|
| Longer Lasting | Chillin’ slows down the seed's aging clock. |
| Dampness Detour | Keeps seeds from getting too soggy. |
| No Pest Parties | Cold temps keep pesky bugs at bay. |
| Better Sprouts | Healthy seeds have a better shot at popping up. |
Giving these methods a go can set the stage for a bountiful planting season. If you’re curious about more seed-saving strategies, check out my thoughts on keeping buckwheat seeds in the fridge. Handling seeds with care is my way of having them ready to roll whenever the planting mood strikes.
Preparing Pea Seeds for the Fridge
If you're like me and want to keep those pea seeds sprouting well into the next season, chilling them in the fridge is a solid plan. But hold up—don’t just chuck them in there. Give your future veggies a little TLC first.
Giving Seeds a Good Scrub and Dry
Before they hit the cold, I make sure the seeds are squeaky clean and bone-dry, sidestepping any funky stuff like mold. Here’s how I roll:
- Rinse Off the Grime: Turn on the tap and give those seeds a cool shower to wash away dirt.
- Let ‘Em Air Out: Lay ‘em out on a towel or some paper towels and wait until they’re completely dried out. No rush—making sure they’re dry is key to avoiding soggy seeds later!
No one wants to deal with mold, so don’t skimp on letting those babies dry out thoroughly.
Packing It Up for the Fridge
After I’m sure not a drop of extra moisture’s left, it’s showtime for packing. Here’s my step-by-step:
- Grab a Moisture-Proof Home: Whether it’s a small, airtight container or a trusty zipper bag, either will do the job of keeping dampness and weird fridge smells out.
- Slap on a Label: Make sure you jot down what’s inside and when it went in. Trust me, your future self will thank you.
- Optional Desiccant Tip: If you’re feeling fancy and happen to have some of those silica gel packs lying around, toss one in to keep moisture on the DL.
| Step | What to Do |
|---|---|
| 1. Snag a Container | Pick out an airtight box or bag |
| 2. Tag It | Note the seed type and date |
| 3. Desiccant Dreams | Optional: Throw in something to soak up extra moisture |
These steps do the trick to keep my seeds in tip-top shape till planting time rolls around. And if you’ve got a burning curiosity about more veggie storage tips, maybe check out info on how long vegetables last in the fridge. It’s always good to know!
Ideal Fridge Conditions for Pea Seeds
To make those pea seeds last and thrive, you gotta get the fridge setup just right, trust me. I'm talking about two key things: keeping things cool and keeping things just the right kind of damp.
Temperature Requirements
So, your fridge needs to chill between 34°F and 40°F. Why? Because that's the sweet spot where seeds slow down their metabolic hustle and stay fresh. It's like putting them in a comfy little seed hibernation.
| Storage Condition | Ideal Range |
|---|---|
| Temperature | 34°F - 40°F (1°C - 4°C) |
Humidity Levels for Optimal Storage
Don’t forget about moisture! We're aiming for a 20% to 30% humidity vibe. You don't want them getting all moldy from too much wetness or becoming seed jerky from drying out. Keep it balanced – Goldilocks style.
| Humidity Condition | Ideal Range |
|---|---|
| Relative Humidity | 20% - 30% |
Keeping that fridge at just the right temp and humidity is the trick to happy seeds. If you're curious about keeping other veggies fresh, check out our piece on how long is eggplant good in the fridge?.
Organizing Pea Seeds in the Fridge
Let me tell you, keeping those learning pea seeds organized in the fridge is more crucial than it sounds. It's not rocket science, but you gotta play it smart to keep them fresh and ready to sprout. With a bit of care in where I stash 'em and how I work to avoid the seed version of a roommate that eats all your food, I've got my seeds set for planting.
Placement in the Fridge
When it comes to stashing my pea seeds in the refrigerator, I'm all about finding that sweet spot with stable temperatures. The back of the fridge is the prime real estate—less drama with temperature changes when the door gets opened a zillion times a day.
I make sure not to tuck them away in the crisper drawers. Those spots collect more moisture than a summer in Florida, which can spell mold—definitely not what I want. Airtight containers are my go-to, they keep the seeds fresh and stop 'em from getting all scented like last night's lasagna.
| Shelf Spot | Temp Consistency | My Move |
|---|---|---|
| Back of the fridge | High | Yep, seeds go here—keeps them chill and steady |
| Middle shelf | Medium | Okay choice if my fave spot’s full |
| Crisper drawers | Low | Big no—too damp, no thanks |
Avoiding Cross-Contamination
Cross-contamination isn’t just cooking lingo. For my seeds, it's a real thing. I keep my pea seeds far from anything that has a smell strong enough to wake the dead or could get them soggy. Labeling containers is my secret weapon to avoid the 'which one was that' game. Different seeds? Different containers—because nobody wants a hybrid accident.
I'm on the lookout for expired science projects (once known as food) in the fridge, because messes invite chaos, and seeds don't thrive in chaos. Spills and mishaps are wiped up quick—no one needs drama in seed storage. Got other seeds like buckwheat? I've penned down some advice on that too: check out our piece on how to keep buckwheat seeds in the fridge.
So, with these steps, my peas are locked and loaded for the next planting season.
Monitoring Seed Viability
Keeping my learning pea seeds in tip-top shape is crucial to getting them ready for planting. To stay on top of this, I use a couple of tricks: regular check-ups and a germination test.
Regular Inspection
I've made it my mission to peek at my stored pea seeds about once a month. During these little inspections, I’m on the lookout for dampness, mold, or funky smells that scream spoiler alert. It's super important that the packaging is still doing its job—keeping my seeds free from clumps and chaos.
| What to Check | What to Do |
|---|---|
| Moisture | Look for any water lurking in the packs. |
| Mold | Spot-check for fuzzy, telltale signs of growth. |
| Odor | A sniff test for musty or unpleasant whiffs. |
| Packaging | Double-check that seals are tight and not torn. |
Testing Seed Germination
When it comes to checking how spry my pea seeds are, I rely on a germination test—it’s like a mini rehearsal for planting season. Here’s the drill:
- Pick Some Seeds: I grab a sample of around 10-15 seeds from my stash.
- Get the Medium Ready: Either dampen some soil in a pot or soak paper towels.
- Set the Stage for Seeds: Lay the seeds in the soil or on paper towels, making sure they're not all crowded together.
- Moisture Control: I keep everything damp but not soggy. Nobody likes a seed swimming pool!
- Sprout Watch: I keep an eye out for little sprouts over a week or two.
| Germination Checkpoints | What’s Involved |
|---|---|
| Seeds to Test | 10-15 gems |
| Bedding | Soil or damp paper towels |
| Watch Time | Up to 2 weeks |
If most seeds sprout up, it’s a thumbs-up in terms of viability. Plus, I've got a go-to routine for keeping my pea seeds chilled to perfection here’s how I store buckwheat seeds in the fridge. So regular peeks and sprout tests boost my gardening game, making sure the seeds stay in prime condition, ready for action.
Extending Shelf Life of Pea Seeds
Keeping my pea seeds alive and kicking for longer means getting into the groove with a couple of trusty tricks—like swapping out older batches and slapping on some easy-to-read labels.
Rotation of Seed Stock
Turns out putting the oldest seeds to work first is a game-changer. Using my older batches keeps them from becoming yesterday’s news and boosts my germination odds. I follow this rotating plan to stay on top of things:
| Year | Seed Batch Used | Remaining Stock |
|---|---|---|
| 2023 | Oldies from '21 (Batch A) | 50% chilling |
| 2024 | Movers from '22 (Batch B) | 50% hanging around |
| 2025 | Back to '21 (Batch A) | 50% left |
This groove means sticking with seeds that still got the mojo, which means more veggies and fewer tears.
Proper Labeling and Date Tracking
Labeling and keeping tabs on dates saves me from the "which-seed-is-which" headache. Every seed packet gets a rundown—the type, when it got stored, and when to toss it out. Here’s my no-fuss label style:
| Seed Type | Storage Date | Use-By Date |
|---|---|---|
| Learning Peas | January 2023 | January 2024 |
| Garden Peas | February 2023 | February 2024 |
| Snap Peas | March 2023 | March 2024 |
This way, I won’t be caught sleeping on seeds that should’ve been planted already. It’s all about getting them planted—no shelf warmers allowed.
Using these rotation and labeling tricks keeps my seed stash going strong. This approach not only gives my seeds a longer lifespan but also preps me for a flourishing garden every season. Want some seasoning on how to chill your buckwheat seeds for freshness? Check out my tip on keeping buckwheat seeds in the fridge.