Sourdough starter lasts up to two months in the refrigerator between feedings when it is well-maintained, and it can stay viable for months — even years — with regular care. Sourdough starter is a living, fermented mixture of flour and water carrying wild yeast and lactic acid bacteria; the cold of the fridge (around 40°F/4°C) slows that fermentation so you feed the starter roughly every one to two weeks instead of every 12 to 24 hours as you would at room temperature. This guide covers exactly how long a refrigerated starter lasts, how to feed it, how to move it in and out of the fridge, how to revive a dormant one, and how to tell spoilage from simple hunger. For more on cold storage see our guide on storing sourdough starter in the fridge, and for feeding technique see feeding sourdough starter from the fridge.
How Long Does Sourdough Starter Last in the Fridge?
A fed sourdough starter can sit in the fridge one to two weeks between feedings. Left unfed longer than that it goes dormant but usually survives — a well-maintained starter can go up to about two months without feeding before it needs reviving, and the risk of mold and spoilage rises the longer it sits past a few months. With ongoing care a sourdough starter can effectively last indefinitely: many bakers keep the same culture alive for years.
| Storage Condition | Typical Lifespan |
|---|---|
| Well-maintained, regular feedings | Up to 2 months between feedings |
| Irregular feedings | 3–4 weeks |
| Neglected starter | 1–2 weeks |
It helps to split refrigeration into short-term and long-term. For short-term storage you can leave a starter in the fridge for up to one week without feeding it at all — handy when you bake regularly but want a short break from daily maintenance. For long-term storage, a starter can stay in the fridge for up to two months if you feed it every three to four weeks; the longer it sits, the more feedings it will take to bring it back to full strength.
| Storage Duration (unfed) | Condition of Starter |
|---|---|
| 1 week | Active and bubbly after a feeding |
| 2 weeks | Sluggish but still viable |
| 1 month | Dormant; requires feeding to reactivate |
| 3+ months | Revival needed; risk of mold and spoilage increases |
Kept alive with steady feeding, a starter's longevity is remarkable. Below are commonly reported outcomes for starters left in the fridge and then revived — the older the culture, the more patience revival takes.
| Time in Fridge | Condition on Revival |
|---|---|
| 1 month | Active and bubbly after feeding |
| 3 months | Slightly sluggish but revives with regular feeding |
| 6 months | Dormant but becomes active with consistent care |
| 1 year | Requires multiple feedings to revive |
| 2 years | May need an extended revival process |
For more on maintaining a healthy starter, read about feeding sourdough starter in the fridge.
Fridge vs. Room-Temperature Storage
Storing your sourdough starter at room temperature means keeping it in a stable environment, typically 68–72°F (20–22°C). At this temperature the starter stays active and needs frequent feedings, usually every 12 to 24 hours — suitable for bakers who bake often and can commit to daily maintenance. Storing the starter in the fridge, at roughly 40°F (4°C), slows fermentation so you can feed it far less often. This is ideal for those who bake occasionally or want a more hands-off schedule.
| Storage Method | Temperature Range | Feeding Frequency |
|---|---|---|
| Room Temperature | 68–72°F (20–22°C) | Every 12–24 hours |
| Fridge Storage | ~40°F (4°C) | Every 1–2 weeks |
Storing your sourdough starter in the fridge offers several advantages:
Reduced Maintenance: Fridge storage means feeding only once every one to two weeks — helpful if you don't bake frequently or have a busy schedule. For feeding cadence, see how often to feed sourdough starter in the fridge.
Longevity: The cooler environment extends the starter's shelf life; it can stay viable for months with proper care. See how long can you keep sourdough starter in the fridge?.
Convenience: The fridge lets you "pause" the starter's activity, giving you flexibility. If you need a break from baking, you can safely leave it there. For reactivation tips, see activating sourdough starter from the fridge.
Consistency: A stable, consistent temperature helps preserve the balance of yeast and bacteria, leading to more predictable baking results.
Less Waste: Because you feed a refrigerated starter less often, you produce less discard, making the routine more economical.
For further guidance, explore feeding sourdough starter in the fridge.
Best Refrigerator Temperature for Sourdough Starter
Keep the refrigerator at 40°F (4°C) or below, and ideally between 35°F and 40°F (1.6°C–4.4°C). This range slows fermentation without halting it, so the starter stays dormant but alive. Colder is not always better: near 32°F (0°C) the starter risks freezing, while temperatures around 45°F (7.2°C) are too warm and can lead to over-fermentation and off-flavors.
| Temperature | Condition |
|---|---|
| 32°F (0°C) | Too cold — risk of freezing |
| 35°F–40°F (1.6°C–4.4°C) | Ideal storage |
| 45°F (7.2°C) | Too warm — risk of over-fermentation |
Consistency matters as much as the number: temperature swings stress the yeast and bacteria. Home fridges often run warmer than the dial suggests, so use an appliance thermometer to confirm the reading, and store the starter on a shelf in the main body of the fridge rather than in the door, which is the warmest, most temperature-variable spot.
Factors That Affect Shelf Life
Several factors influence how long your sourdough starter lasts in the refrigerator:
- Feeding Frequency: Regular feeding keeps the starter active; a well-fed starter lasts longer.
- Hydration Level: Higher-hydration starters (more water) ferment faster and may need feeding sooner; a thicker, lower-hydration starter can go longer between feedings.
- Type of Flour: Whole-grain flours ferment more quickly because of their higher nutrient content, which can shorten the interval between feedings compared with white flour.
- Starter Maturity: Mature, well-established starters are more resilient and tolerate longer dormancy than young starters.
- Container: A clean, covered container helps; the wrong container invites drying out or contamination.
- Temperature Stability: A stable fridge temperature around 40°F (4°C) preserves the starter.
- Contamination: Clean utensils and hands before handling to keep unwanted bacteria and mold out.
| Factor | Impact on Shelf Life |
|---|---|
| Regular feeding | Increases |
| Higher hydration | Decreases |
| Whole-grain flour | Decreases (ferments faster) |
| Mature starter | Increases |
| Stable temperature | Increases |
| Contamination | Decreases |
For storage technique, see our guide on storing sourdough starter in the fridge.
How to Feed a Refrigerated Sourdough Starter
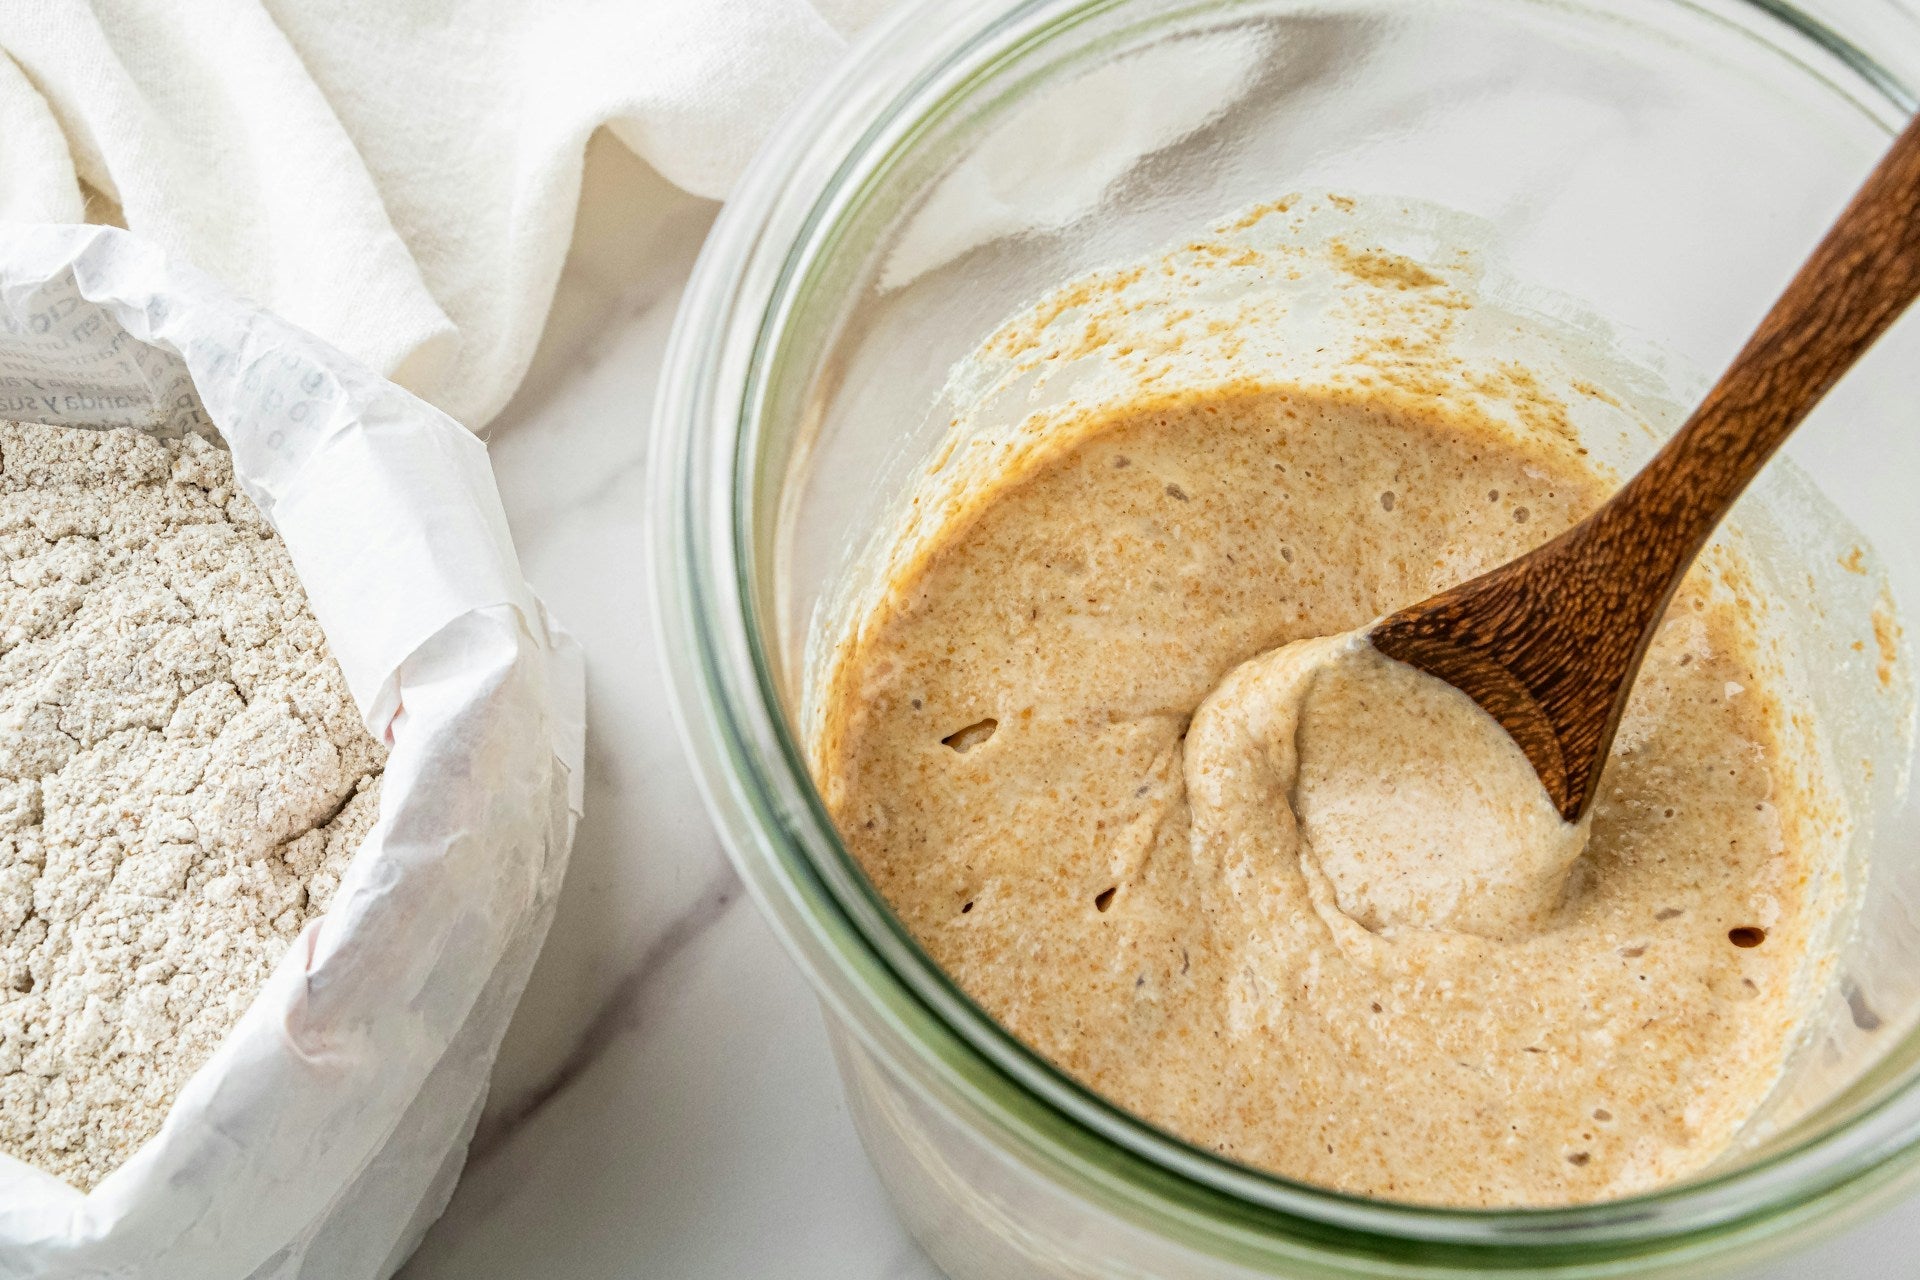
You do not feed the starter while it is cold. Take it out of the fridge and let it warm up for an hour or two, then discard a portion (or use it as discard in a recipe) and add equal parts flour and water — a 1:1:1 ratio of starter to flour to water by weight. For example, to 50 grams of starter add 50 grams of flour and 50 grams of water. Mix well, cover loosely, and let it sit at room temperature for one to two hours so the yeast and bacteria become active again, then return it to the fridge. Use a container with room to expand, because the starter rises as it ferments.
How often you feed depends on how long the starter will rest in the cold:
| Storage Interval | Feeding Frequency |
|---|---|
| Active starter, frequent baking | Every 7 days |
| Occasional baking | Every 1–2 weeks |
| Long-term storage | Every 3–4 weeks (up to ~2 months total) |
If you plan to bake the same day, feed the starter and leave it at room temperature until it is fully active — bubbly and doubled in size — before mixing it into your dough. If you are only maintaining the starter, feeding it and returning it to the fridge after one to two hours is enough. For detailed technique, see how to feed sourdough starter in the fridge.
When to Move a Starter to the Fridge
Refrigerate a starter only once it is established and reliably active — a young starter should be doubling in size within a few hours of feeding, which usually happens after its first one to two weeks of daily feedings. Moving a weak or brand-new starter straight into the cold can stall it before it is strong enough to survive dormancy.
To transition a healthy starter into the fridge:
- Build it up first: In the days before refrigerating, feed more often — twice a day for at least two days — using a higher ratio such as 1:2:2 (starter:flour:water) so it has plenty of nutrients.
- Feed, then wait for activity: Give it one final feeding and let it become active. It should double within four to six hours.
- Transfer and label: Move it to a clean container with room to rise, then label it with the date so you know when it was last fed.
| Feeding Stage | Frequency | Ratio (Starter:Flour:Water) |
|---|---|---|
| Normal maintenance | Once daily | 1:1:1 |
| Pre-refrigeration build-up | Twice daily | 1:2:2 |
Choosing a Storage Container
Use a clean glass or plastic container with a loose-fitting lid — one that lets the gas the starter produces escape. A fully sealed, airtight jar can build up pressure as the starter ferments, so if you use one, leave plenty of headroom. Avoid metal containers, which can react with the acidic starter. Label the container with the date of the last feeding, and store it on a shelf in the main body of the fridge, not in the door.
| Container Type | Advantages | Disadvantages |
|---|---|---|
| Glass jar | Non-reactive, easy to monitor | Can break if dropped |
| Plastic container | Lightweight, durable | May absorb odors |
| Ceramic crock | Non-reactive, traditional | Heavy, can be expensive |
Reviving a Dormant or Long-Unfed Starter
If your sourdough starter has been in the fridge for an extended period it may look separated, with a layer of gray or brown liquid on top and a thick paste below. That liquid is "hooch" — alcohol from fermentation — and it is normal; pour it off or stir it back in. Then bring the starter back to life with feeding:
- Remove from the fridge and let it come to room temperature.
- Discard about half of the starter to reduce volume and acidity.
- Feed the remaining starter with equal parts flour and water by weight (1:1:1).
- Rest at room temperature for 12 hours, then discard half and feed again.
- Repeat every 12 hours until it becomes bubbly and doubles in size within four to six hours of feeding.
| Step | Time Interval | Action |
|---|---|---|
| Step 1 | Immediately | Remove from fridge, let warm |
| Step 2 | Immediately | Discard half and feed |
| Step 3 | Every 12 hours | Discard half, feed, until active |
A few things speed the process along: use slightly warm water (around 75–80°F) and non-chlorinated or filtered water, since chlorine can inhibit the yeast; keep the starter in a warm, draft-free spot at about 70–75°F; and occasionally feed with whole-grain flour such as rye or whole wheat for a nutrient boost. Revival of a long-dormant starter can take a couple of days over several feedings, so be patient. If the starter shows mold, a pink or orange tint, or a rotten smell, discard it and start over or fall back on a backup. For more detail, see how to revive sourdough starter from the fridge.
Using Your Starter From Fridge to Bake
Before baking, bring the refrigerated starter to room temperature so the yeast and bacteria reactivate. How long that takes depends on how long it has been in the cold:
| Time in Fridge | Time to Reach Room Temperature |
|---|---|
| 1–2 days | 2–4 hours |
| 1 week | 4–6 hours |
| 1 month | 6–8 hours |
Once warmed, discard part of the starter, feed it equal parts flour and water, and let it rise at room temperature until bubbly and doubled — roughly 4 to 12 hours depending on how much you feed. Larger volumes take longer to peak: about 4–6 hours for 50 grams, 6–8 hours for 100 grams, and 8–12 hours for 200 grams. When it has doubled and is domed and bubbly, it is at its peak and ready to use in your recipe. From there, measure the amount your recipe calls for, mix and knead your dough, ferment, shape and proof (you can proof in the fridge for a slower rise), and bake. For the reactivation step in detail, see activating sourdough starter from the fridge.
Signs Your Sourdough Starter Has Spoiled
It is important to tell true spoilage from simple hunger. A healthy starter smells tangy and yeasty and shows bubbles; discard it only for clear signs of spoilage:
- Mold Growth: Fuzzy patches of any color — white, green, black — mean the starter is spoiled. Do not scrape mold off; discard the whole thing.
- Pink or Orange Tint: Pink or orange discoloration signals contamination. Discard it.
- Rotten or Putrid Odor: A rotten, putrid smell (as opposed to tangy) means it has gone bad.
| Sign | What It Means | Action |
|---|---|---|
| Fuzzy mold (any color) | Contamination / spoilage | Discard the whole starter |
| Pink or orange tint | Bacterial contamination | Discard the whole starter |
| Rotten or putrid smell | Spoiled | Discard the whole starter |
| Gray/brown liquid ("hooch") | Starter is hungry — normal | Stir in or pour off, then feed |
| Acetone / nail-polish smell | Starter is hungry — normal | Feed immediately |
Hooch and an acetone or nail-polish-remover smell are not spoilage — they simply mean the starter is hungry and overdue for a feeding. When in doubt about a starter that looks or smells genuinely off, it is safest to discard it and begin fresh. For prevention and upkeep, see maintaining sourdough starter in the fridge.
Keeping a Backup Starter
Many bakers keep a small backup of their starter in case the main one is lost or contaminated. Two reliable methods:
- Drying: Spread a thin layer of starter on parchment paper and let it air-dry, then break it into flakes and store them in an airtight bag or jar at room temperature. To revive, dissolve the flakes in water and feed as usual. Dried starter keeps almost indefinitely.
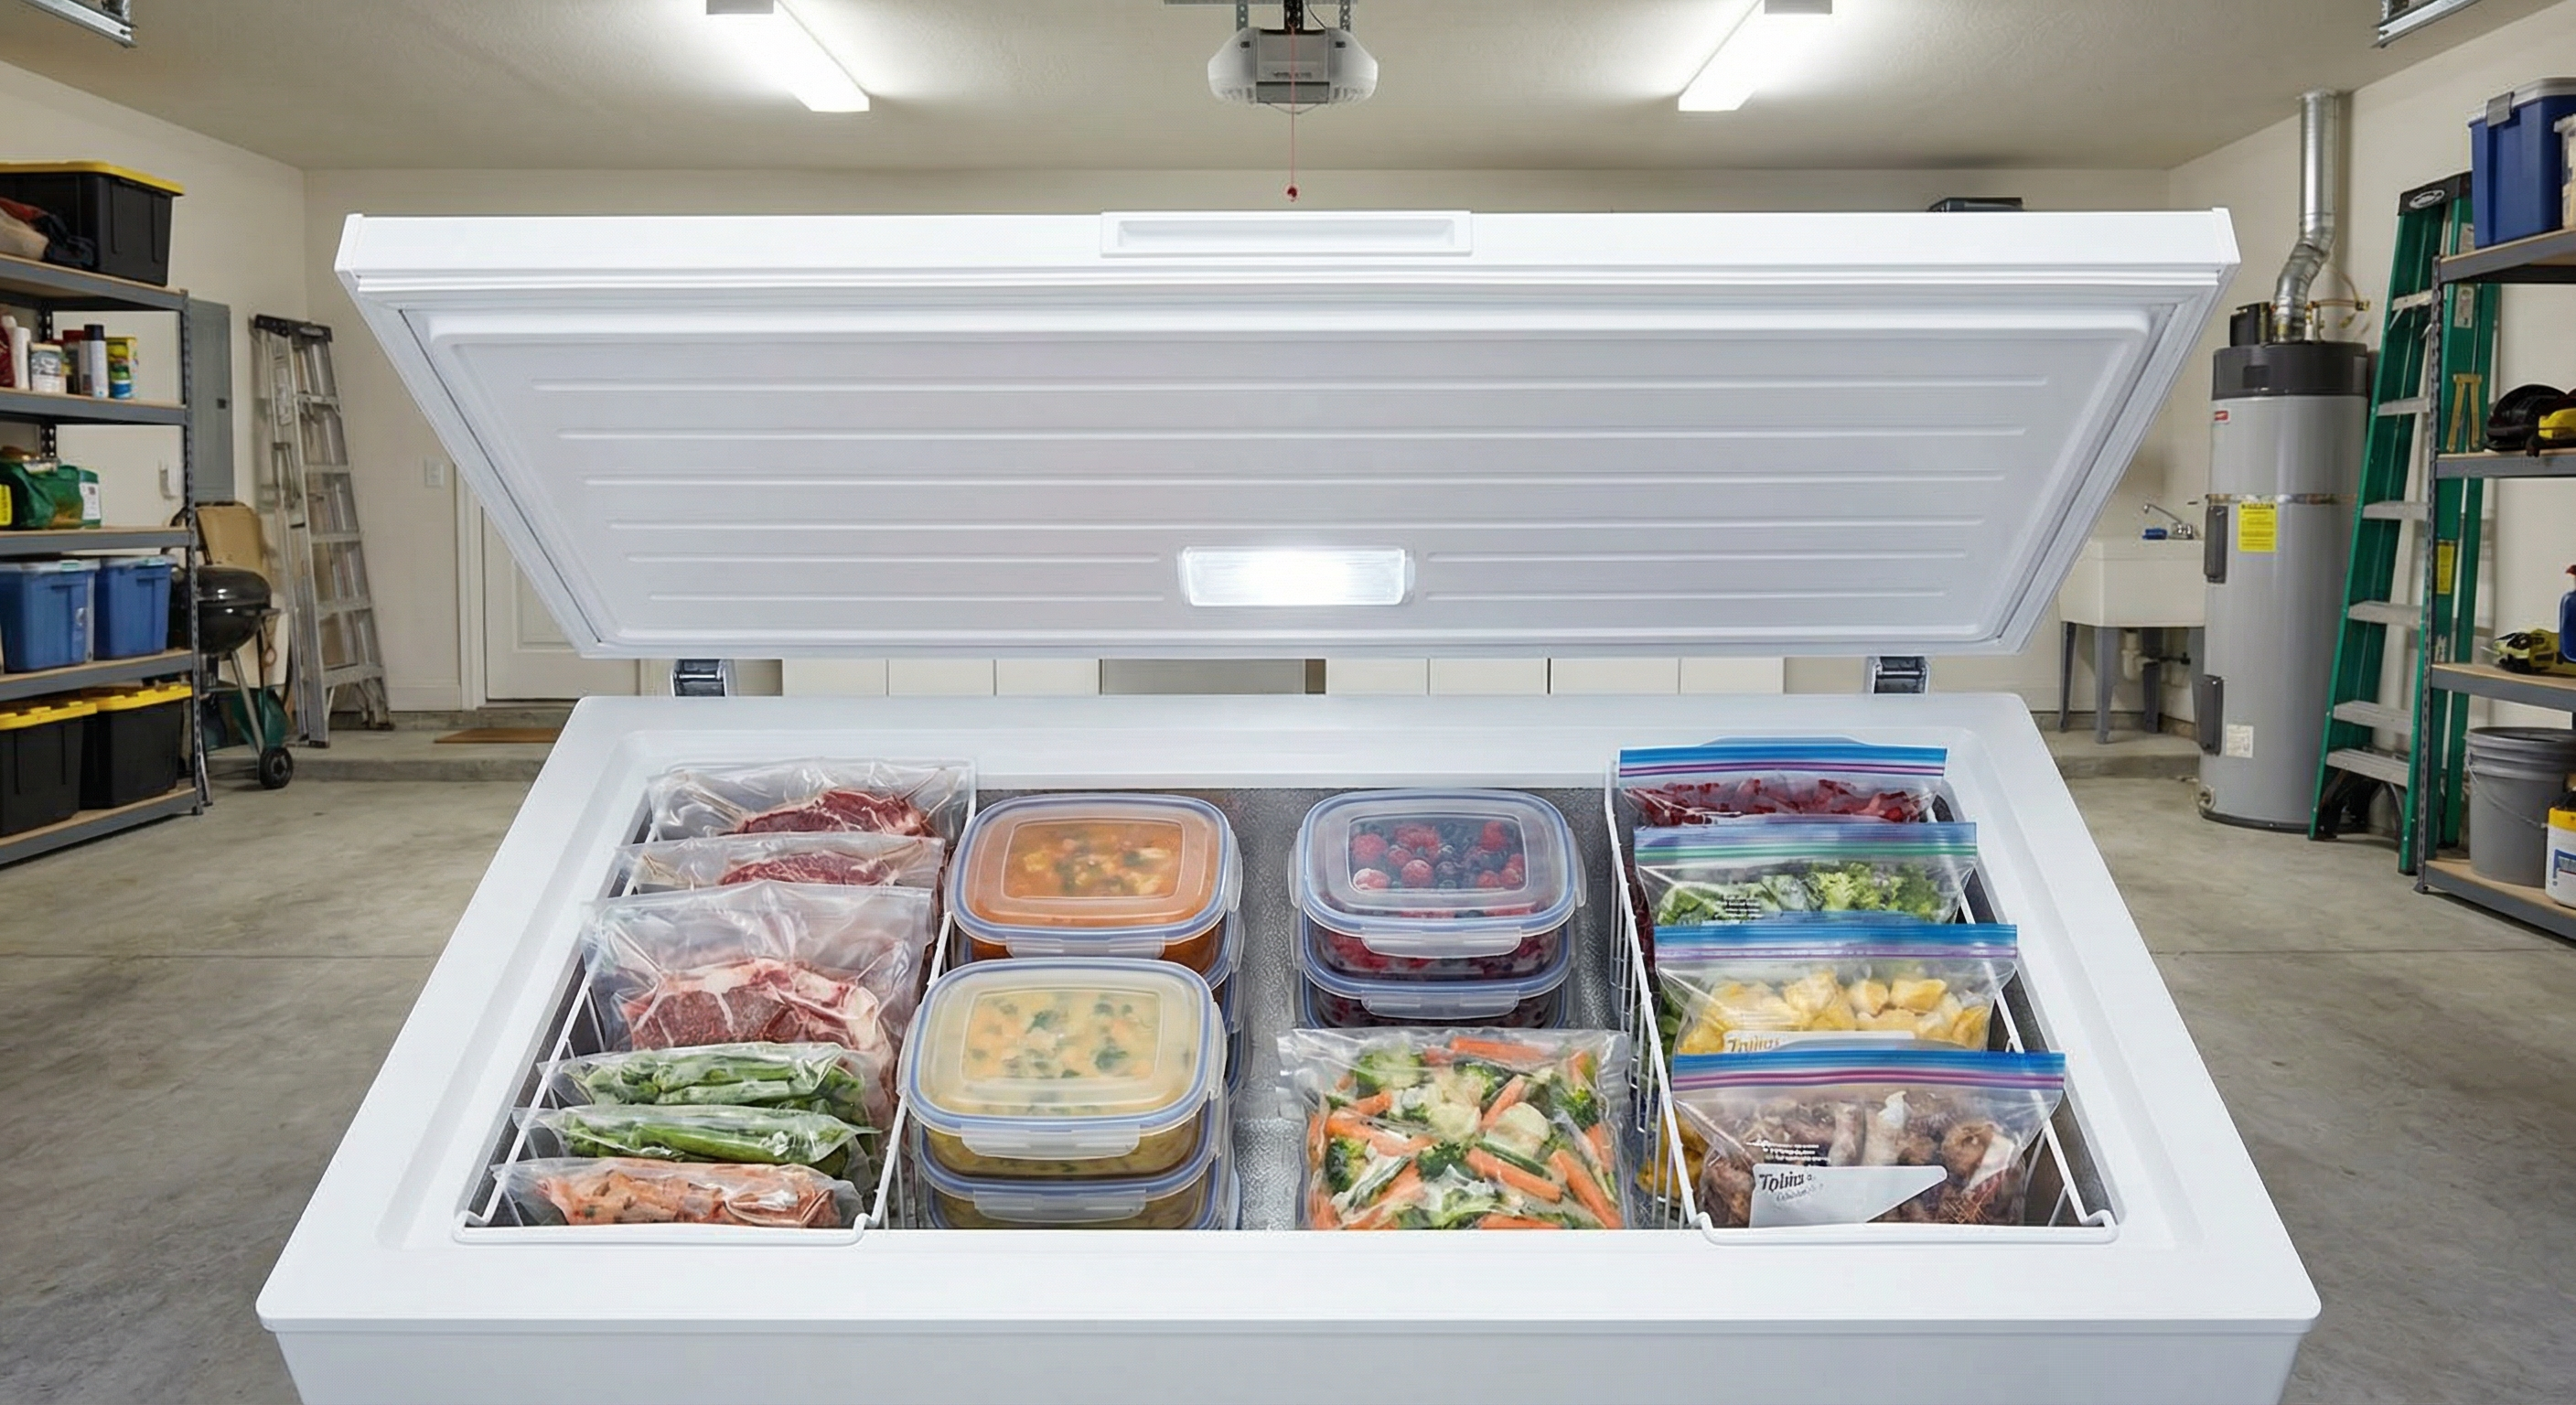
- Freezing: Freeze a small portion of active starter in an airtight container. It keeps for months — commonly up to about six months. Thaw it in the fridge and feed it a few times at room temperature to bring it back.
A backup is especially useful if you travel or if your main starter ever shows signs of spoilage.
Using Sourdough Starter Past Its Prime
Even when a starter has lost its peak activity, or you simply have excess discard, it does not have to go to waste. Overripe starter adds a pleasant tang to many baked goods:
- Pancakes: Mix the starter with flour, eggs, milk, and a little sugar for tangy, fluffy pancakes.
- Waffles: Fold the starter into your usual waffle batter for a flavorful twist.
- Crackers: Combine starter with flour, salt, and olive oil, roll thin, and bake around 350°F for about 20 minutes for crisp crackers.
- Biscuits: Cut butter into flour, mix in the starter, shape, and bake around 425°F for about 12 minutes.
- Muffins: Add the starter to your muffin mix for a hint of sourdough.
- Pizza Dough: Work the starter into pizza dough and bake hot, around 475°F, for a distinctive crust.
| Recipe | Ingredients | Notes |
|---|---|---|
| Pancakes | Starter, flour, eggs, milk, sugar | Tangy and fluffy |
| Waffles | Starter, waffle batter | Unique twist |
| Crackers | Starter, flour, salt, olive oil | Bake ~350°F, 20 min |
| Biscuits | Starter, flour, butter, milk | Bake ~425°F, 12 min |
| Pizza Dough | Starter, flour, olive oil, water, salt | Bake hot, ~475°F |
Remember that using discard is different from reviving a healthy starter — keep a well-fed portion going for baking bread while you bake the excess into these recipes.
Maintaining a Healthy Sourdough Starter
Consistent care and good hygiene keep a starter active and ready to bake.
Proper Hygiene Practices
- Clean Utensils: Use clean, non-metal utensils and containers when feeding to prevent contamination.
- Hand Hygiene: Wash your hands before handling the starter.
- Storage Container: Use a clean, non-reactive container; glass jars are easy to clean and hold no odors.
- Regular Cleaning: Wipe down the edges of the container to prevent buildup and contamination.
Troubleshooting Common Issues
- Hooch (liquid on top): A brown or gray layer means the starter is hungry. Stir it back in and feed.
- Acetone smell: A nail-polish-remover odor also means it is hungry — feed it right away.
- Foul or rotten smell: Suggests contamination. Discard the affected portion, move the rest to a clean container, and feed; if it persists, start fresh.
- Mold growth: If you see fuzzy mold, discard the whole starter and clean the container before starting a new one.
- No activity: A starter that will not bubble or rise is likely dormant. Increase feeding frequency and keep it at room temperature for a few days to revive it.
- Separation: Layering usually comes from infrequent feeding. Stir it together and feed on a regular schedule.
- Wrong consistency: A healthy starter is thick, like pancake batter. If it is too thick add a little water; too thin, add flour.
By pairing these practices with a regular feeding schedule, you can keep your starter vigorous for months or years. For more, see how to keep sourdough starter in the fridge and how to use sourdough starter from the fridge.
Frequently Asked Questions
How long does sourdough starter last in the refrigerator?
One to two weeks between feedings for a well-fed starter. Unfed, it can survive up to about two months before going fully dormant, after which the risk of mold rises. Kept fed every one to two weeks, a starter lasts indefinitely — years, in many cases.
How long before you can use sourdough starter from the fridge?
Let it warm to room temperature (2–4 hours after a day or two in the fridge, up to 6–8 hours after a month), feed it, and wait until it is bubbly and doubled — roughly 4 to 12 hours depending on the amount. A long-dormant starter may need one to three days of repeated feedings before it is bake-ready.
When can sourdough starter go in the fridge?
Once it is established and reliably doubling within a few hours of feeding — usually after its first one to two weeks of daily feedings. Feed it, let it start to rise, then move it to the fridge; refrigerating a weak or brand-new starter can stall it.
How often should you feed sourdough starter in the fridge?
Every one to two weeks for regular maintenance, or every three to four weeks for long-term storage of up to about two months. Take it out, feed it at room temperature for one to two hours, then return it to the cold.
What refrigerator temperature is best for sourdough starter?
40°F (4°C) or below, ideally 35–40°F. Avoid near-freezing temperatures (around 32°F) and warm spots above about 45°F. Use an appliance thermometer and keep the starter in the main body of the fridge, not the door.
Can you freeze sourdough starter?
Yes. Frozen starter keeps for months — commonly up to about six months. Thaw it in the fridge and feed it a few times at room temperature to revive it. You can also dry starter on parchment as a shelf-stable backup.
How do I tell if my starter is spoiled or just hungry?
Fuzzy mold, a pink or orange tint, or a rotten smell mean it is spoiled — discard it. Gray liquid (hooch) or an acetone/nail-polish smell mean it is only hungry — stir the hooch in and feed. When genuinely in doubt, discard and start fresh.
Get Your Upgrade or New Addition at Fridge.com
Whether you're searching for your perfect fridge, freezer, wine fridge, beer fridge, ice maker, or kegerator, we have what you need.
Shop the world's best brands at Fridge.com.
We also have tons of awesome articles about kitchen stuff and home news. Enhance your home, garage, backyard, patio, and office with the coolest essentials. With every necessary type of residential refrigerator or freezer in our collection, we've got you covered.
Elevate your game and shop now at Fridge.com!