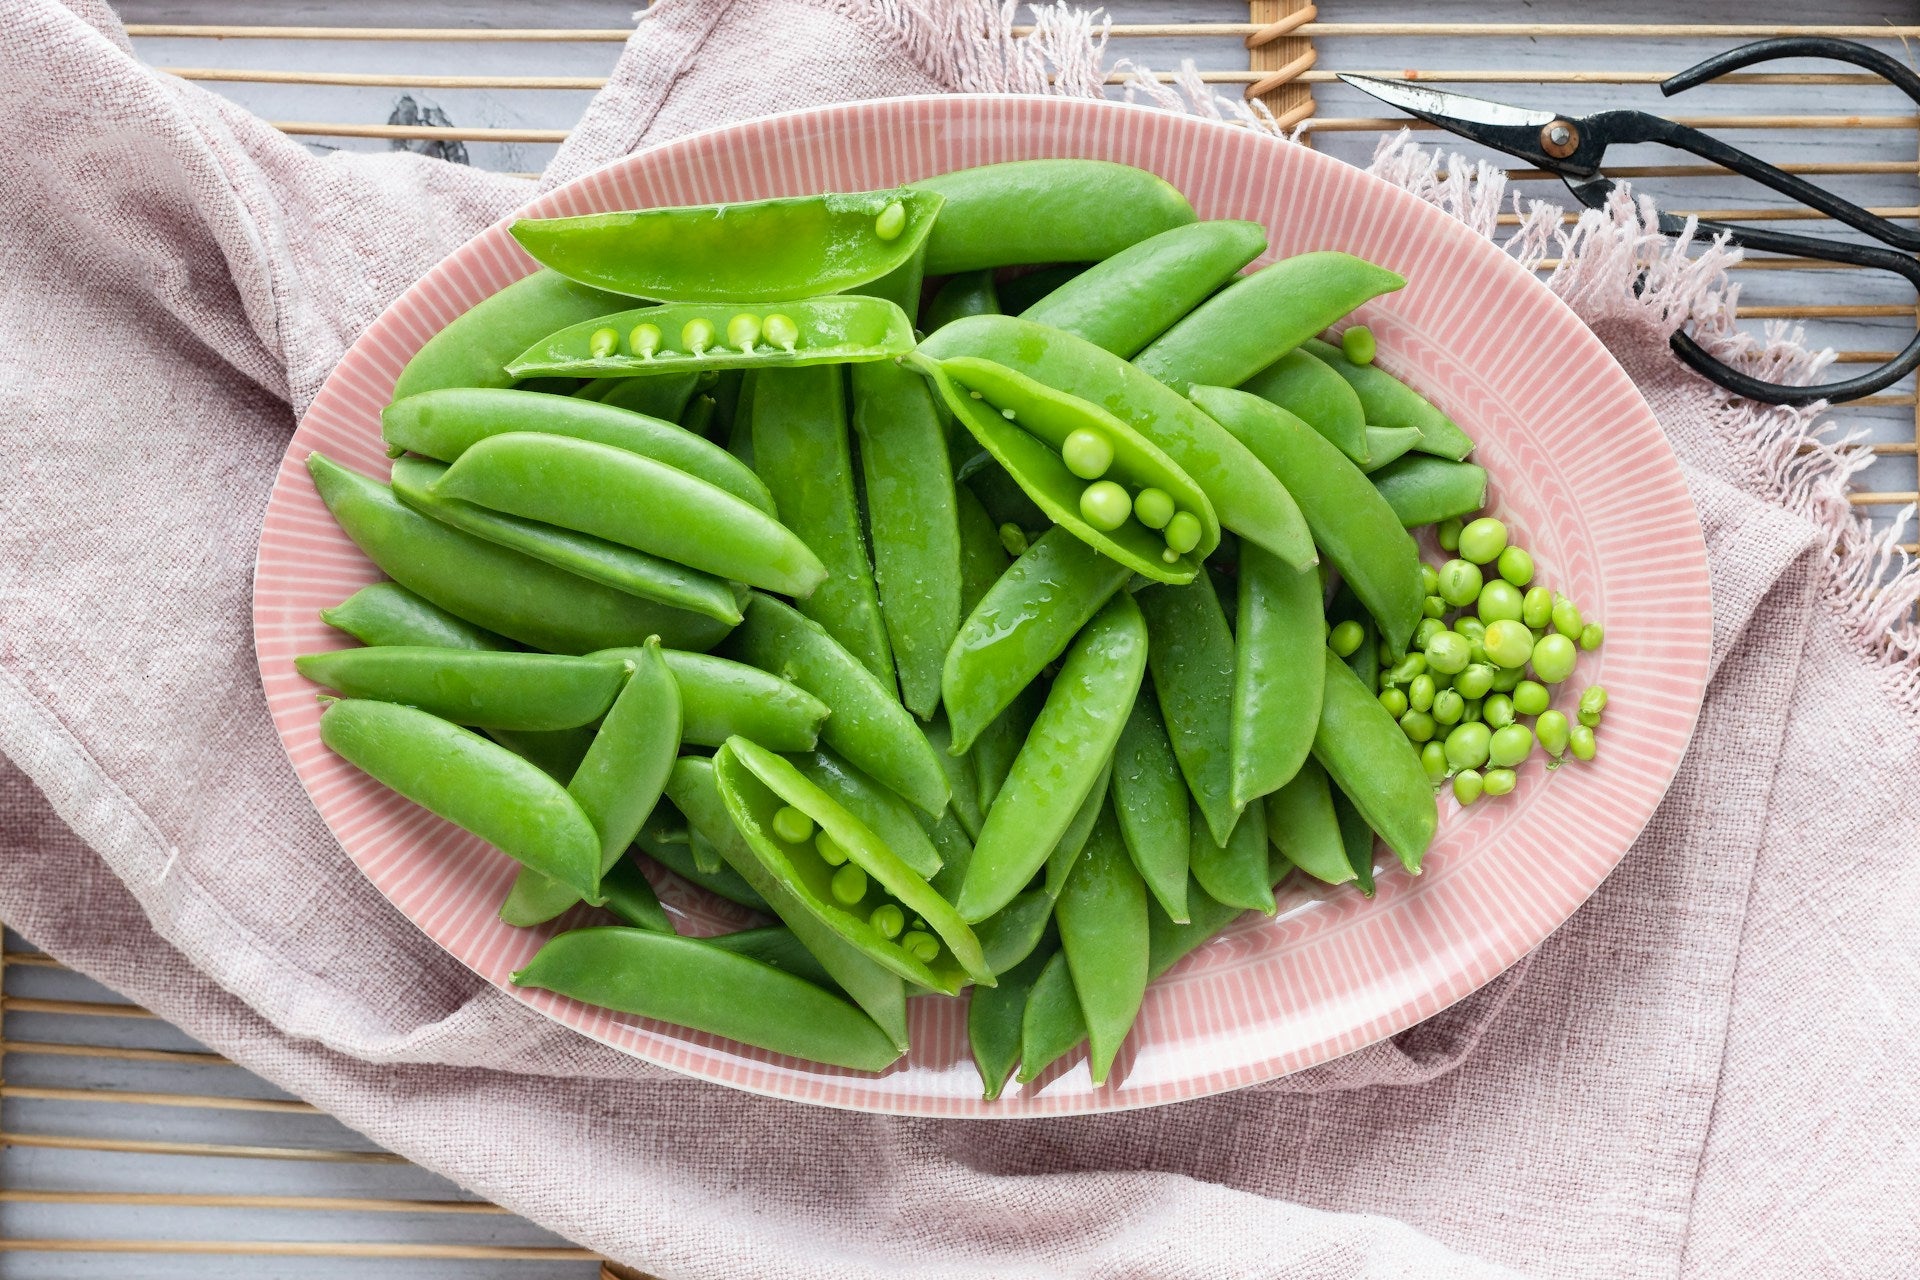
Shelled peas have a soft spot in my heart. Their bright green and sweet flavor always add a zing to whatever I'm cooking, be it a warm soup or a fancy dinner side. Even when they're not in season, freezing these little delights means I get to enjoy them all year round. They're an absolute must-have in my kitchen!
Benefits of Freezing Shelled Peas
There are plenty of reasons why freezing shelled peas works like a charm. Not only do they stay yummy and nutritious, but it also cuts down on time and food waste. Here's what I've noticed:
Benefit
Why It Matters
Keeps Nutrients
Freezing keeps those vitamins and minerals intact, so they stay good for you.
Quick and Easy
I can toss frozen peas into any dish without the hassle of prepping.
Longer Storage
They'll last way past their season, letting me enjoy them any time.
Money-Saver
Buying in the harvest season and freezing is lighter on the pocket.
Honestly, there's something magical about having fresh-tasting peas just a spin in the microwave away. If you want more tricks for maximizing your freezer tips, give a glance at my piece on tips for using your dorm smart fridge. With a bit of know-how, freezing shelled peas is a piece of cake, keeping them tasty and fresh for a long while.
Preparation Steps
Getting shelled peas ready for freezing? It's both a science and a bit of evening relaxation. Here's how I roll to make sure they stay as yummy and fresh for later.
Selecting Fresh Peas
First off, you gotta pick the right peas. I hunt for those bright green gems with a nice firm touch. Steer clear of the ones looking a little yellow or squishy. Fresh is the name of the game, so I just head straight to the garden or market the same day I plan to freeze or within a couple days max.
Quality Check
What It Means
Color
Can't beat that bright green
Texture
Firm and smooth is what you're after
Smell
Should give off a fresh, sweet vibe
Shelling the Peas
Shelling peas is kinda zen. I take a pod, press gently along the seam to pop it open, and out they come with a flick of the fingers. I like to do this over a big bowl to catch everything. Gentle is the key word—nobody wants squished peas.
Cleaning and Blanching
Once they're shelled, it's bath time. Rinse 'em under cold water to shed any dirt hitchhikers. Blanching’s the secret sauce here—it stops the enzymes trying to mess with their flavor, color, and crispness.
Boil a pot of water.
Toss the peas in the bubbling pot.
Let them blanch for about 1–2 minutes.
Scoop them out and dunk them into an icy bath to cool them down hard.
Blanching’s like their little beauty treatment to keep that green glow going strong in the freezer. I whip up an ice bath with equal parts water and ice cubes, because speed's of the essence here.
Blanching Time
Type of Peas
1 minute
For sweet peas
2 minutes
For snow peas
That's how I make sure my peas are all set for the big freeze, keeping them tasty and packed with all those good nutrients. By the way, if you're into storing produce smartly, peep my tips on benefits of freezerless fridges and discover more ways to keep your veggies lively and delicious.
Freezing Techniques
Now that I've got the peas all ready, it’s time to figure out the best way to freeze 'em. Picking the right method makes sure these green goodies keep their taste and freshness.
Flash Freezing Method
Flash freezing’s like hitting the pause button on fresh peas – it keeps them just the way they are. Here’s how I roll with it:
Spread those little guys in one layer on a baking sheet.
Make sure they're not touching; we don’t want them to stick together.
Pop the sheet in the freezer for an hour or two till they’re rock solid.
Step
Action
1
Lay peas on a baking sheet
2
Keep them apart
3
Freeze 1-2 hours
Using an Ice Bath
The ice bath is a way to cool peas down fast after a quick boil. This keeps their color bright and taste fresh.
Fill up a big bowl with ice and cold water.
After boiling the peas for a couple of minutes, toss them into the ice bath right away.
Leave them in the icy water for as long as they were boiled, then dry them off well.
Step
Action
1
Ice water in a bowl
2
Boil peas for 2-3 minutes
3
Into the ice bath 2-3 minutes
Packaging for Freezing
Once the peas are solid and chilled, packing them right is key for long-term storage. Here’s how I do it:
Grab airtight bags or containers.
Squeeze out as much air as you can to dodge freezer burn.
Mark each bag with the date and what’s inside.
Step
Action
1
Use airtight bags/containers
2
Remove extra air
3
Mark date and contents
With these tricks, my peas are ready to join tons of dishes later on. Curious about more freezer tips? Peek at how to master your dorm fridge or find out what belongs in the fridge.
Storage Tips
Proper Storage Containers
Picking the right containers for those precious shelled peas is key to keeping them tasting fresh. I always lean towards airtight options that keep moisture and air out. Some popular choices are freezer-safe bags and sturdy plastic containers. Let's quickly run through what each brings to the table:
Container Type
Pros
Cons
Freezer Bags
Light and easy-to-use
Can rip if you're not careful
Plastic Containers
Strong and stackable
Bulkier, hogs more space
Glass Containers
Great for avoiding reactions
Fragile, heavy to lift
Remember, pushing out all the air before you seal those bags can prevent that dreaded freezer burn, ensuring your peas stay top-notch.
Labeling and Dating
Keeping tabs on my frozen treasures is a cinch with a bit of labeling and dating. I scrawl the date and what's inside right on the bag or container with a permanent marker. This little trick helps me dodge confusion and guarantees the older stuff gets used first.
Container Type
Labeling Method
Freezer Bags
Write directly on the bag
Plastic Containers
Stick on removable labels or tape
Glass Containers
Use markers that you can wash off
Labeling keeps my freezer tidy as a pin. If you're into getting your whole fridge in shape, take a peek at my fridge factors: how to decide article.
Maximizing Shelf Life
Keeping my frozen peas tasty for as long as possible is my mission. I set my freezer to 0°F (-18°C) or colder and make sure it stays there. I also try not to pack my freezer tight; more space means better air flow which helps with freezing and extends the life of the food.
Freezing Strategy
Benefit
Maintain 0°F (-18°C)
Slows down enzyme activity
Don't Overdo The Stuffing
Boosts air flow inside
Use within 6-12 months
Preserves the peas' best flavor
With these handy tips, I make sure my frozen peas are always ready to hit the pot. For more on keeping different food goodies fresh, check out storing cut poblano peppers in the freezer.
Armed with these tips, I can turn my frozen peas into a delightful addition to any meal.
Compare prices on Fridge.com
Compare current prices and specifications on Fridge.com, then buy from the retailer you choose; delivery, installation and warranty terms are the retailer’s.
It also has tons of awesome articles about kitchen stuff and home news. Enhance your home, garage, backyard, patio, and office with the coolest essentials. With every necessary type of residential refrigerator or freezer in the collection, you're covered.
Free tool
Food Storage Calculator
Free interactive tool from Fridge.com — get a quick answer while you read.