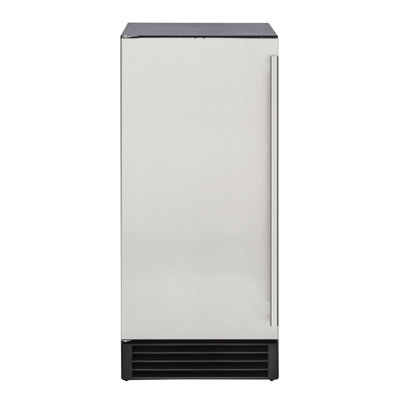
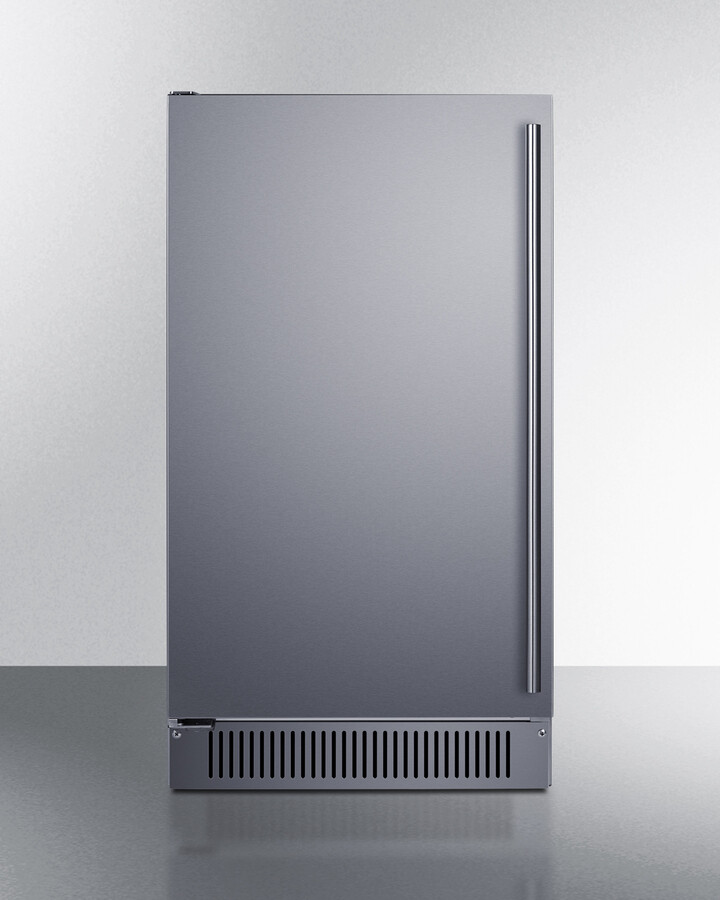
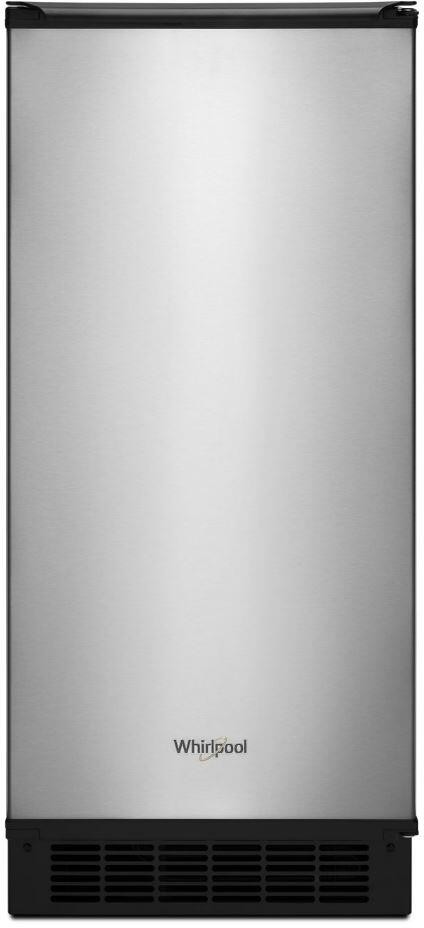
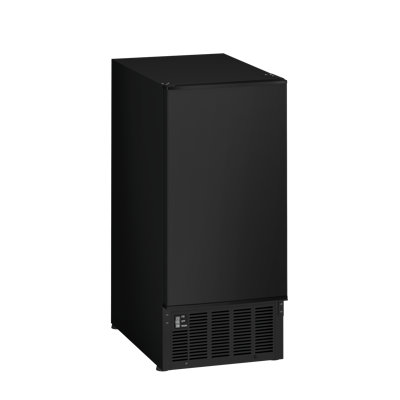
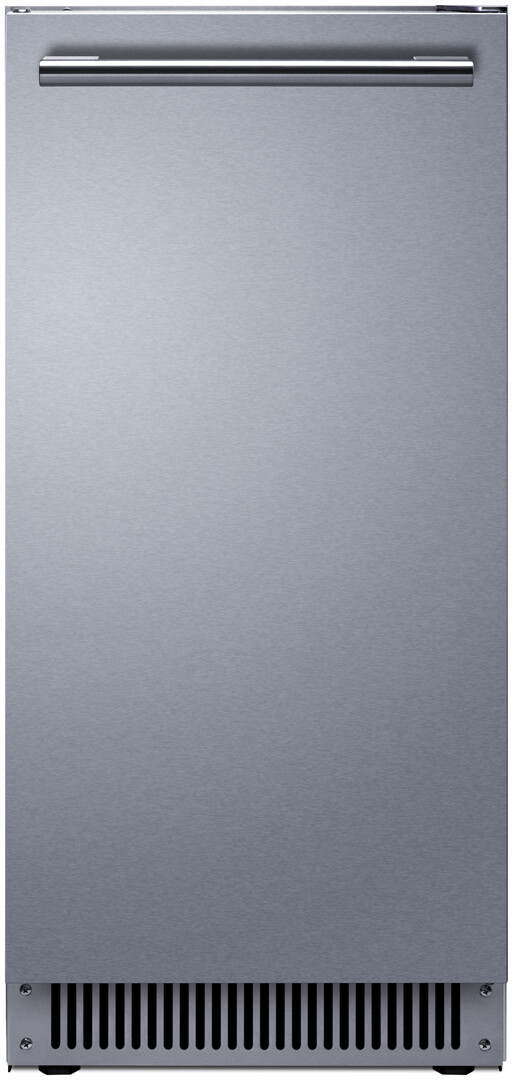
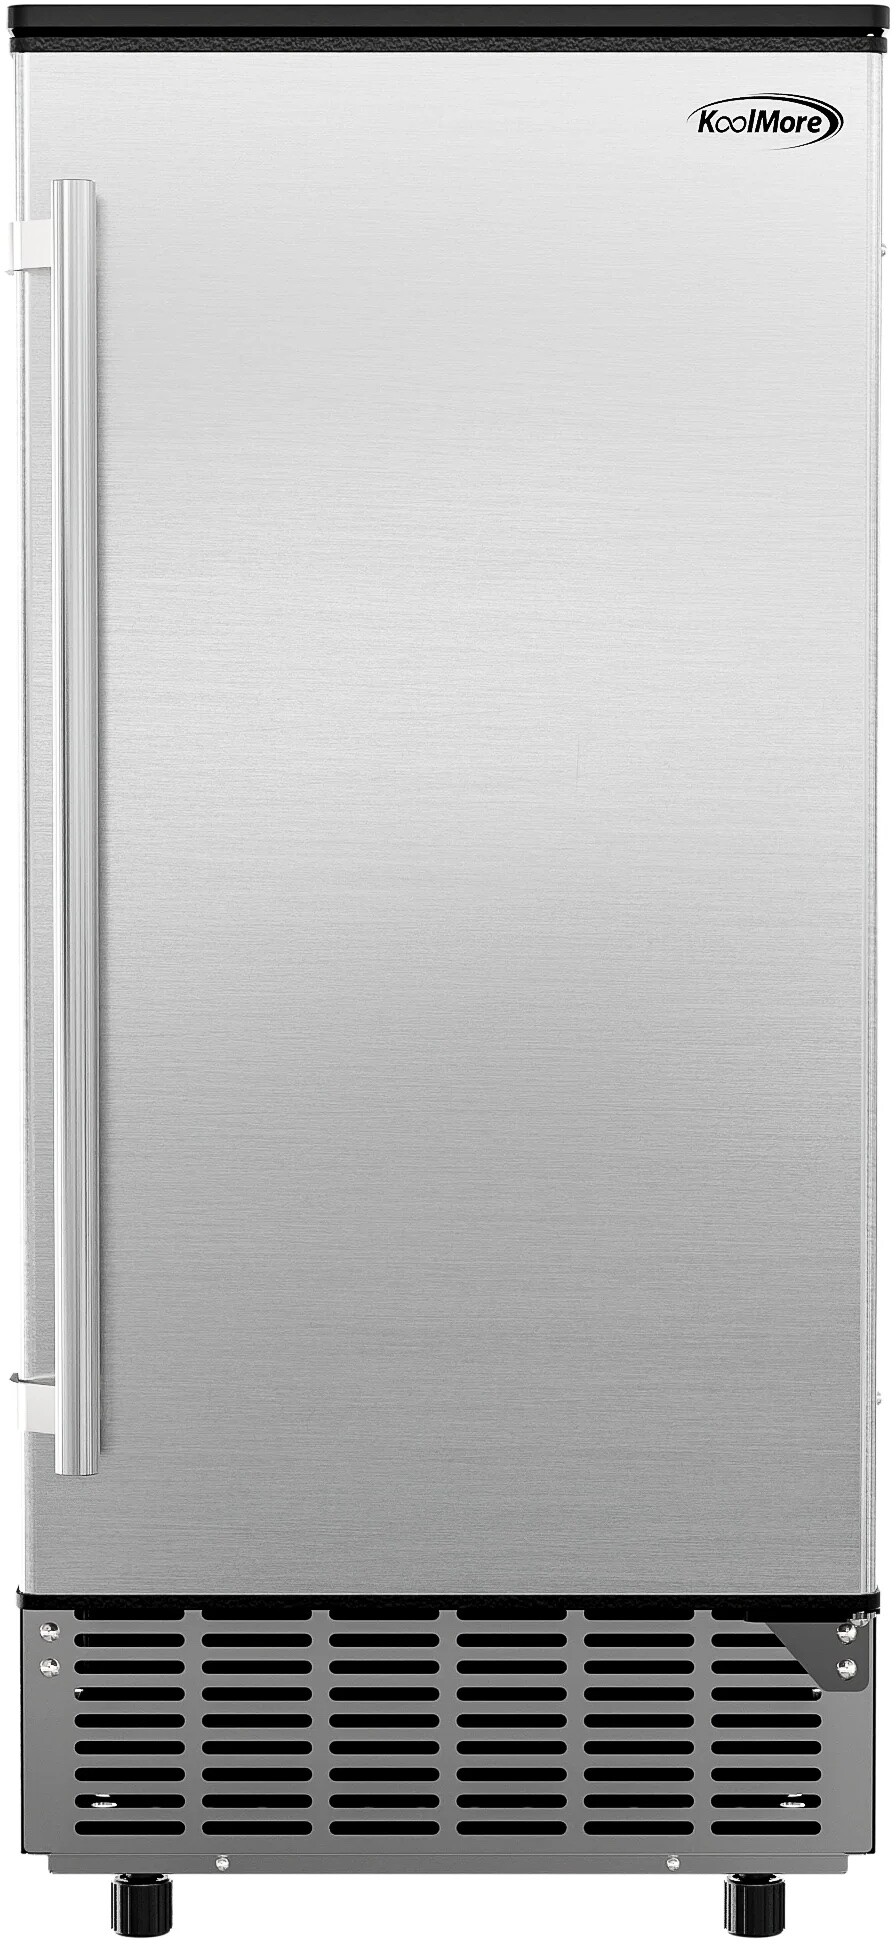
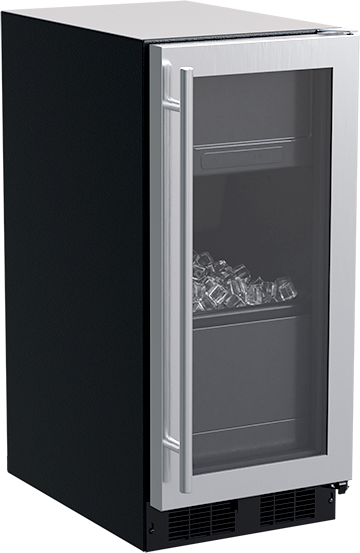
What Are The Electrical Requirements For A Ice Maker?
Ice Maker Electrical Requirements
Getting a grip on the electrical needs for an ice maker is pretty key for smooth sailing and keeping things safe. You need to know what kind of power it craves and what your gadget really asks for.
Understanding the Basics
Before you fire up that ice maker, take a minute to know its power needs. Most of them plug right into everyday home outlets, but the details can shift depending on what you've got. It's mostly about making sure the juice—voltage and all that—is just right, so your ice maker doesn’t throw a fit.
Determining Power Needs
Figuring out exactly what energy your ice maker gobbles up will save you some trouble when setting it up. Here’s the scoop on voltage and amperage:
| Electrical Thingy | Usual Numbers |
|---|---|
| Voltage | 120V or 240V |
| Amperage | 5A to 15A |
Voltage Requirements: Your average home-friendly ice maker likely sips power from a 120V outlet, but if you've got a commercial beast, it might need to plug into a 240V hole. Double-check what your specific model says before you get started.
Amperage Needs: This tells you how much power the ice maker slurps down. You wanna make sure the setup can handle it without popping a fuse or tripping any circuits.
Always peek at the instructions that come with your ice maker as they spill all the deets on what it needs. Whether you're setting up a nook at home or prepping for a fancy kitchen, being in the know makes it a cakewalk. Planning a serious kitchen gig? Maybe check out the best RV built-in freezer or other special fridges to suit whatever you’re aiming for.
Voltage Requirements
Knowing what voltage your ice maker needs makes all the difference between an ice-cold success and a meltdown disaster. Getting the voltage right keeps your ice maker running smoothly and lasting longer, just like grandma's secret cookie recipe.
Standard Voltage for Ice Makers
In North America, your typical ice maker needs a zap of 115 volts, which most household outlets happily provide. But if you're thinking bigger, like ice makers used in businesses, they often need a bit more oomph—around 220 to 240 volts to be exact.
Here's a simple sketch to show you:
| Ice Maker Type | Voltage Needed (Volts) |
|---|---|
| Residential Ice Maker | 115 |
| Commercial Ice Maker | 220 - 240 |
Importance of Matching Voltage
Getting the voltage right means your ice maker will work like a charm. Too little voltage, and your ice maker might be on the fritz, trying hard but failing miserably at doing its icy job. Too much voltage, and you risk heating things up to the point of no return, threatening to fry the whole deal.
Before you plug that bad boy in, double-check those specs and make sure your outlet has the juice it needs. For more handy hints on setting things up all proper-like, take a peek at Fridge.com's guide on changing a fridge water filter or give a gander at our other appliance know-how pieces.
By getting a handle on the voltage your ice maker craves, you're setting yourself up for a steady flow of the good stuff, whether you're hosting that epic summer BBQ or unwinding with a frosty drink after a long day. Cheers to that!
Amperage Needs
When it's time to set up that shiny new ice maker, you gotta know how much juice it needs. This is gonna keep everything humming along smoothly without a hitch. Let's break down how to figure this out and what might come into play when you're crunching those numbers.
Calculating Amperage Requirements
So, you're probably wondering, “How do I even start figuring out what my ice maker needs?” It's easier than you think. Here's the deal:
[ \text{Amperage} = \frac{\text{Watts}}{\text{Voltage}} ]
Say your ice machine gobbles up 600 watts and needs 120 volts to run. Plug those numbers in, and you get:
[ \text{Amperage} = \frac{600 \text{ Watts}}{120 \text{ Volts}} = 5 \text{ Amps} ]
Always double-check the specs on the box to make sure you’ve got the right wattage number. Here’s a handy dandy table to give you a snapshot of how it usually shakes out:
| Ice Maker Watts | Voltage | Amperage |
|---|---|---|
| 500 Watts | 120 Volts | 4.17 Amps |
| 600 Watts | 120 Volts | 5 Amps |
| 800 Watts | 120 Volts | 6.67 Amps |
| 1000 Watts | 120 Volts | 8.33 Amps |
Factors that Influence Amperage
Now, let's chat about what could throw a wrench in the works:
- Ice Production Capacity: Big production models tend to suck more watts out of the wall—which means your amperage might go up, too.
- Extra Goodies: Got a model with all the extras like a dispenser or fancy filters? Expect it to draw more power.
- Location, Location, Location: Got it tucked away where it gets steamy? It might chug more power to stay cool in a hot spot.
- Age of the Machine: Antique model in your kitchen? Oldies might not be the most power-friendly and could gobble more power than their sleek new counterparts.
Get these amperage needs sorted, and you're golden. Whether you're decking out your family kitchen or getting influencer-ready, you’ll be set to plug that baby in without any missteps. For extra info on setting up the tech side of your new ice buddy, check out Fridge.com's guide on what are the electrical requirements for a ice maker?.
Dedicated Circuit
Why Ice Makers Need a Dedicated Circuit
When you're hooking up an ice maker, it's a good idea to give it its very own circuit. Basically, you want this circuit to be just for the ice maker, no sharing with other gadgets. Here's why:
Power Hungry: Ice makers can be little power monsters. They need a serious amount of juice to churn out those ice cubes, especially when they're working full tilt. Plugging them into a shared circuit with other devices might overload the circuit, resulting in tripped breakers or even frying your equipment.
Steady as She Goes: Keeping the ice maker on a dedicated circuit means it gets a constant and reliable flow of power. If the power's all over the place, it might mess with the ice maker’s mojo, leading to patchy ice cube production or even breakdowns.
Playing it Safe: By sticking to a circuit just for the ice maker, you're dodging the potential fire risks from maxing out an electrical circuit. This keeps everything running smoothly and safely, so you can chill with peace of mind.
How to Install a Dedicated Circuit
Getting your ice maker plugged into a dedicated circuit is pretty doable. Here’s the lowdown on how to get it up and running:
Scout the Spot: Figure out where you want to park the ice maker, and make sure it's close to the electrical panel so you can hook it up easily.
Check the Specs: Take a look at what kind of voltage and amps your ice maker needs. Most of them will run on around 115 volts, with amperage requirements usually between 10 to 20 amps.
Get Your Gear: You'll need some wire (typically 12 or 14-gauge), a circuit breaker that fits your amperage needs, and an electrical box.
-
Breaker Time:
- Cut the main power to your panel before you do anything.
- Pop off the cover, and stick the new breaker into an open slot.
-
Lay Down the Wire:
- Snake the wire from your panel to where the ice maker is gonna live.
- Follow local codes about how to secure and hook up the wiring.
Make the Connection: Wire everything up to the new breaker and hook up the new dedicated outlet for the ice maker.
Give it a Test Run: Flip the power back on and test the setup before you plug in the ice maker to make sure everything's good.
By setting your ice maker on its own circuit, you’ll dodge electrical hiccups and keep your ice flowing. If you’re unsure or want extra safety tips, it might be smart to call in an electrician. Curious about more electrical guidance for kitchen gadgets? Check out Fridge.com's piece on what are the electrical requirements for an ice maker?.
GFCI Protection
Importance of GFCI Protection
So, you got an ice maker and wonder what's up with all the talk about GFCI protection? Well, Ground Fault Circuit Interrupters (or GFCIs if you want to sound fancy) are crucial for keeping you shock-free and smiling while whipping up cold drinks in the kitchen or utility room. These nifty outlets cut the juice when they detect electrical hiccups, stopping hazards in their tracks, especially in damp spots where ice makers love to hang out.
If you're the kind who spends lots of quality time with ice makers—whether in a bustling family kitchen, a cozy home setup, or even as a chef or self-proclaimed foodie—knowing you've got GFCI protection means your appliances are safe and your peace of mind intact.
Installing GFCI for Ice Makers
Ready to get your ice maker on the safe side with GFCI installation? You can certainly call in the pros, but if you’re handy with a tool or two, why not give it a whirl yourself? Just follow these steps:
Kill the Power: First thing’s first—shut down the power at the circuit breaker. No shocks for you today!
Pick Your Spot: Find the perfect spot close to your ice maker where you can easily reach the outlet.
Put in the GFCI Outlet:
- Take out the old outlet if that’s what you’re doing.
- Connect the wires as per the diagram in the box:
- Line Wires: Link up the power-supplying wires with the "line" slots.
- Load Wires: For sending power forward, hit up those "load" points.
Fix it in Place: With the wiring all sorted, nestle the outlet back in its snug wall box and pop on a faceplate.
Test the Juice: Flip the breaker back on and give the GFCI a test ride. Hit that "reset" button and make sure power’s flowing like it should.
Stick to the Rules: Always follow local safety guidelines and electrical codes. If you get stuck or jittery, having an electrician save the day is a solid plan.
Wrapping your kitchen gadgets in GFCI protection isn't just smart—it’s keeping things safe. Especially when water decides to mingle with electricity, you want everything wired safe and sound. If you’re looking to keep that ice maker running smoothly, why not check out tips in our organize fridge FIFO method and some other cool reads?
Professional Installation
Why Professional Installation is Recommended
Hooking up your ice maker might sound like a weekend DIY project, but trusting a pro is usually the better call. You want your ice cubes chillin' without any hiccups, right? Those folks know the ins and outs of your ice maker’s electrical needs, like making sure the voltage and amperage are on point and hooking it up safely.
Plus, pros are up to speed on all the local codes and safety rules. They'll make sure everything's on the up and up, so you don't have to stress about any code cracks. And let's be honest, no one needs an electrical oopsie when there's a lively bunch of kiddos or pets scampering around.
Benefits of Professional Installation
Why let a pro handle your ice maker setup? Here's the scoop:
| Thing You Gain | What It Does For You |
|---|---|
| Savvy Know-How | They're like wizards with wires, taming tricky electric stuff. |
| Time Back in Your Day | They get it done fast, so you can sit back and relax. |
| Warranty Grace | Some companies want experts to install to keep those warranties intact. |
| Zero Risks | Cuts down on electric drama and sticks to the town's do's and don'ts. |
| Fix Its | If something goes wrong later, they’ve got the know-how to iron it out. |
Go with the pros and you'll dodge those headaches from a botched job. You get to enjoy making ice for your lemonade rather than wrestling with manuals and wires. Want to dive deeper? Check out more details on the electrical scoops for an ice maker.