Freezing Fresh Strawberry Jam
Picture this: even when strawberries aren't in season, you can still spread that delightful taste on your morning toast, all thanks to freezing your fresh strawberry jam. It's a simple yet fantastic way to keep that sweet strawberry flavor alive all year round.
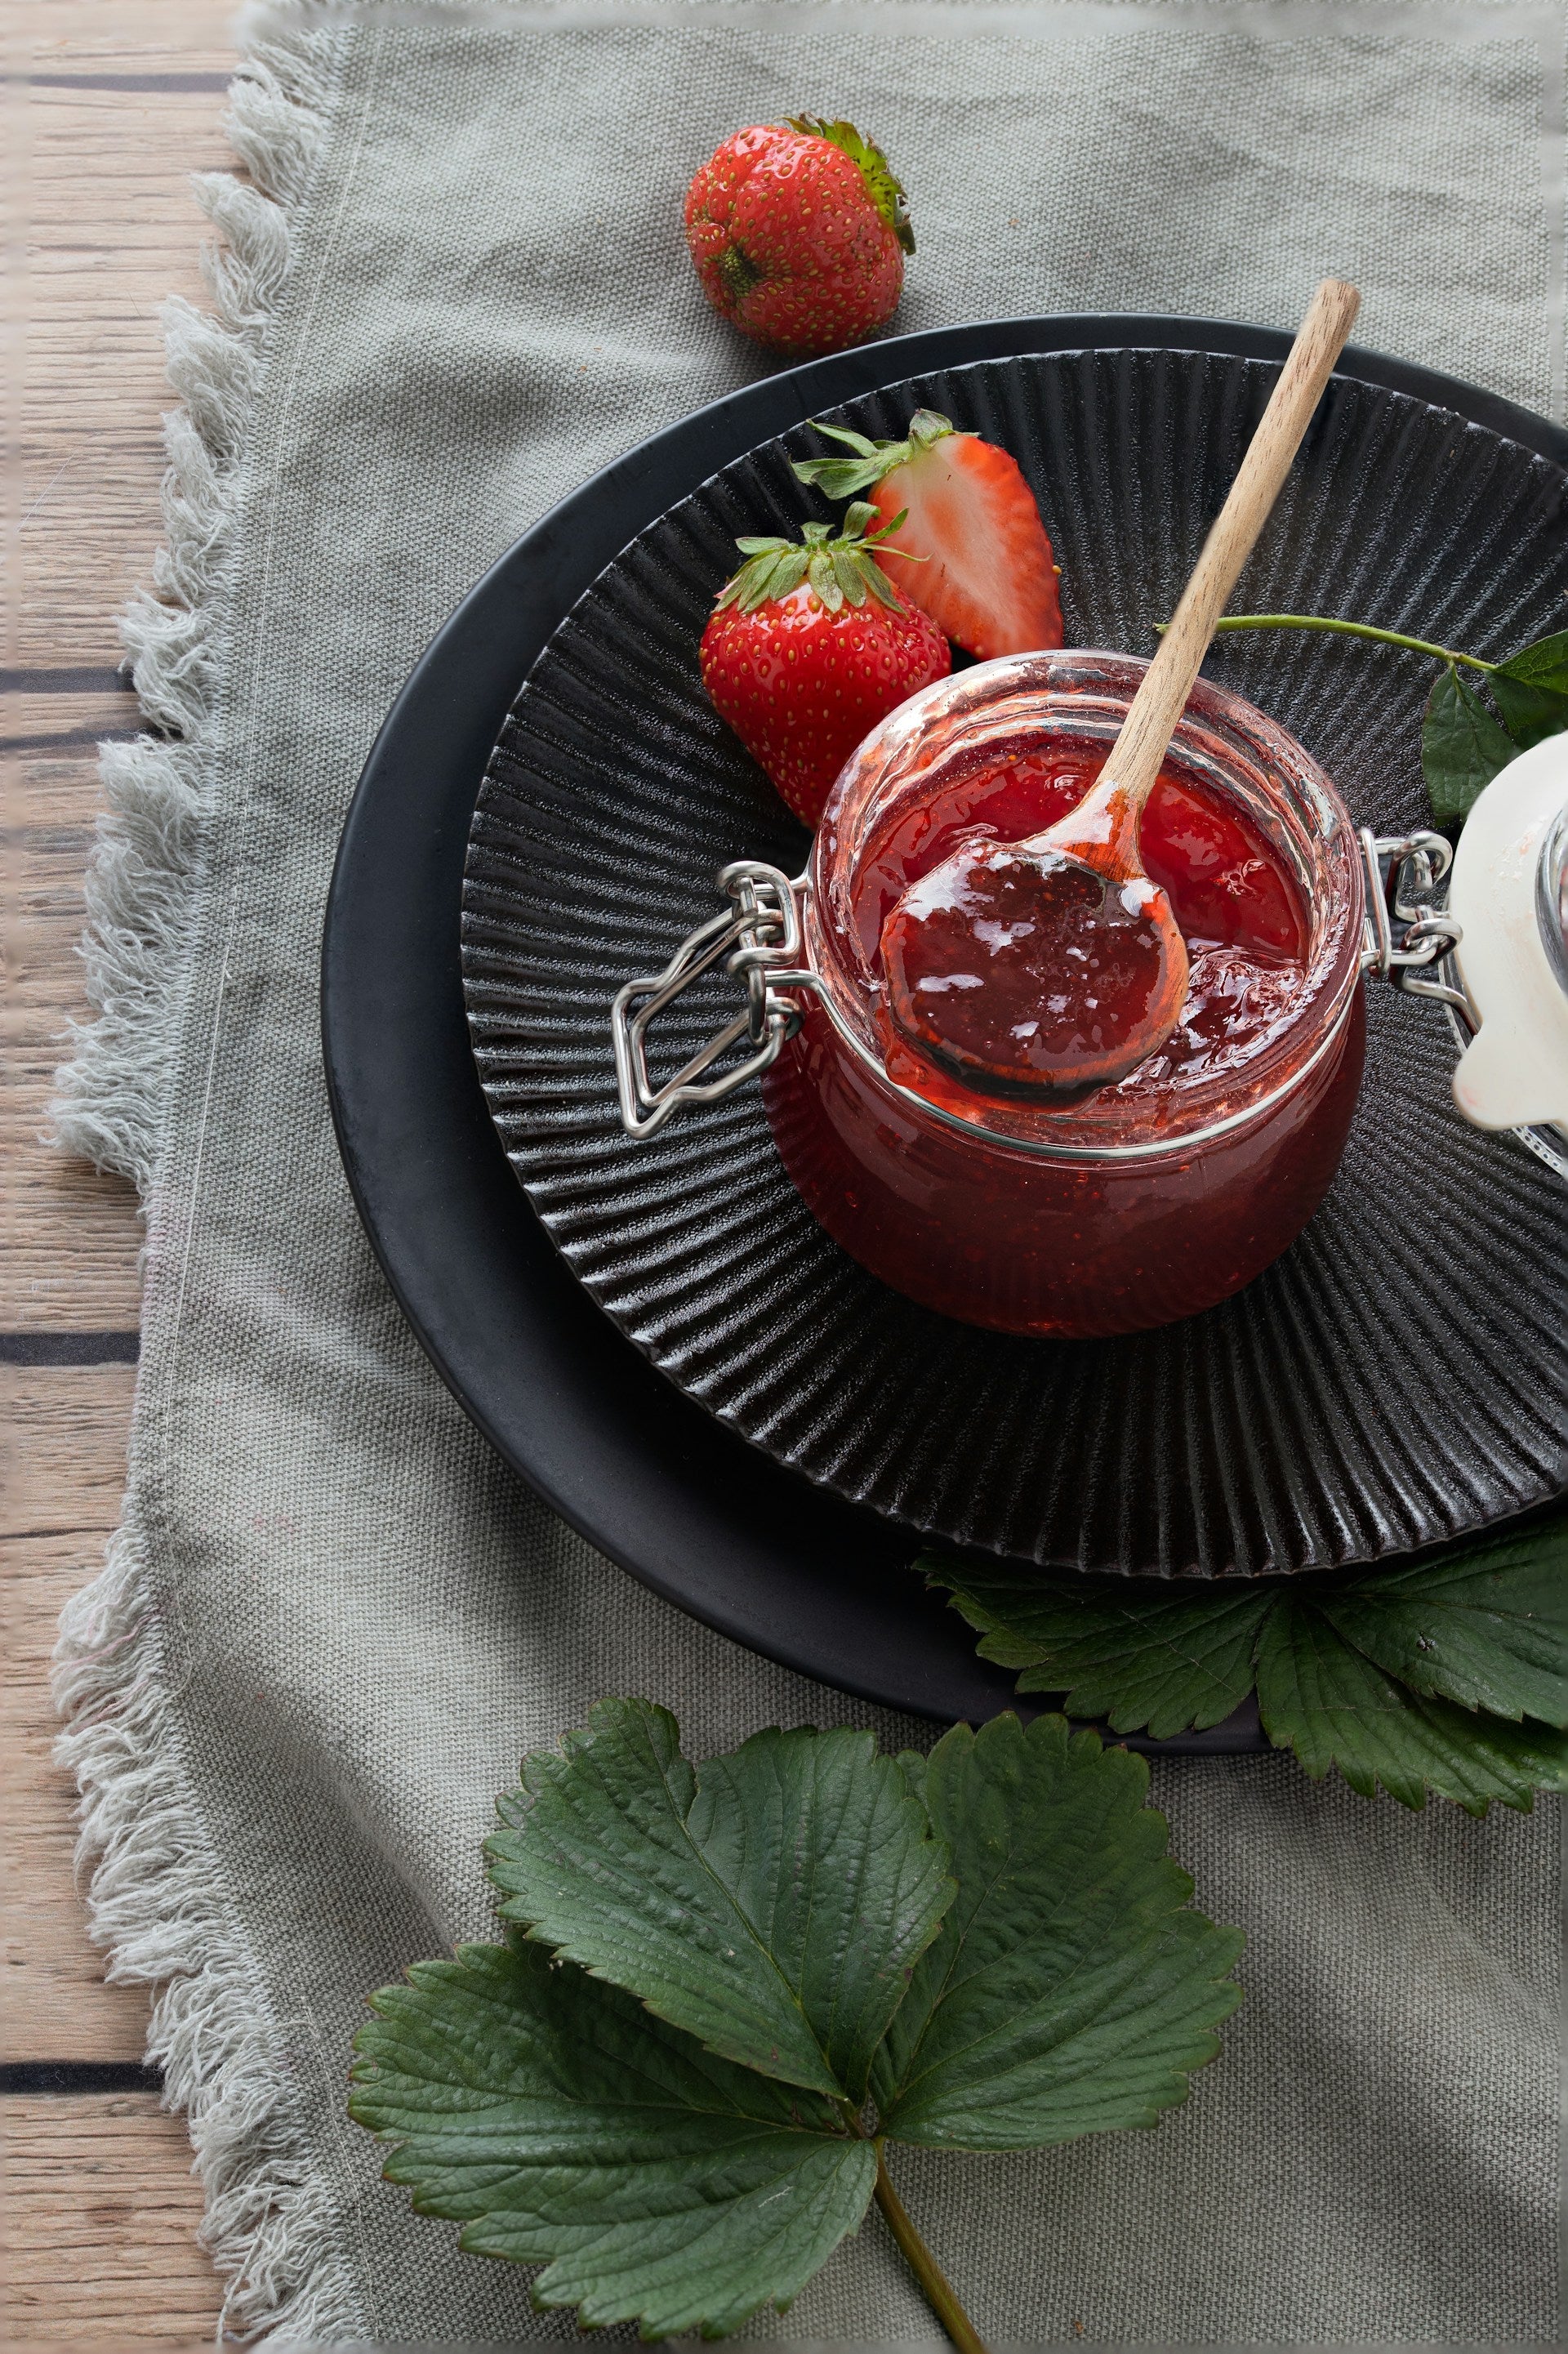
Making and Preparing the Strawberry Jam
Kick off your jam-making adventure by finding some fresh, ripe strawberries. You're gonna need about 2 pounds for this gig. First, give those berries a good wash and lose the stems. Then, toss 'em in a bowl and start mashing. Mix in around 2 cups of sugar and give them a good splash of lemon juice, about a quarter cup.
Now, it's cooking time! Throw your mashed-up mix in a pot and put it on the stove at medium heat. Stir like you're in charge until it starts to bubble, then let it boil for about 10 minutes. Want to see if it's ready? Use the ol' plate trick—pop a spoonful of jam on a cold plate, wait a minute, then swipe your finger through. If it doesn't flood back together, it’s good to go.
Once you’re done cooking, let your jam cool its jets before you move on.
Benefits of Freezing Strawberry Jam
Here's why freezing your jam is a total game-changer:
- Keeps It Tasty: Freezing keeps your jam in prime condition for up to a year, so you can enjoy that fresh-picked flavor long after strawberry season's over.
- Flavor Punch: When you freeze it, you're holding onto all the fruity goodness and nutrients. It's like berries in hibernation.
- Small Batches? No Problem: You can store your jam in smaller containers. Just take out what you need when you need it, so there's no rushing through a big jar.
- Skip the Chemicals: No need to bring in any preservatives. Just stock it up in the freezer—the natural way.
| Benefit | What's Cool About It |
|---|---|
| Keeps It Tasty | Good for up to a year in the freezer |
| Flavor Punch | Keeps that fresh taste and nutrients intact |
| Small Batches? No Problem | Portion it out for easy thawing |
| Skip the Chemicals | Store naturally, no artificial stuff required |
Keep these points in mind and make the most out of your berry haul. If you're curious, check out more of our tips, like making your grape jelly last in the fridge or finding out if apricot preserves play nicely with the freezer. They'll totally up your jam game!
Proper Storage Techniques
You want your scrumptious strawberry jam to taste fresh out of the freezer every time. That means using the right storage approach so your jam stays tip-top. Let's dive into perfect container choices and safe handling tips to keep that jam as tasty as Grandma hoped it would be.
Choosing the Right Containers
Picking the right container isn't just for fussies--it actually helps the jam keep its flavor and texture when it chills. Here’s the lowdown:
| Container Type | Description | Best For |
|---|---|---|
| Glass Jars | Airtight and reusable. Keeps flavors locked in real nice! | Small batches of jam |
| Plastic Containers | Light as a feather & less likely to shatter. Best for those family-sized helpings | Family-sized portions |
| Freezer Bags | Flexy and space-savvy. Your freezer will thank you! | Multipurpose meals with a jam flair |
Glass jars need a bit of extra care; give your jam some elbow room, about 1/2 inch, for when it expands as it freezes. Don’t play the guessing game later—label everything with what's in there and the date you packed it.
Safe Handling and Packaging
Dodging freezer burn and keeping flavor is easier if you handle and pack everything right. Here's how to ace it:
- Cleanliness: Messy hands-off! Use clean tools and containers to keep nasties away. Give jars and lids a good wash or toss them in the dishwasher.
- Sealing: Lock it down! Containers should be sealed so tight even Houdini wouldn't escape. With jars, twist those lids good. Give freezer bags a squeeze to kick out the extra air before sealing.
- Cooling: Let jam cool to room temperature before it goes into the freeze. Warm stuff can make condensation inside the container, and that can harsh your jam's vibe.
- Portioning: Keep it easy and freeze in smaller bits so you can thaw just what you're planning to spread.
Stick to these handling and packing habits, and you'll be spreading that delicious strawberry jam on toast for months. If you’re hunting for ways to enjoy it even more, pop over to our guide on how to keep grape jelly fresh in the fridge.
Freezing Process
You’ve whipped up a batch of your delicious strawberry jam, and now you want to make sure it stays fresh and tasty. Before it goes into deep freeze, let’s talk about a couple of things: cooling it down and making sure you've labeled and sorted out your freezer space.
Cooling Before Freezing
So, before you chuck that jam into the freezer, it's gotta chill out at room temp. It's like letting your jam take a breather—helps keep nasty freezer burn away and keeps it tasting like a summer day. If you’re curious about why your food needs this time-off, swing by our article on cooling food before freezing.
| Cool Down Time | Temp of the Jam (°F) |
|---|---|
| 1 hour | 70 - 80 |
| 2 hours | 60 - 70 |
| 3 hours | 50 - 60 |
Give it a swirl now and then while it’s cooling down to make sure the heat’s all sorted out. Once it’s at room temp, you’re golden to package it up for the freezer.
Labeling and Organizing the Freezer
Sorting and labeling stuff in your freezer ain’t just for neat freaks—it actually makes life easier when you're hunting for your strawberry jam stash in the middle of a dessert crisis. When you pack your jam, slap on a label with something like “Strawberry Jam,” the date you made it, and any fun notes like "Smoothies treasure" or "Gobble up by [date]."
Here’s a labeling cheat sheet:
| What You're Using | What to Write |
|---|---|
| Glass jar | Strawberry Jam - Made 09/15/2023 |
| Plastic container | Strawberry Jam - Smoothies Fun - Gobble by 12/15/2023 |
Keep things neat by stacking similar goodies together. Maybe dedicate a spot just for jams or sweet treats. It can save you some head-scratching when you’re digging through for a treat for family shindigs or a quick sweet fix. Need more organizing hacks? Check out how to make your fridge and freezer energy smart.
By letting your jam cool off and keeping that freezer shipshape, you’re all set for savoring your strawberry delight when the craving hits.
Thawing and Using Frozen Strawberry Jam
After you’ve tucked your strawberry jam safely into the freezer, it’s time to think about savoring its fresh taste. Here's how to melt that fruity goodness back to the perfect flavor and serve it up like a pro.
Thawing Methods
Defrosting your frozen strawberry jam is easier than baking a pie. Check out these fuss-free methods:
| Method | How To Do It | Time Needed |
|---|---|---|
| Chill Out | Pop the jam from the freezer to the fridge. | 6-8 hours |
| Warm Splash | Dunk the sealed jar in a bowl of warm tap water. | 30 minutes |
| Zappy Heat | Use low power on your microwave for a gentle warm-up. | 1-2 minutes |
The refrigerator is the go-to option for a no-fuss thaw, keeping that taste and texture just right. In a jam for time? Warm water to the rescue!
Best Practices for Enjoying Frozen Strawberry Jam
Maximize the flavor of your defrosted jam with a few simple steps:
- Give it a Whirl: Stir the jam after thawing to bring back that perfect smoothness.
- Serve it Quick: Dig in soon after thawing for the best taste. Don't let it hang out too long.
- Tasty Pairings: Top your pancakes, waffles, or toast with jam magic. It also jazzes up yogurt or makes a yummy pastry filling.
- Leftover Love: Got extra? Keep it in the fridge, snugly sealed, for up to two weeks.
Enjoy every spoonful of your strawberry jam with these tips, and grab more tasty hacks for storing jams and jellies on our site. Check out how to keep blackberry sauce fresh in the fridge if you’re curious!