Kegerator Buying Guide
Introduction to Kegerators
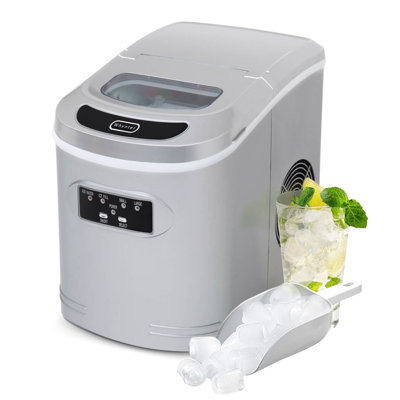
What is a Kegerator?
Alright, folks! Let me break it down for you. A kegerator is basically your at-home draft beer buddy. It’s like a fridge but cooler (pun totally intended) because it’s got a tap system fitted to pour out fresh draft beer straight from a keg. Forget about messing with bottles and cans; this bad boy keeps your beer icy and ready to go. It’s like having a slice of the pub experience without stepping outside your front door. Your next BBQ or game night just found its new MVP for driving refreshments.
Benefits of Having a Kegerator at Home
So, why should you consider snagging a kegerator for your beloved kitchen or man cave? Here’s the lowdown:
| Benefit | Why You’ll Love It |
|---|---|
| Fresh Beer | Say goodbye to yesterday’s leftover, sorry-excuse-for-beer gasps. A kegerator ensures every pour is the freshest, lip-smacking sip you can imagine. |
| Cheaper Party Fuel | Bulk buy, baby! Grabbing beer by the keg saves those hard-earned dollars in the long run compared to cases of bottles or cans. More beer, less dough. Cheers to that! |
| Ready When You Are | Forget running to the store or crowded fridge situations. Your keg's always locked and loaded, ready at the pull of a tap. |
| Fridge Space Liberator | Free up space for that leftover pizza by moving beer to its new designated spot. A win-win for food and drink! |
| Party Hero | An instant conversation starter and crowd-pleaser, nothing scores you points like pouring fresh suds from your own kegerator. Get ready to host legendary shindigs. |
These perks make a kegerator practically irresistible for anyone looking to step up their home bar game. Wondering how to choose the right gear for your pad? Take a peek at our fridge buying guide to make your setup dreams a reality!
Considerations Before Buying
Thinking about getting a kegerator? There’s a few things to keep in mind, like where to put it, what you'll be serving, and making sure your drinks stay perfectly chill.
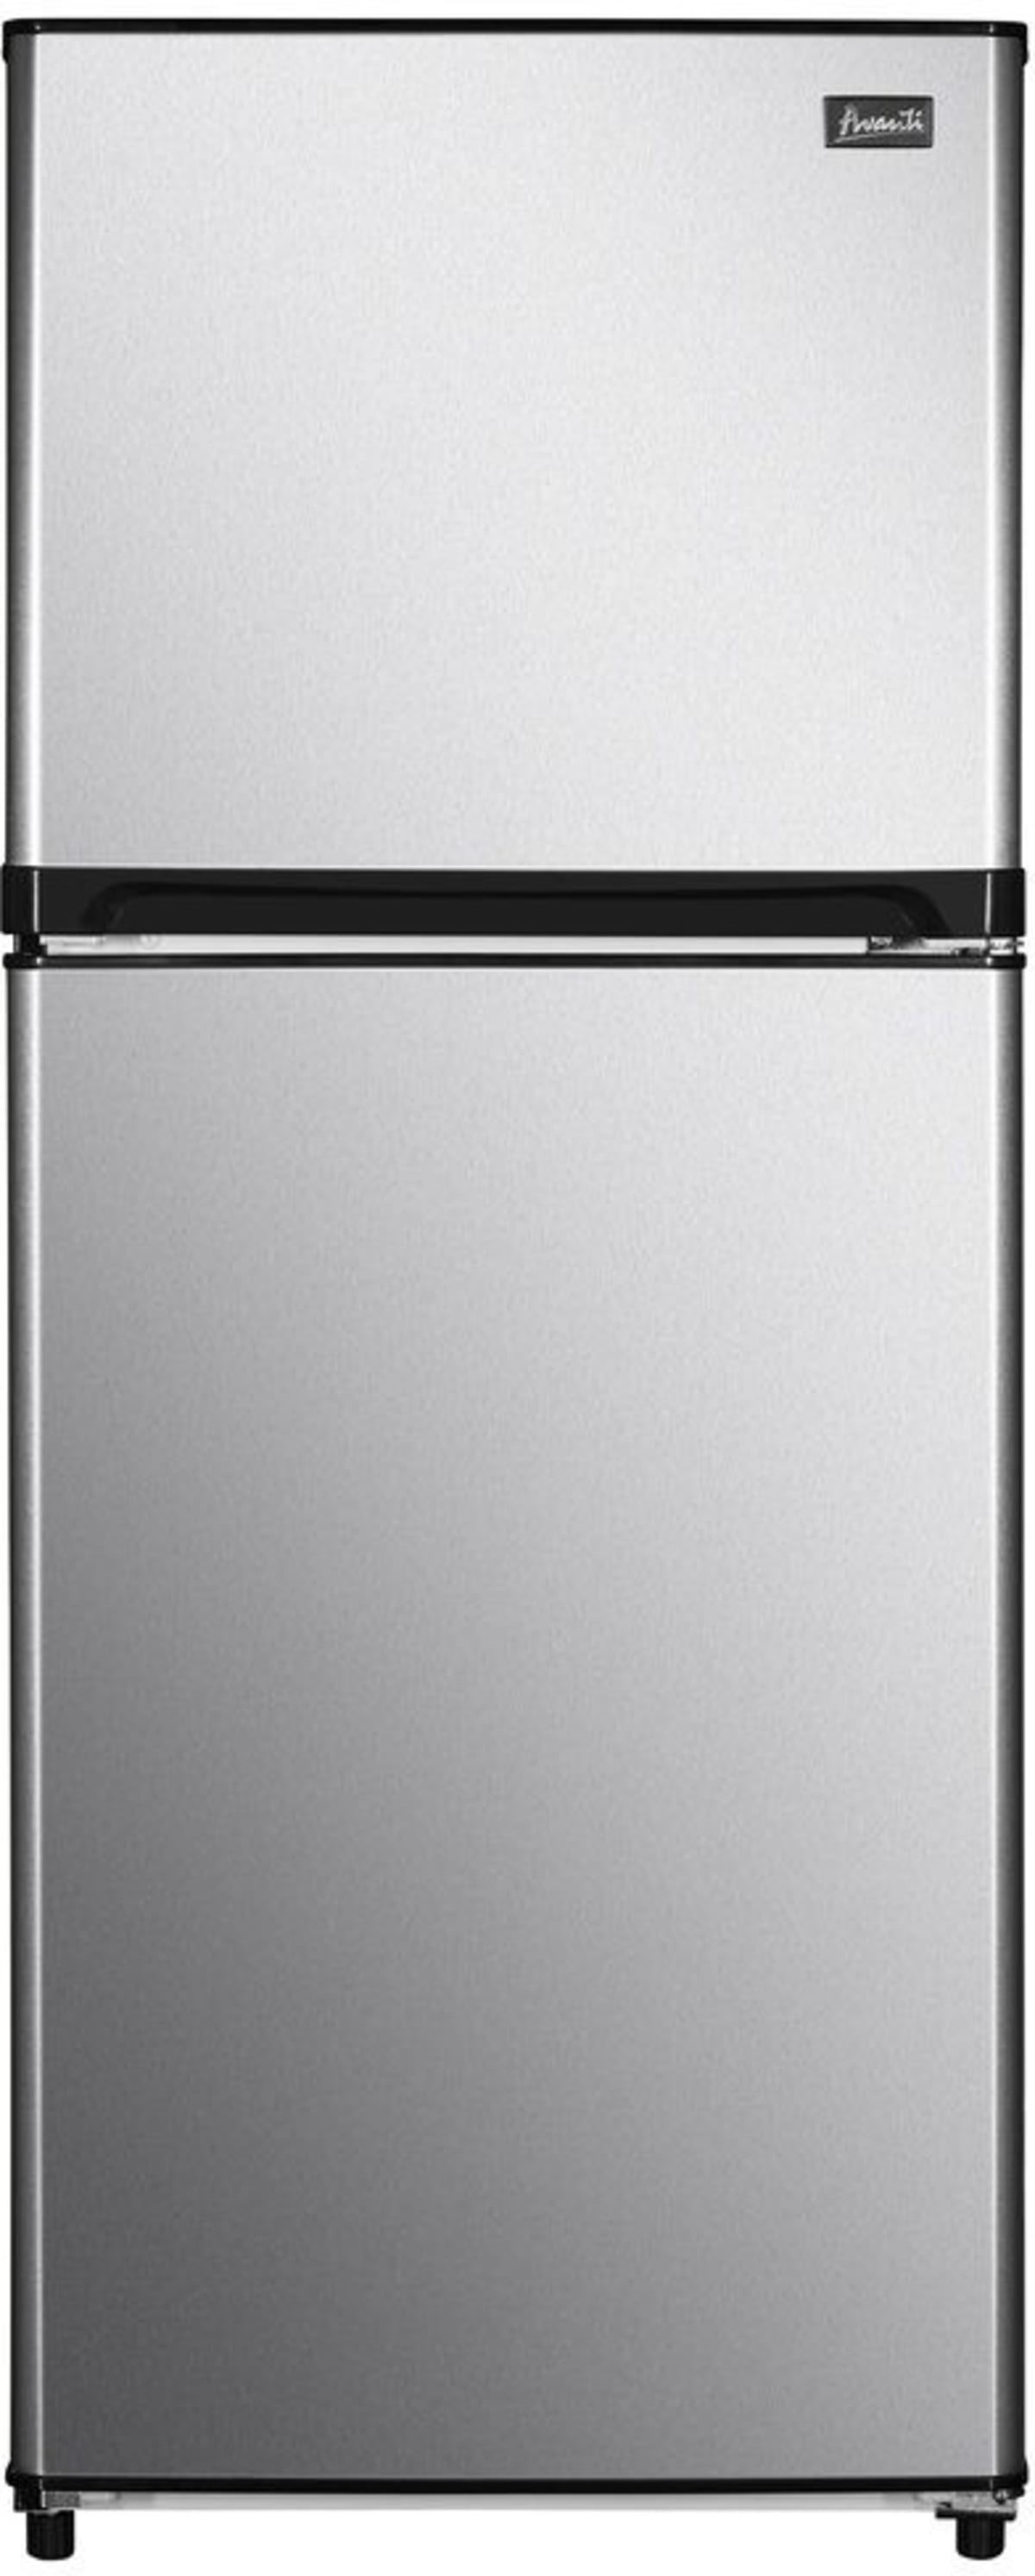
Space and Size Requirements
First up, where’s it going to live? Gotta figure out if your kegerator will fit in the spot you’ve got planned. Grab a tape measure and note down the sizes in your room. Kegerators aren’t one-size-fits-all, and here's a simple chart to help:
| Kegerator Type | Height (inches) | Width (inches) | Depth (inches) |
|---|---|---|---|
| Full-Size Kegerator | 34 - 36 | 24 - 24.25 | 24 - 30 |
| Mini Kegerator | 16 - 21 | 10 - 15 | 10 - 15 |
| Built-in Kegerator | 34 - 36 | 24 - 30 | 24 - 30 |
Keep some breathing room around it for ventilation. This baby needs some space to do its thing right.
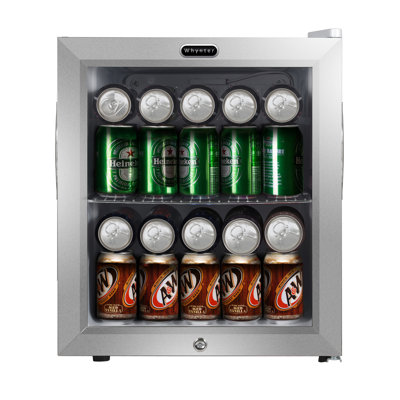
Types of Beverages to Dispense
Next, let’s talk drinks. What’s on tap for you? Kegerators aren’t just for beer; they’re versatile little machines. Here’s what you can serve:
- Beer: The go-to for kegerators. CO2’s your friend here.
- Cider: Close kin to beer in dispensing needs.
- Kombucha: Needs a special setup, so check if it’s compatible.
- Wine: You might need some extra gear to make it flow smoothly.
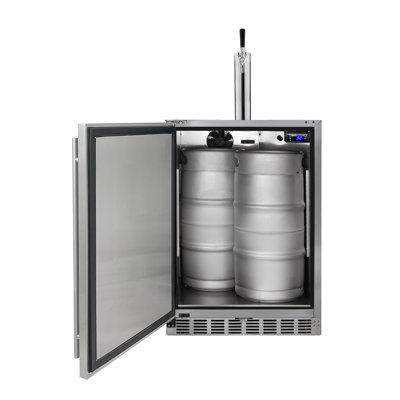
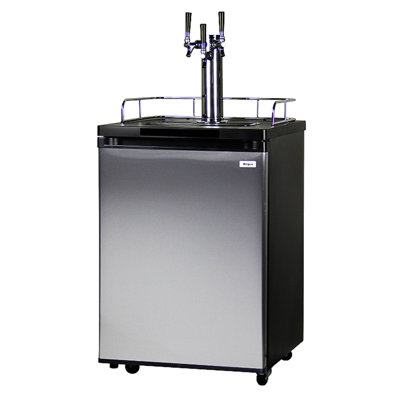
Knowing what drinks make your heart sing helps in picking the right setup. For the drink adventurer, some models let you pop in dual kegs for different types at once. Double the fun!
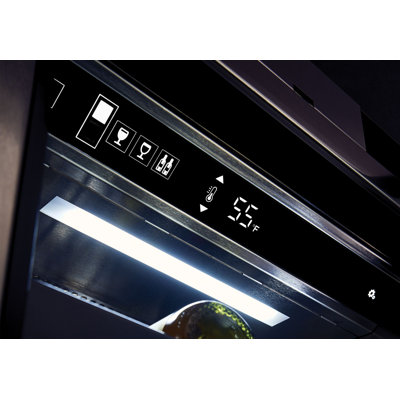
Temperature Control and Regulation
And of course, we can’t forget about keeping your brews cool. Setting and holding the perfect temp is key. Kegerators usually let you adjust from a frosty 32°F to a cool 50°F. Here’s a quick look at what works best:
| Beverage Type | Optimal Temperature (°F) |
|---|---|
| Beer | 38 - 45 |
| Cider | 36 - 42 |
| Kombucha | 35 - 47 |
| Wine | 45 - 65 |
Getting that sweet spot in temperature isn’t just about taste; it keeps your drinks fresher longer, too.
By weighing these factors, you can snag the perfect kegerator that fits your space, suits your drink style, and keeps every sip at just the right chill. Cheers to picking the right one for you!
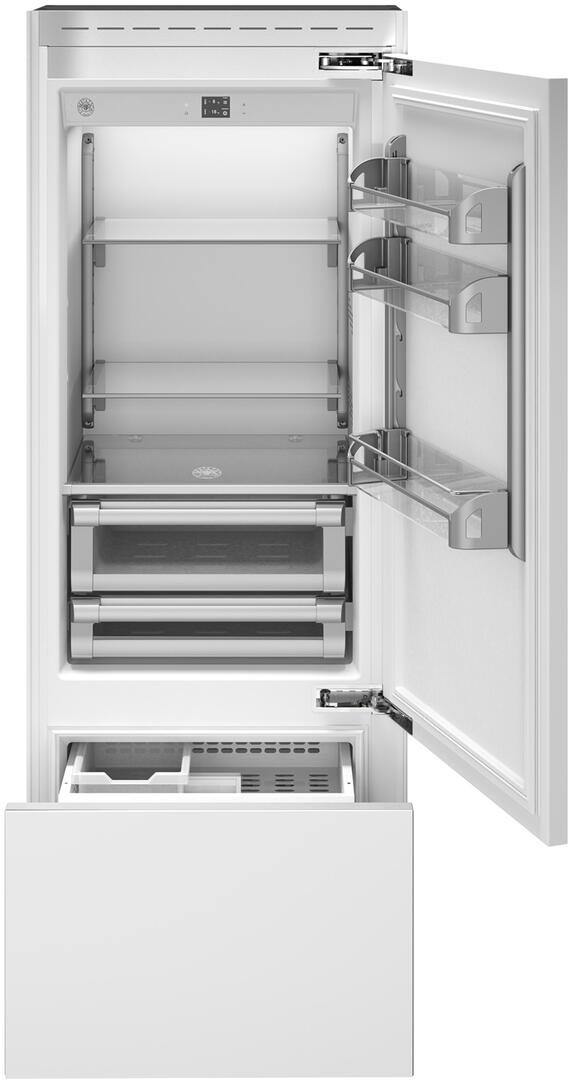
Understanding Kegerator Components
When I'm eyeing a kegerator, I need to really get the scoop on what makes this gadget tick. The stuff that keeps things cool, pours drinks like a boss, and extra bells and whistles all play a part in how this thing works and how fun my shindigs get.
Cooling System
This is where the magic happens to keep my drinks chill. Most kegerators work like regular fridges, using a compressor to circulate that magic cool juice. Here’s a quick rundown:
| Cooling Style | How It Works | Temperature Range (°F) |
|---|---|---|
| Compressor | Fridge-like | 32°F - 55°F |
| Thermoelectric | Uses nifty semiconductors | 50°F - 65°F |
The compressor keeps drinks super cold and ready in a flash, while thermoelectric is quieter and sips less electricity, great for cozy nooks. I’ll wanna pick based on how I party.
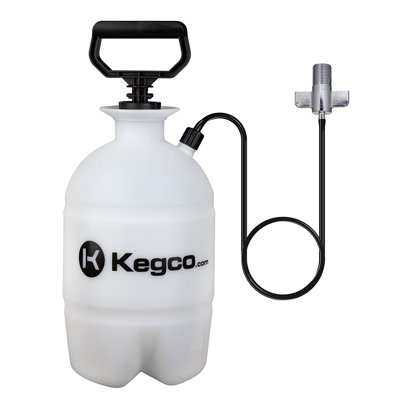
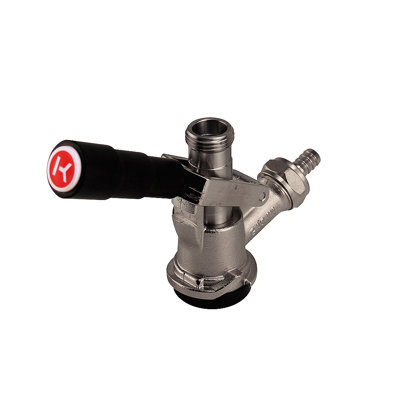
Dispensing System
This is the business end of the kegerator. It’s what lets me pour my favorite brew with flair. It’s made up of a tap, a beer line, and a coupler. Here’s how it all shakes out:
- Tap: The spot where the magic pours out.
- Beer Line: The little highway bringing beer from the keg to the tap, ideally kept cozy to stop the sweat.
- Coupler: Hooks up the keg and lets the gas shove the beer through.
| Part of System | What It Does |
|---|---|
| Tap | Decides how fast the beer flows |
| Beer Line | Moves cold beer around |
| Coupler | Keeps beer pressure just right |
A kegerator with added pressure controls spares me from accidentally creating foam art, which is a plus in my book.
Extra Stuff to Keep in Mind
Besides the cooling and pouring bits, there are extras that can sweeten the deal for me:
- Temperature Control: Fancy digital thermostats help me get the cold just right.
- Keg Fit: Being able to slot in different keg sizes means I'm set for any gathering.
- LED Lighting: Gives it a cool look and helps me see what's left.
- Wheels: If I'm the roaming party type, being able to roll my kegerator around makes life easier.
Learning this stuff means I'm set to make smart choices about my kegerator. Digging into this info levels up my hangouts with pals, guaranteeing cold, refreshing drinks for everybody.
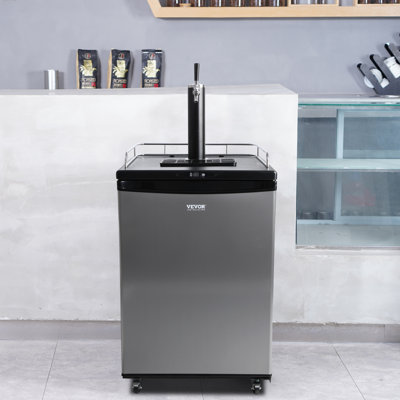
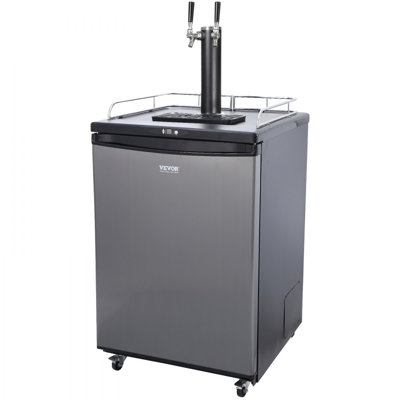
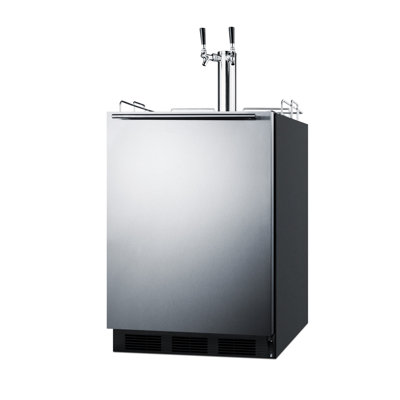
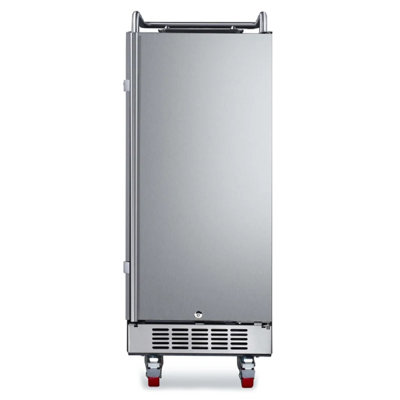
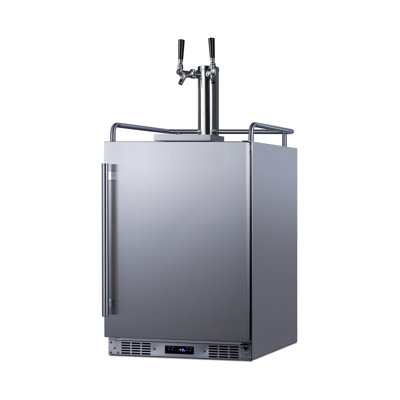
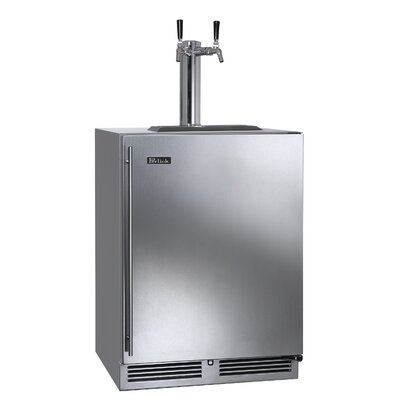
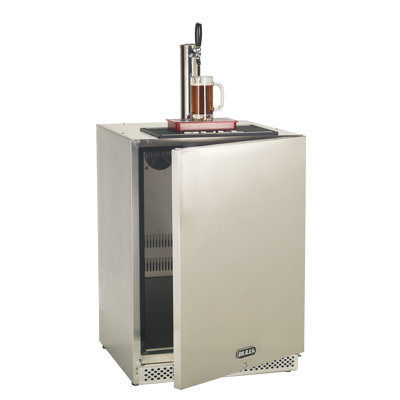
Types of Kegerators
Let's talk kegerators! Picking the right one can make or break my draft beverage extravaganza. I'm sharing the lowdown on three kegerator types that fit different vibes and spaces.
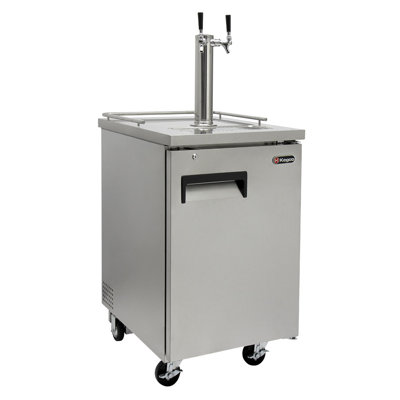
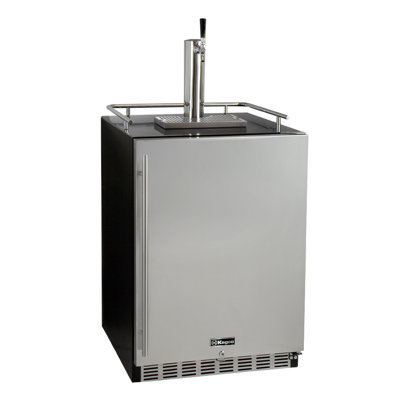
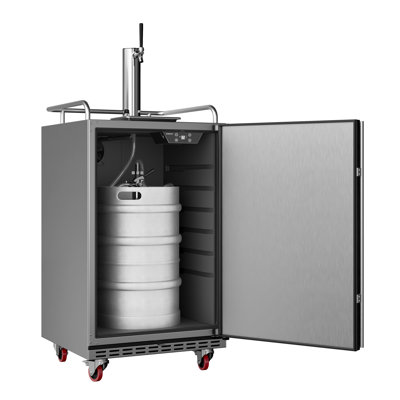
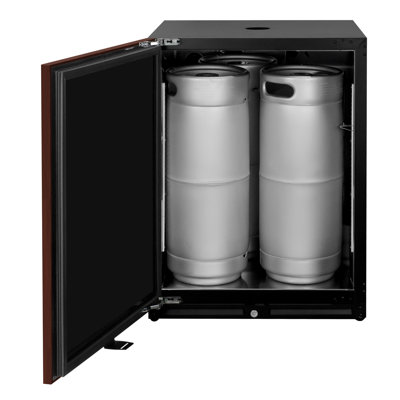
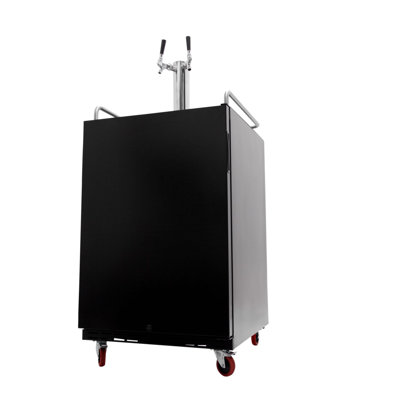
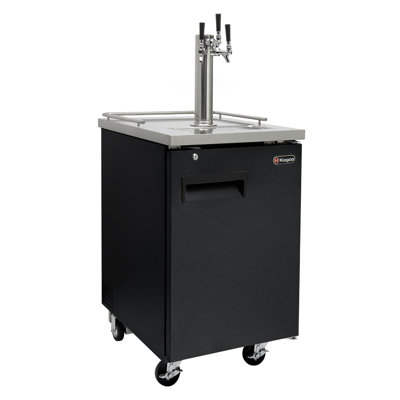
Full-Size Kegerators
If throwing big shindigs or having space is my thing, then a full-size kegerator is my sidekick. Those bad boys can store a full-blown keg and are just the right fit for a big bash.
| Feature | Description |
|---|---|
| Capacity | Holds a full-sized keg (15.5 gallons) |
| Dimensions | Roughly 24" wide, 24" deep, 60" high |
| Weight | Around 100 lbs |
These kegerators come with top-notch cooling tech, making sure each pour is as chill as I like ’em. Some even add a fancy draft tower for a bit of flair.
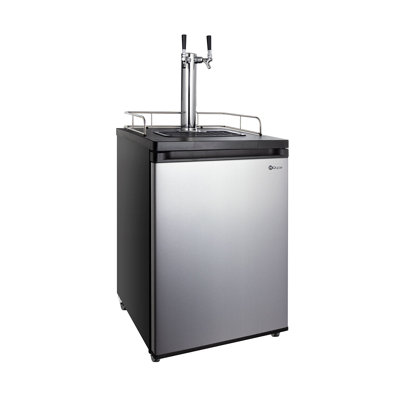
Mini Kegerators
When I need to keep it small and cozy, mini kegerators are right up my alley. They’re like the little brother of the full-size version, perfect for tables and countertops.
| Feature | Description |
|---|---|
| Capacity | Accommodates mini kegs (5 liters or about 1.32 gallons) |
| Dimensions | Typically 14" wide by 14" deep and 20" tall |
| Weight | A light 30 lbs, easy to move around |
These are my go-to for trying out craft brews or something special. Their size means they’re easy to stash away till the next happy hour.
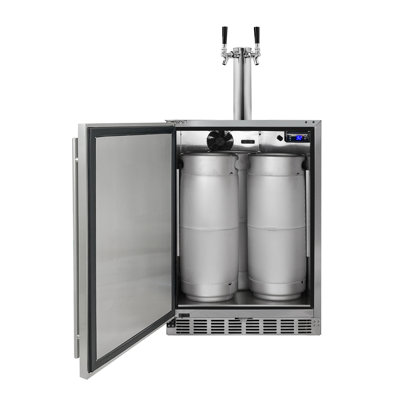
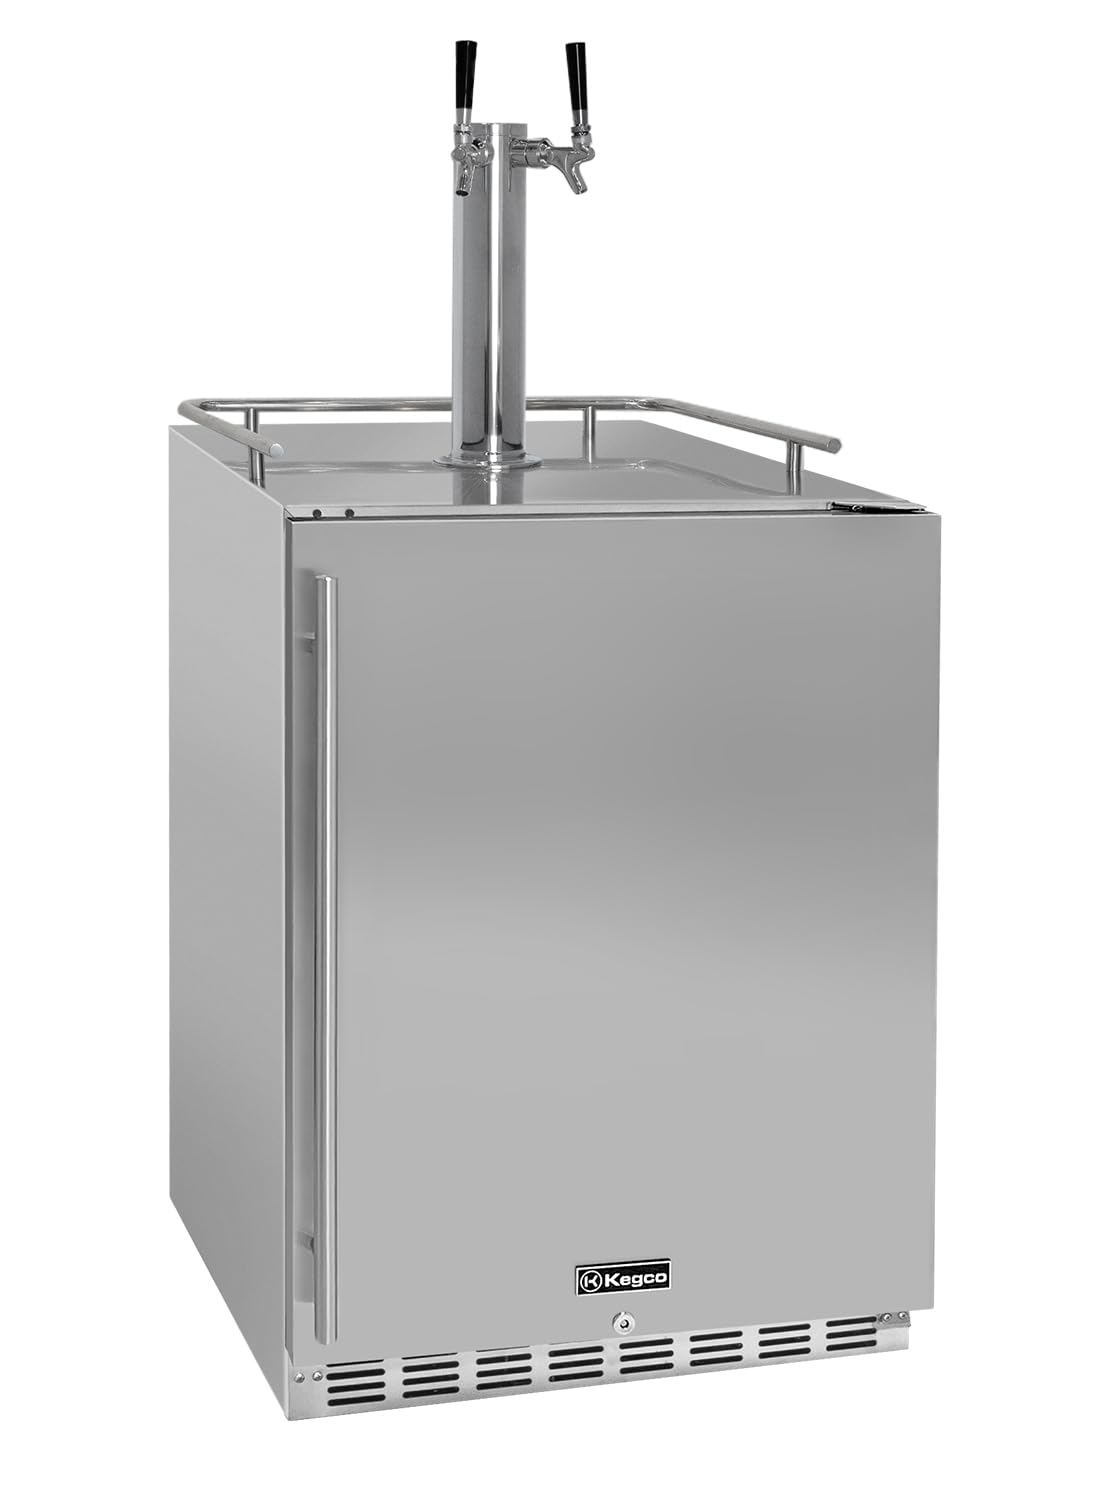
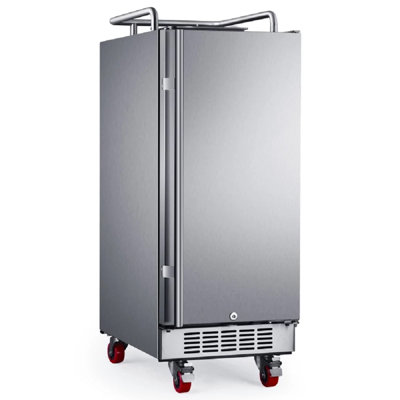
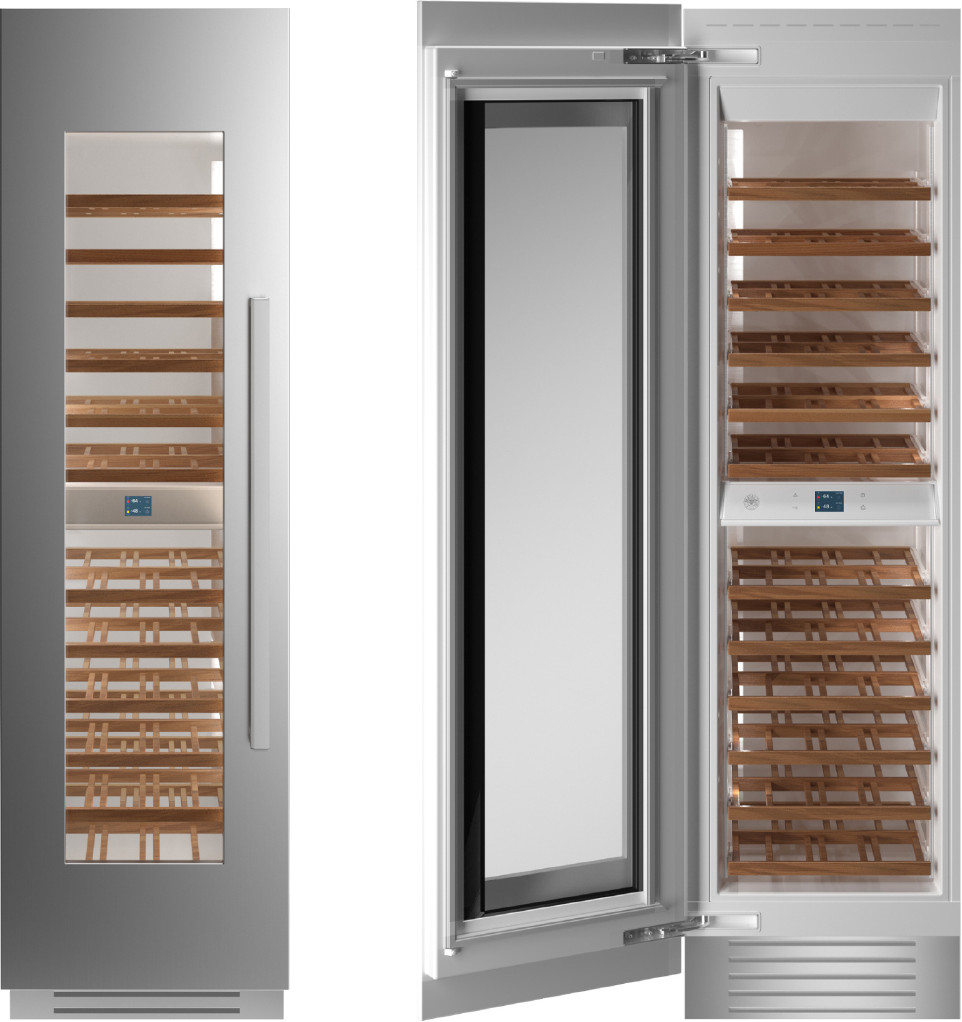
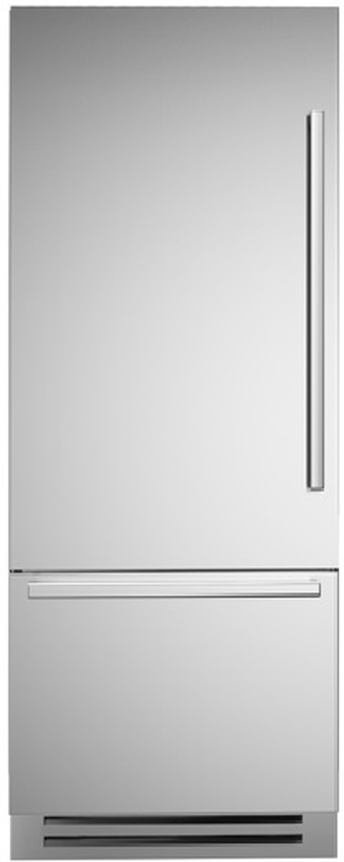
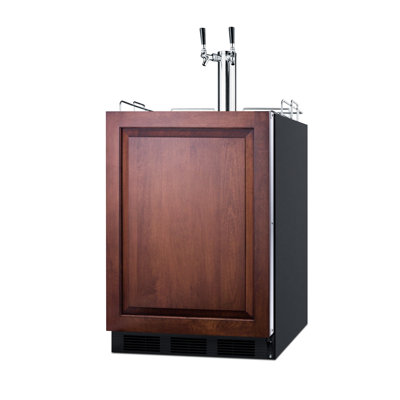
Built-in Kegerators
Need a sleek bar setup? Built-in kegerators blend right into the kitchen or bar area, looking all classy and cool. They can handle full-size kegs too.
| Feature | Description |
|---|---|
| Capacity | Fits a full-size keg (15.5 gallons) |
| Dimensions | Must slot into standard cabinetry (around 24" wide) |
| Customization | Can match with my kitchen’s style swagger |
Designed for easy access without taking up more space, these kegerators keep my beer-cave dreams alive. Plus, I can lay hands on tips for perfect draft beer storage to get the most out of it.
Each kegerator type has its perks. By thinking about what I want and the space I've got, I’ll nail down the kegerator that's just right for my house and hosting antics.
For expert tips and tricks on optimizing my kegerator experience, check out the kegerator buying guide.
Setting Up Your Kegerator
Getting your kegerator up and running not only makes you the superstar of beer tastings at home, but it cranks up the fun at any hosting gig. Lemme walk you through how I handled setting one up, keeping it shipshape, and tweaking it when things went a bit sideways.
Installation Process
Putting together a kegerator isn't rocket science if you know the ropes. Here's my DIY on getting yours ready to roll:
-
Pick the Spot: I scout out a solid spot on a flat surface, close enough to a plug. No sunbathing for my kegerator—it likes to chill out inside, thanks.
-
Hook Up the CO2 Tank: If CO2’s in the picture, I attach the tank to the keg gently. A soap and water mixon helps me sniff out leaks like a pro.
-
Fit in the Kegs: I haul the keg inside, making sure the tap's ready to relieve great brew.
-
Set Chill Mode: I get the temp between 34°F and 38°F. Keeps my beer frosty and refreshing.
-
Power It Up: Finally, crank the power. I usually chill 24 hours before pouring that first golden glass.
| Step | Description |
|---|---|
| Pick the Spot | Find a stable, shady spot. |
| Hook Up the CO2 Tank | Attach and spot-check for leaks. |
| Fit in the Kegs | Get the keg settled in the kegerator. |
| Set Chill Mode | Dial in between 34°F and 38°F. |
| Power It Up | Wait for 24 hours before first serve. |
Maintenance and Cleaning Tips
Keeping my kegerator purring like a kitten involves some regular TLC. Here’s what I do:
-
Weekly Rinse: I give the faucet and beer lines a weekly rinse to dodge that gritty buildup.
-
Monthly Checkup: I peek at the CO2 pressure, aiming for the sweet spot of 8 to 12 psi.
-
Occasional Overhaul: Every 2 or 3 months, I go all in with cleaning. Swap out those old beer lines and make fresh ones squeaky clean.
-
Simple Filter Swaps: If there’s a water filter, I swap it as the manual tells me, keeping my ice tasting pure.
These little chores keep my beer fresh and the kegerator lasting a long while.
Troubleshooting Common Issues
Even with gold-standard equipment, problems still pop up. Here’s my go-to fixes for the usual hiccups:
| Problem | Solution |
|---|---|
| Warm Beer | Double-check thermostat and door seals. |
| Foamy Beer | Consider temperature tweaks and CO2 adjustments. Clean up those taps and lines. |
| CO2 Standoff | Make sure the CO2 tank is full and connections are snug. |
| Cramped Keg | Double-check size and fit for your kegerator. |
Keep your kegerator instruction book handy for when things get wonky, or peek at some articles like drink fridge or beer cooler buying guide for more helpful hints. This way, you're always set for pouring that perfect pint for everyone’s taste buds.
Enhancing Your Kegerator Experience
If you've got a kegerator at home, you know it’s all about the extras, the stash, and the social flair. Here’s how I make sure my kegerator is the life of the party.
Kegerator Accessories
To really amp up my kegerator settings, these are my must-haves:
| Accessory | Purpose |
|---|---|
| CO2 Tank | Keeps the fizz right and tight. |
| Tap Handles | Makes pouring a breeze and adds a sprinkle of style. |
| Cleaning Kit | A must to keep the beer taste crisp and fresh. |
| Gauges | Keeps an eye on the pressure, so it’s always just right. |
| Glasses | Because drinking beer in style is half the fun. |
These goodies don’t just work wonders–they also make my place look more welcoming.
Tips for Proper Draft Beer Storage
Getting draft beer storage right is key to knocking it out of the park flavor-wise. Here’s what I keep in mind:
- Temperature Control: 34°F to 38°F is the sweet spot for beer bliss.
- Avoid Light: Light can mess with beer, so I tuck my kegerator away from the sun.
- Monitor Freshness: Checking those keg dates is a habit. Once tapped, the countdown begins – 30-60 days tops.
- Clean Lines Regularly: Every two weeks, those lines get a scrub.
Following these steps keeps every sip as good as the first one.
Hosting Tips for Using Your Kegerator
Bringing out the kegerator means party time! Here’s how I roll when friends come over:
- Variety of Beverages: Different strokes for different folks. I make sure there’s a beer for every taste.
- Set Up a Tasting Station: I've got cards with the lowdown on each brew–flavors and fun facts.
- Chill Glasses: Cold drinks, happy guests–so I chill those glasses before the party begins.
- Plan for Cleanup: Bins for empties are a godsend when the fun winds down.
These tricks keep my shindigs hopping and my guests coming back for more.