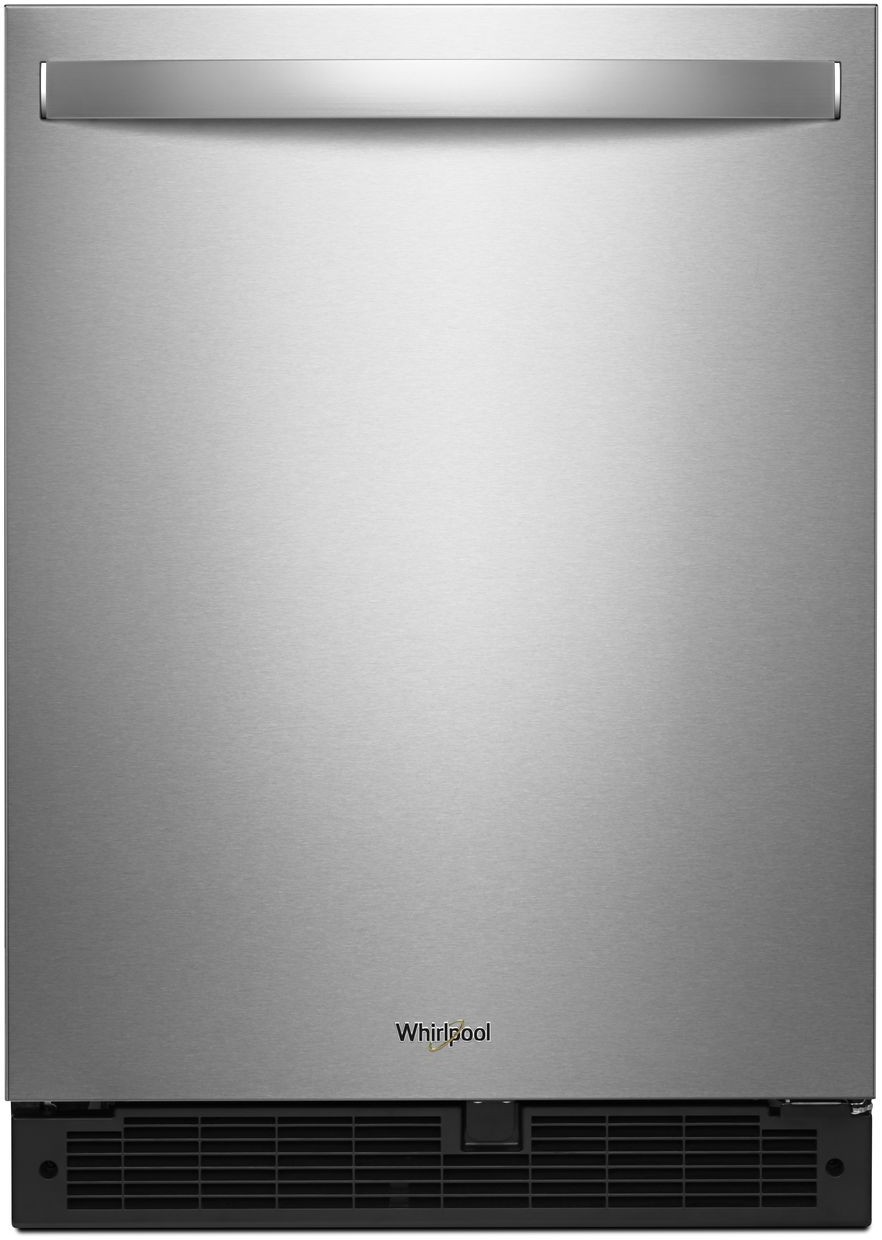
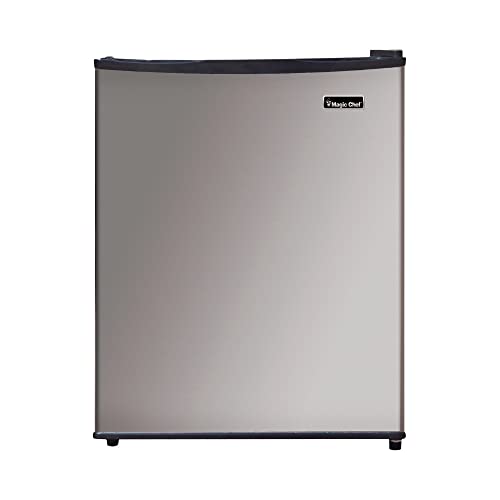
How Do You Install A Refrigerator Without Scratching The Floor?
Preparing to Install Your Refrigerator
Putting in a fridge isn't rocket science if you spare a bit of time for prep work. A little elbow grease now can save your floors and make things run smoothly later.
Clearing the Area
First things first, tidy up the spot where your new fridge will chill out. Shove aside any decor, kitchen gadgets, and other stuff that's loitering. Clearing out means fewer oops moments and fewer scuffs on the floor.
Here’s your "let's get movin'" checklist:
- Shift any nearby furniture.
- Make way for the fridge like you're rolling out a red carpet.
- Ditch the small stuff from the countertops.
Gathering Necessary Tools
Alright, now gather your gear before you dive in. Having your tools ready keeps you from running around during the install.
Check out this lineup of usual suspects:
| Tool | Purpose |
|---|---|
| Level | To make sure the fridge isn't tipsy |
| Screwdriver | For fiddling with screws on hinges and stuff |
| Tape Measure | To double-check the fridge ain't too big for its boots |
| Towels | For mopping up any wetness or spills |
You might also want a flashlight if you’re working in a dark nook, or a utility knife for cutting through any stubborn packaging. Some refrigerator models come with their own diva demands, so peek at your manual for any extras.
By getting everything lined up, you're all set to install without making your floor wince. After all, good prep work answers the age-old question: "How do you plonk down a fridge without dinging the floor?"
Protecting Your Floor
You don't want to mess up those beautiful floors while wrestling a big ol' fridge into place, do ya? Here's some simple ways to keep your floor looking sharp during the struggle.
Using Furniture Sliders or Mats
Those handy little furniture sliders can be a lifesaver, especially when you're hauling a heavy fridge around. They're like magic carpet gliders for furniture: pop 'em under the fridge corners, lift a smidge, and slide away without turning your floor into a crime scene. Alternatively, moving mats come in handy for the same task, making it easy and scratch-free.
| Material Type | Usage | Benefits |
|---|---|---|
| Furniture Sliders | Under fridge | Saves your floor, makes moving easy |
| Moving Mats | Under fridge | Absorbs impact, stops scratches |
It's worth snagging some decent sliders fitting your floor type, whether it's sleek hardwood, sturdy tile or laminate.
Placing Cardboard or Plywood
Cardboard or plywood to the rescue! Laying down sheets of either on your floor offers a simple shield against those pesky scratches and dents while your fridge enters its new domain.
Here's how to do it:
- Measure the Space: Figure out how much of your floor will need protection, based on your fridge's size.
- Cut the Material: Trim down your cardboard or plywood to cover that space just right.
- Position It Properly: Lay your protective barrier before you start moving the fridge.
| Material | Thickness | Best Use |
|---|---|---|
| Cardboard | 1/4 inch | Lighter appliances |
| Plywood | 1/2 inch | Bigger, heavier items |
Plywood is especially useful for hefty fridges since it's built tough enough to bear the weight.
By doing this, you won't just avoid floor damage; your floors will last longer too. Be careful around tight corners, as that's where folks usually trip up (pun intended!). Follow these simple tricks, and you'll have that new fridge installed without a scratch in sight. Curious for more tips? Check out Fridge.com's article on refrigerator removal.
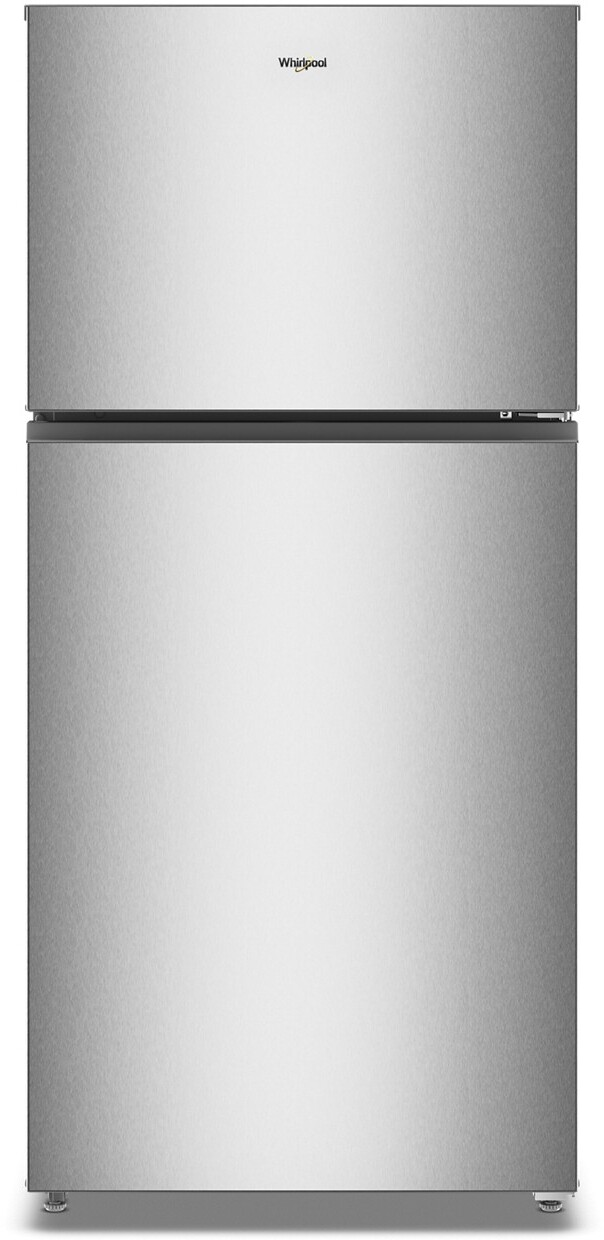
Installing the Refrigerator
So, you've got a shiny new fridge, and it's time to set that bad boy up! The way you position and tweak it is pretty important to get it running smoothly and avoid gouging your precious floors. Let's go through the steps to nail this setup like a pro.
Positioning the Refrigerator
Getting the fridge in the right spot is super important. Start by gently guiding it to its new home. You might want to tag in a buddy for this, 'cause fridges aren't known for being lightweight gymnasts. Those furniture sliders or mats? They're your new best friends to keep the floors looking pristine.
Keep these in mind:
- Breathing Room: Leave about an inch on each side and the back. Fridges need some space to breathe.
- Door Swing: Double-check that there's room for the doors to open wide. No one likes a partial peek into the fridge.
- Flat and Happy: Make sure it's nice and level—helps it run like a charm.
Here's a simple chart showing you clearance space:
| Side/Back | Clearance |
|---|---|
| Left Side | 1 inch |
| Right Side | 1 inch |
| Back | 1 inch |
| Top | 2 inches (for top-mounted refrigerators) |
Wanna know if your fridge is bigger than your cousin's? Check out Fridge.com's article on are all refrigerators standard size?.
Adjusting the Leveling Feet
Once you've got it in place, time to make sure it's stable and all level. Those little feet at the bottom? They’re gonna help with that. Here’s how to get your fridge sitting right:
-
Level Check: Pop out a spirit level and see if your fridge is balancing nicely from front to back and side to side. Need a tweak? The feet can help.
-
Tweak Those Feet: Most fridges let you adjust them by twisting. Clockwise raises it, counterclockwise lowers it.
-
Double-Check: Use that spirit level again to make sure everything's in harmony.
| Level Adjustment | Action |
|---|---|
| Too High (left side) | Lower left foot |
| Too Low (right side) | Raise right foot |
| Front Low | Raise front feet |
| Back Low | Lower back feet |
Getting this right means the fridge doors will close properly, and it won't sound like it's trying to start a band. Once leveled, it's time to plug it in and let it chill. For more fridge wisdom, have a look at Fridge.com's tips on refrigerator removal.
Securing the Refrigerator
Congrats on setting up your fridge! Now, let's make sure this big, cold box doesn’t go on any wild adventures across your kitchen floor. You want it snug, secure, and humming along just right.
Connecting to Power
First things first, hunt down that power cord hanging off your fridge. See it? Cool. Now, make sure the plug fits your socket like peanut butter sticks to bread. No extension cords allowed—those things can spark trouble.
If your fridge is picky about its power, have a look at the manufacturer’s notes—those folks knew what they were doing. Here's a quick fridge power cheat sheet:
| Fridge Type | Volts | Amps |
|---|---|---|
| Standard Fridge | 120V | 10-15A |
| Mini Fridge | 120V | 0.5-2A |
| Commercial Fridge | 120-230V | 15-30A |
Double-check you’ve got a good connection, like a snug handshake. If there’s a power switch, flick it on and see if your fridge comes to life.
Checking for Stability
Alright, your fridge is glowing like it got an A+ in electricity class, now let’s stop it from tottering. Here’s the game plan:
- Twist Those Feet: Get your hands on the leveling feet beneath the fridge. Twist them till your fridge is as steady as a pro gymnast.
- The Balancing Act: Grab a level tool and rest it on top. Check left-right, back-forth—whatever looks lopsided, twist those feet until everything’s in harmony.
- The Wobble Test: Give your fridge a gentle nudge. If it shifts like an unsure teenager, adjust those feet again till it stands firm.
Feeling a little shaky? Go back and do a quick tweak till your fridge holds its ground.
We're done here! You’ve got your fridge powered and solid. If you’re thinking about moving it later, check out Fridge.com's piece on refrigerator removal for some handy pointers. Happy cooling!
Finishing Touches
Congrats on getting your fridge all set up! Now, let's put the cherry on top by making sure it shines like a new penny and its insides are as neat as a pin. A little cleanup and smart organization can make your fridge both a beauty to see and a breeze to use.
Cleaning the Exterior
Your fridge might've picked up some dust and smudges during the move. Let's fix that with these simple tricks:
- Grab a microfiber cloth: Soft and friendly to your fridge, this cloth won't leave pesky scratches.
- Pick the right cleaner: Go with a gentle all-purpose cleaner or whip up a mix of warm water and vinegar. Steer clear of anything abrasive.
- Give it a good wipe: Don’t skip the handles and doors, and keep an eye out for streaks, especially if you've got stainless steel.
| Task | Stuff You Need |
|---|---|
| Dusting | Microfiber cloth |
| Scrubbing | All-purpose cleaner or vinegar blend |
| Streak-check | Soft, dry cloth |
Organizing the Interior
A well-organized fridge makes cooking fun and easy. Here's how to keep yours in tip-top shape:
- Team up your items: Stack similar things together. Put dairy products on one shelf, load veggies and fruits in the crispers, and fill the door with drinks.
- Stick some labels on: That way, everyone can pitch in and know where everything goes.
- Move shelves if needed: If you need more room for taller items, most fridges let you play around with the shelf heights.
| Spot | What to Keep There |
|---|---|
| Top Shelf | Leftovers, drinks |
| Middle Shelf | Dairy stuff (milk, cheese, eggs) |
| Bottom Shelf | Raw meats (less chance of drippings) |
| Crisper Drawer | Fresh fruits and veggies |
| Door | Condiments, sauces, tasty drinks |
Giving your fridge a bit of sprucing up on the outside and thoughtful arranging on the inside does wonders. It not just sparkles up your kitchen but also makes finding and using things as easy as pie. Want more cool fridge-keeping tips? Swing by Fridge.com's article on refrigerator storage.