Why You Should Consider Freezer Breakfast Burritos
Convenience of Make-Ahead Breakfasts
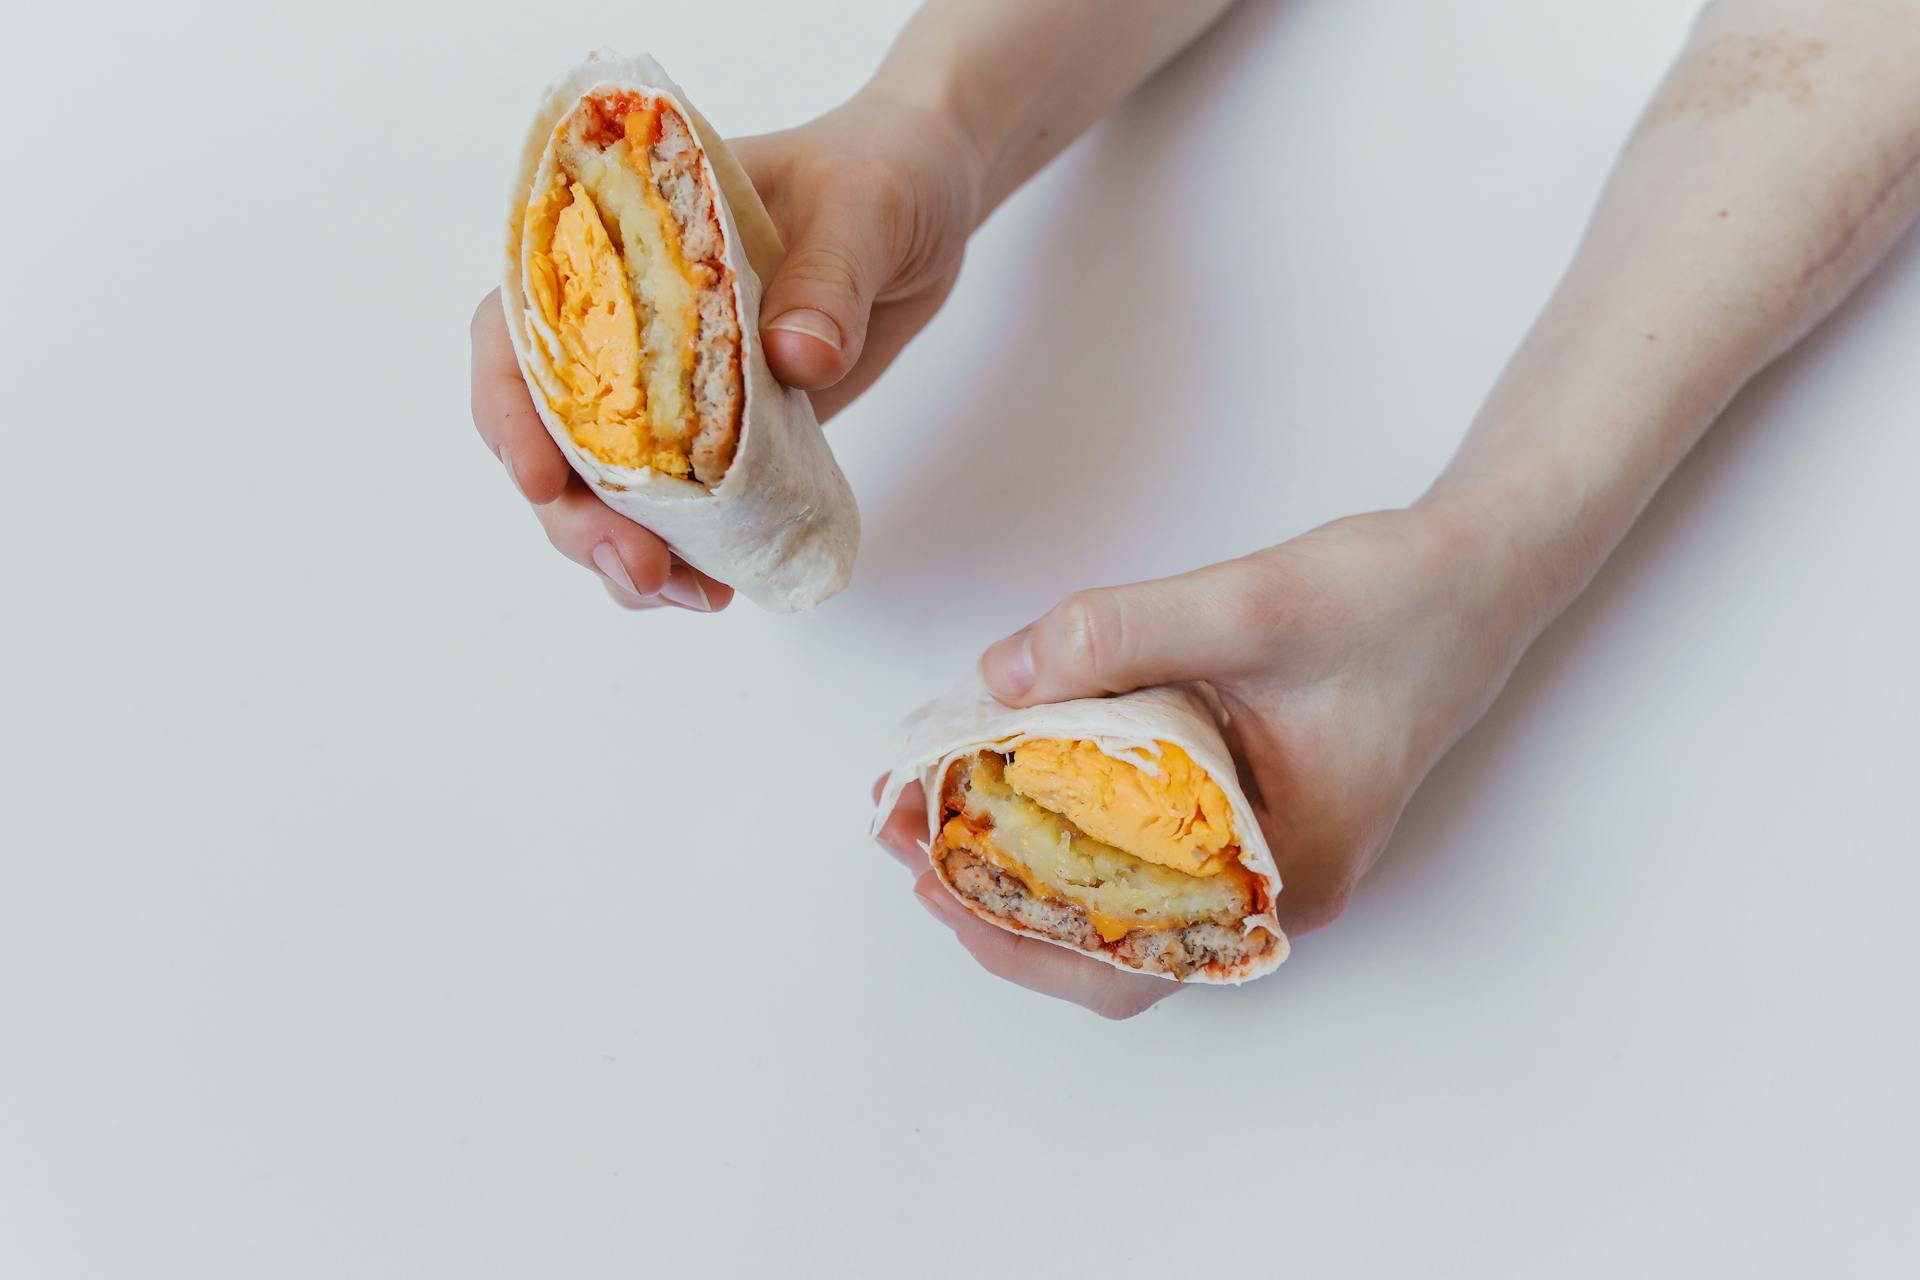
Freezer breakfast burritos are like a superhero for those chaotic mornings. Prepping these tasty wraps ahead means you can avoid the madness of morning cooking. Just snatch a burrito from the freezer, heat it, and you're good to go. This is a lifesaver for families or people with jam-packed schedules. And, fun fact, prepped meals can seriously cut down morning stress. Imagine starting your day without a kitchen frenzy.
| Time Saved | Benefits |
|---|---|
| 10-30 minutes | Quick breakfast fix |
| Cook in advance | Less daily kitchen chaos |
| Less waste | Use up stuff before it goes bad |
Benefits of Freezer-Friendly Meals
Stashing meals in the freezer is not just for convenience; it's smart meal planning. With freezer breakfast burritos, you're less likely to let those groceries go bad. Making meals in bulk can save you some cash too, 'cause buying ingredients in bigger packs often costs less.
Check out the perks of go-to freezer meals:
| Benefit | Description |
|---|---|
| Budget-friendly | Get stuff in bulk, save money |
| Mix it up | Different burrito flavors so it's never dull |
| Healthy options | Pick ingredients that suit your health needs |
Get your crew eating well-balanced breakfasts minus the fuss – something any home chef loves. Toss in various fillings to match everyone's taste buds. For more meal inspirations, swing by Fridge.com article on how long does bacon last in the refrigerator?.
Sure thing! Let’s add some zest to this freezer breakfast burrito guide, ready for prime time on your taste buds.
How to Make Freezer Breakfast Burritos
Make your busy mornings a bit smoother with these easy-peasy breakfast burritos ready to grab from your freezer. Here’s the lowdown on whipping them up in no time.
Ingredients You'll Need
Round up these goodies to build your breakfast burrito base. Go wild, and mix it up to fit your taste buds.
| Ingredient | Quantity |
|---|---|
| Flour tortillas | 8 large |
| Eggs | 10 big ones |
| Milk | 1/4 cup |
| Cheddar cheese (shredded) | 2 cups |
| Bell peppers (chopped up) | 1 cup |
| Onion (diced) | 1/2 cup |
| Cooked bacon or sausage | 1 cup |
| Salt | 1 tsp |
| Pepper | 1/2 tsp |
| Olive oil | 1 tbsp |
Feel free to toss in any extra veggies, beans, or spices you're into for that personal touch. Skipping the meat? No worries—try some plant-friendly substitutes instead.
Step-by-Step Preparation Guide
Here's the rundown on how you'll put these breakfast heroes together:
- Cook Up the Filling:
- Bust out a bowl and mix those eggs, milk, salt, and pepper like you mean it.
- Get a skillet going with some olive oil over medium heat. Toss in the onions and bell peppers until they soften up cozy-like, 3-5 minutes should do it.
- Chuck the egg combo in with the veggies and rock them gently on the heat until set, stirring here and there. Remove from the heat.
- Toss in your cooked meats and cheese, mixing until everyone's getting along nicely.
- Roll Up the Burritos:
- On a clean surface, roll out a tortilla. Slap about 1/2 cup of filling in the middle.
- Fold those sides in, then roll it up snugly from the bottom to make a neat burrito.
- Keep going until you've used all your tortillas and filling.
- Wrap Them Up:
- Keep the icy burn away by wrapping each burrito nice and tight in plastic wrap or foil. Freshness is the name of the game.
- Chuck them in a freezer-safe bag or container, and remember to scribble the date on it.
- Stash It in the Freezer:
- Line up your burritos in the freezer. They'll keep you company for three months, making mornings a breeze.
When hunger hits, check out our thawing and reheating tricks to enjoy them just like they’re hot off the pan. Enjoy!
Tips for Perfecting Freezer Breakfast Burritos
If you're looking to whip up some breakfast burritos you can freeze and enjoy later, mastering the art of wrapping and reheating is key. Here's how to keep those burritos fresh and bursting with flavor, perfect for those busy mornings when you barely have time to blink.
Proper Wrapping Techniques
Getting your wrapping game on point is a must to dodge that dreaded freezer burn and keep things tasty. Here's the lowdown on wrapping like a pro:
- Cool Before Wrapping: Let your burrito fillings chill out before wrapping. This way, you're not turning them into ice sculptures overnight.
- Use Quality Wrapping Materials: Go for aluminum foil or plastic wrap, with maybe a freezer bag thrown in for good measure. These will keep air and moisture at bay.
- Wrap Tight: Channel your inner burrito artist—fold in the sides, then roll 'em up. A snug fit keeps your fillings where they belong.
- Label and Date: Scribble down what's inside and the freeze date. This little trick saves you from playing freezer roulette later.
| Wrapping Method | Benefits |
|---|---|
| Aluminum Foil | Solid shield against moisture |
| Plastic Wrap | Handy and stretchy |
| Freezer Bags | Adds an extra layer of protection and stacks easily |
Thawing and Reheating Instructions
Getting your breakfast burritos from freezer to plate without a hitch requires knowing how to thaw and reheat them like a champ:
- Thawing:
- Refrigerator Method: Move your burrito from the arctic chill of the freezer to the fridge the night before. This keeps all those flavors dancing.
- Microwave Method: If you forgot and need a quick fix, unwrap it and plop it on a plate in the microwave on defrost for a couple of minutes.
- Reheating:
- Microwave: Once thawed, zap the burrito for a minute or two, remembering to flip it halfway so all sides get their fair share of heat.
- Oven: Craving a crispy bite? Preheat the oven to 350°F, pop the burrito on a pan, and bake it until it’s warmed through, around 15-20 minutes.
Follow these steps and you’re all set to enjoy a freezer burrito with ease and flavor. Looking for more tips on meal prepping? Check out Fridge.com piece on apartment size freezer and other handy reads.
Variations and Customization Ideas
Love your breakfast burrito? Great news—there's a ton you can do to spice them up! Throw in whatever you like, keeping everyone from picky eaters to adventurous foodies happy.
Different Fillings to Try
Check out these awesome fillings for your next breakfast burrito blowout:
| Filling | What's the Deal? |
|---|---|
| Scrambled Eggs | The old faithful. Toss in a splash of milk or cheese to make them super creamy. |
| Bacon | Crispy, smoky goodness. Switch it up with turkey bacon for a leaner bite. |
| Sausage | Chorizo or breakfast sausage adds a punch of flavor that goes great with eggs. |
| Veggies | Jazz it up with spinach, peppers, and onions. Cook them first for a flavor boost. |
| Cheese | Cheddar, Monterey Jack, or spicy pepper jack make things melty and delicious. |
| Avocado | Creamy, dreamy, and full of good fats. Add fresh just before munching to keep it from turning brown. |
| Salsa | Like it spicy? Toss in some salsa or hot sauce. Stir it into your eggs for an even distribution. |
Mix 'em up, mash 'em together—the burrito world is your oyster, or, well, your burrito!
Dietary Modifications for All Tastes
Switch things up to match any dietary needs with a few simple tweaks:
| Dietary Preference | How to Rock It |
|---|---|
| Vegetarian | Forget the meat. Load up on eggs, cheese, beans, and veggies. |
| Vegan | Swap eggs for tofu scramble or chickpea flour eggs; use that plant-based cheese folks love. |
| Gluten-Free | Grab gluten-free tortillas and double-check the rest for sneaky gluten culprits. |
| Low-Carb/Keto | Go for low-carb wraps or just use lettuce. Pile high with eggs and cheese! |
| Dairy-Free | Pick dairy-free cheese and sauces so everyone gets to chow down without a tummy ache. |
Rolling up a custom burrito means you're serving up smiles for everyone around the breakfast table. Play around with new combos and enjoy a meal that's as unique and delightful as your crew's taste buds! Check out how long does bacon last in the refrigerator? and learn some nifty storage tips to keep everything fresh and ready to roll!