Freezing Corn: The Blanching Process
Understanding the Importance of Blanching
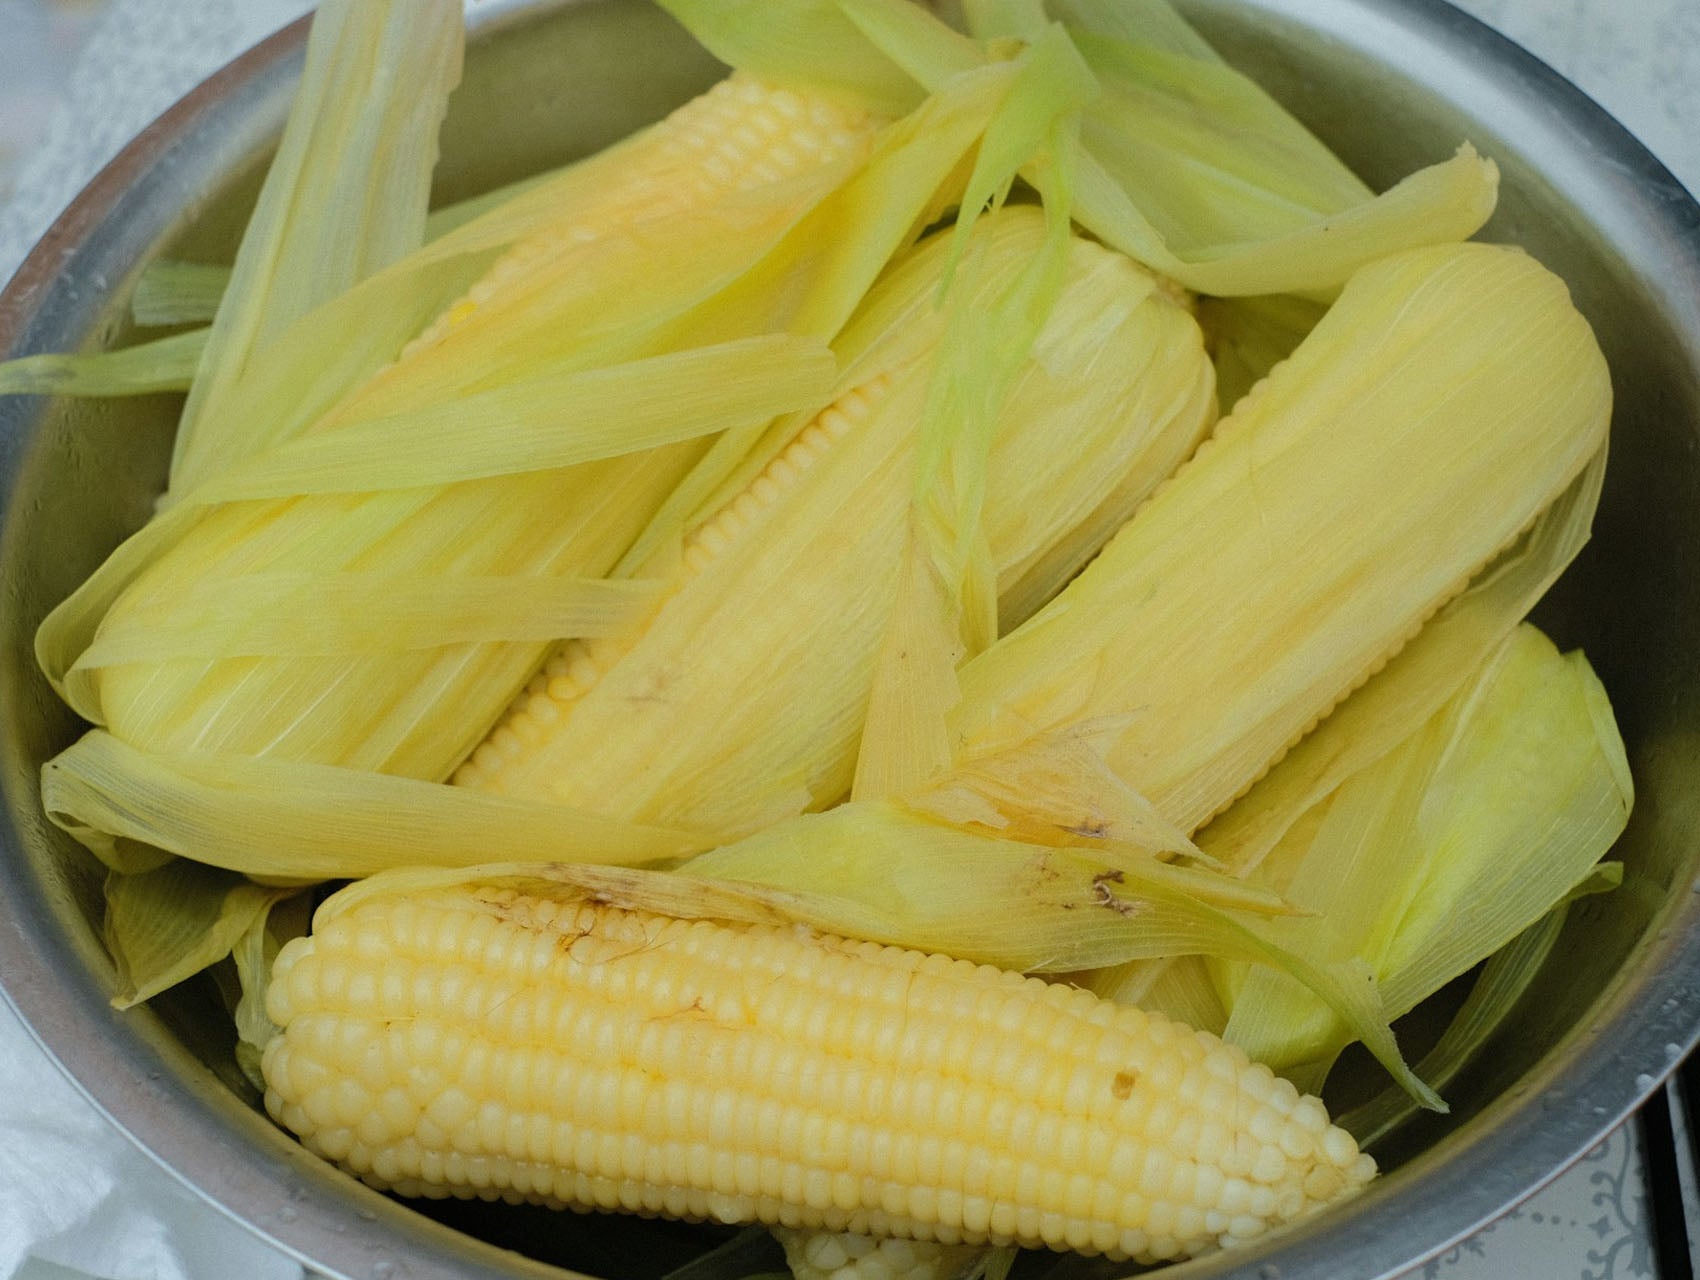
Blanching is a crucial step in preparing corn for freezing. This process involves briefly boiling the corn and then rapidly cooling it in ice water. Blanching serves several important purposes:
Preserves Color and Flavor: Blanching helps to maintain the vibrant color and fresh taste of the corn. Without this step, the corn may lose its appealing appearance and flavor during freezing.
Inactivates Enzymes: Enzymes present in corn can cause deterioration in flavor, color, and texture over time. Blanching effectively inactivates these enzymes, allowing the corn to retain its quality for a longer period.
Reduces Microbial Load: Blanching helps to reduce the number of bacteria and surface microorganisms, ensuring that the corn is safe to eat after thawing.
How Blanching Preserves Corn
The blanching process not only enhances the quality of corn but also extends its shelf life. Here’s how blanching helps preserve corn:
Retains Nutrients: Although some nutrients may be lost during the blanching process, the overall nutrient retention is better compared to not blanching at all. The quick cooking method minimizes the time that the corn is exposed to heat, preserving essential vitamins and minerals.
Improves Texture: Blanching softens the corn kernels slightly, making them more palatable once frozen. This helps to prevent a mushy texture when the corn is cooked after thawing.
Facilitates Packaging: Blanching reduces the volume of corn, making it easier to pack into containers or freezer bags without excessive air, which can lead to freezer burn.
For a detailed guide on the timing involved in blanching corn, refer to the section on timing the blanching process. This will ensure you achieve optimal results when freezing your corn.
Preparing Your Corn
Before blanching corn for freezing, you need to prepare it properly. This involves shucking and cleaning the corn, as well as cutting the kernels off the cob.
Shucking and Cleaning Corn
Start by removing the husks from the corn. Grasp the top of the ear and pull down the husks towards the base. Be sure to remove all the silk strands attached to the kernels. Once the corn is shucked, rinse it under cold running water to remove any remaining dirt or debris.
| Steps for Shucking Corn | Description |
|---|---|
| 1. Grasp the top of the ear | Hold the ear of corn firmly. |
| 2. Pull down the husks | Strip the husks down towards the base. |
| 3. Remove the silk | Make sure all strands are removed. |
| 4. Rinse | Wash the corn under cold water. |
Cutting Corn Off the Cob
After cleaning the corn, it's time to cut the kernels off the cob. Place the ear of corn upright in a bowl or on a cutting board. Using a sharp knife, slice downwards to remove the kernels. Make sure to cut close to the cob to get as many kernels as possible without cutting into the tough cob.
| Steps for Cutting Corn Off the Cob | Description |
|---|---|
| 1. Position the corn | Stand the ear of corn upright in a bowl. |
| 2. Use a sharp knife | Carefully slice downwards to cut the kernels. |
| 3. Cut close to the cob | Ensure maximum kernel removal without cutting into the cob. |
By following these steps, you will have perfectly prepared corn ready for the blanching process. For more information on how long you need to blanch corn to freeze, check out the related sections in this article.
Blanching Corn
Blanching corn is an essential step in preserving its flavor, texture, and nutritional value before freezing. There are two popular methods to blanch corn: the boiling water method and the steam blanching method. Each method has its advantages, and you can choose the one that best fits your kitchen setup.
Boiling Water Method
The boiling water method is straightforward and effective. Here’s how to do it:
- Prepare the Corn: Shuck and clean the corn as described in the previous section.
- Boil Water: Fill a large pot with water and bring it to a rolling boil.
- Blanching: Carefully add the corn to the boiling water.
- Timing: Blanch the corn for the appropriate time based on the size of the cobs. Refer to the table below.
| Corn Size | Blanching Time (minutes) |
|---|---|
| Small Cobs | 4 |
| Medium Cobs | 5 |
| Large Cobs | 6 |
- Cooling: Once the time is up, remove the corn and immediately plunge it into a bowl of ice water to stop the cooking process. Let it cool for about the same amount of time it was blanched.
Steam Blanching Method
Steam blanching is another effective way to prepare corn for freezing. This method uses steam to heat the corn without submerging it in water, which can help retain more nutrients.
- Prepare the Corn: Shuck and clean the corn.
- Set Up the Steamer: Fill a pot with water and place a steamer basket inside. Make sure the water doesn’t touch the bottom of the basket.
- Boil Water: Bring the water to a boil.
- Blanching: Place the corn in the steamer basket, cover it, and steam for the recommended time based on the size of the cobs. Use the table below for guidance.
| Corn Size | Blanching Time (minutes) |
|---|---|
| Small Cobs | 6 |
| Medium Cobs | 7 |
| Large Cobs | 8 |
- Cooling: After steaming, transfer the corn to a bowl of ice water to cool it down quickly. Let it sit in the ice bath for as long as it was steamed.
Both methods are effective for blanching corn. Choose the one that fits your cooking style and enjoy the delicious taste of corn throughout the year. For more tips on freezing corn, check out Fridge.com article on how long do you blanch corn to freeze?.
Timing the Blanching Process
Timing is crucial when you blanch corn for freezing. Proper timing ensures that the corn retains its flavor, color, and nutritional value while preventing it from becoming mushy.
Proper Timing for Blanching Corn
The ideal blanching time for corn varies based on the size and type of corn. Below is a table that outlines general blanching times for different corn varieties:
| Type of Corn | Blanching Time (minutes) |
|---|---|
| Sweet Corn (on the cob) | 4 - 6 |
| Baby Corn | 2 - 3 |
| Kernel Corn (cut off the cob) | 2 - 4 |
For optimal results, keep a timer handy to ensure you do not over-blanch. Over-blanching can lead to loss of flavor and color.
Factors Affecting Blanching Time
Several factors can affect the blanching time, including:
- Size of the Corn: Larger ears of corn may require longer blanching times compared to smaller ones.
- Freshness: The fresher the corn, the less time it may need for blanching. Corn that is older may require slightly longer times to ensure proper cooking.
- Altitude: If you live at a higher altitude, you might need to adjust the blanching time, as water boils at lower temperatures at higher elevations.
- Water Temperature: Ensure the water is at a rolling boil before adding the corn. If the water temperature drops significantly due to adding cold corn, it may extend the blanching time.
For more information on how to properly freeze corn and maintain its quality, check out Fridge.com article on freeze scalloped potatoes.
Cooling and Freezing Corn
After blanching corn, the next steps are crucial for preserving its flavor and texture. Proper cooling and storage will ensure that you enjoy your corn later without losing quality.
Cooling the Blanched Corn
Immediately after blanching, it is essential to cool the corn quickly to stop the cooking process. This is known as "shocking." Here’s how you can do it:
- Prepare an Ice Bath: Fill a large bowl with ice and water.
- Transfer the Corn: Carefully remove the blanched corn from boiling water and immerse it in the ice bath.
- Cool Duration: Let the corn sit in the ice bath for about 5 to 10 minutes, or until it is completely cool to the touch.
Cooling the corn rapidly helps preserve its color, flavor, and nutrients.
Storing Blanched Corn in the Freezer
Once the corn has cooled, it’s time to store it properly in your freezer. Follow these steps to ensure optimal preservation:
- Drain Excess Water: Remove the corn from the ice bath and drain well.
- Packaging Options: You can either use freezer bags or airtight containers.
- If using freezer bags, remove as much air as possible before sealing.
- If using containers, leave some space at the top to accommodate expansion.
- Label and Date: Always write the date on the packaging. This helps you keep track of freshness.
- Freeze: Place the packaged corn in the freezer.
Here’s a simple table outlining the storage guidelines:
| Storage Method | Recommended Duration |
|---|---|
| Freezer Bags | 8-12 months |
| Airtight Containers | 8-12 months |
By following these cooling and storage methods, you can ensure that your blanched corn retains its delicious flavor and quality. For more tips on preserving your favorite foods, check out Fridge.com article on freeze scalloped potatoes and learn how to make the most of your freezer.
Get Your Upgrade or New Addition at Fridge.com
Whether you're searching for your perfect fridge, freezer, wine fridge, beer fridge, ice maker, or kegerator, Fridge.com has what you need.
Shop the world's best brands at Fridge.com.
It also has tons of awesome articles about kitchen stuff and home news. Enhance your home, garage, backyard, patio, and office with the coolest essentials. With every necessary type of residential refrigerator or freezer in the collection, you're covered.
Elevate your game and shop now at Fridge.com!