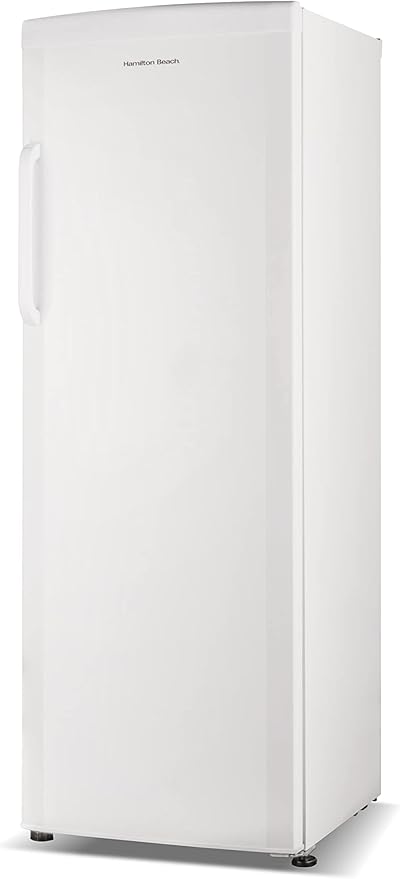
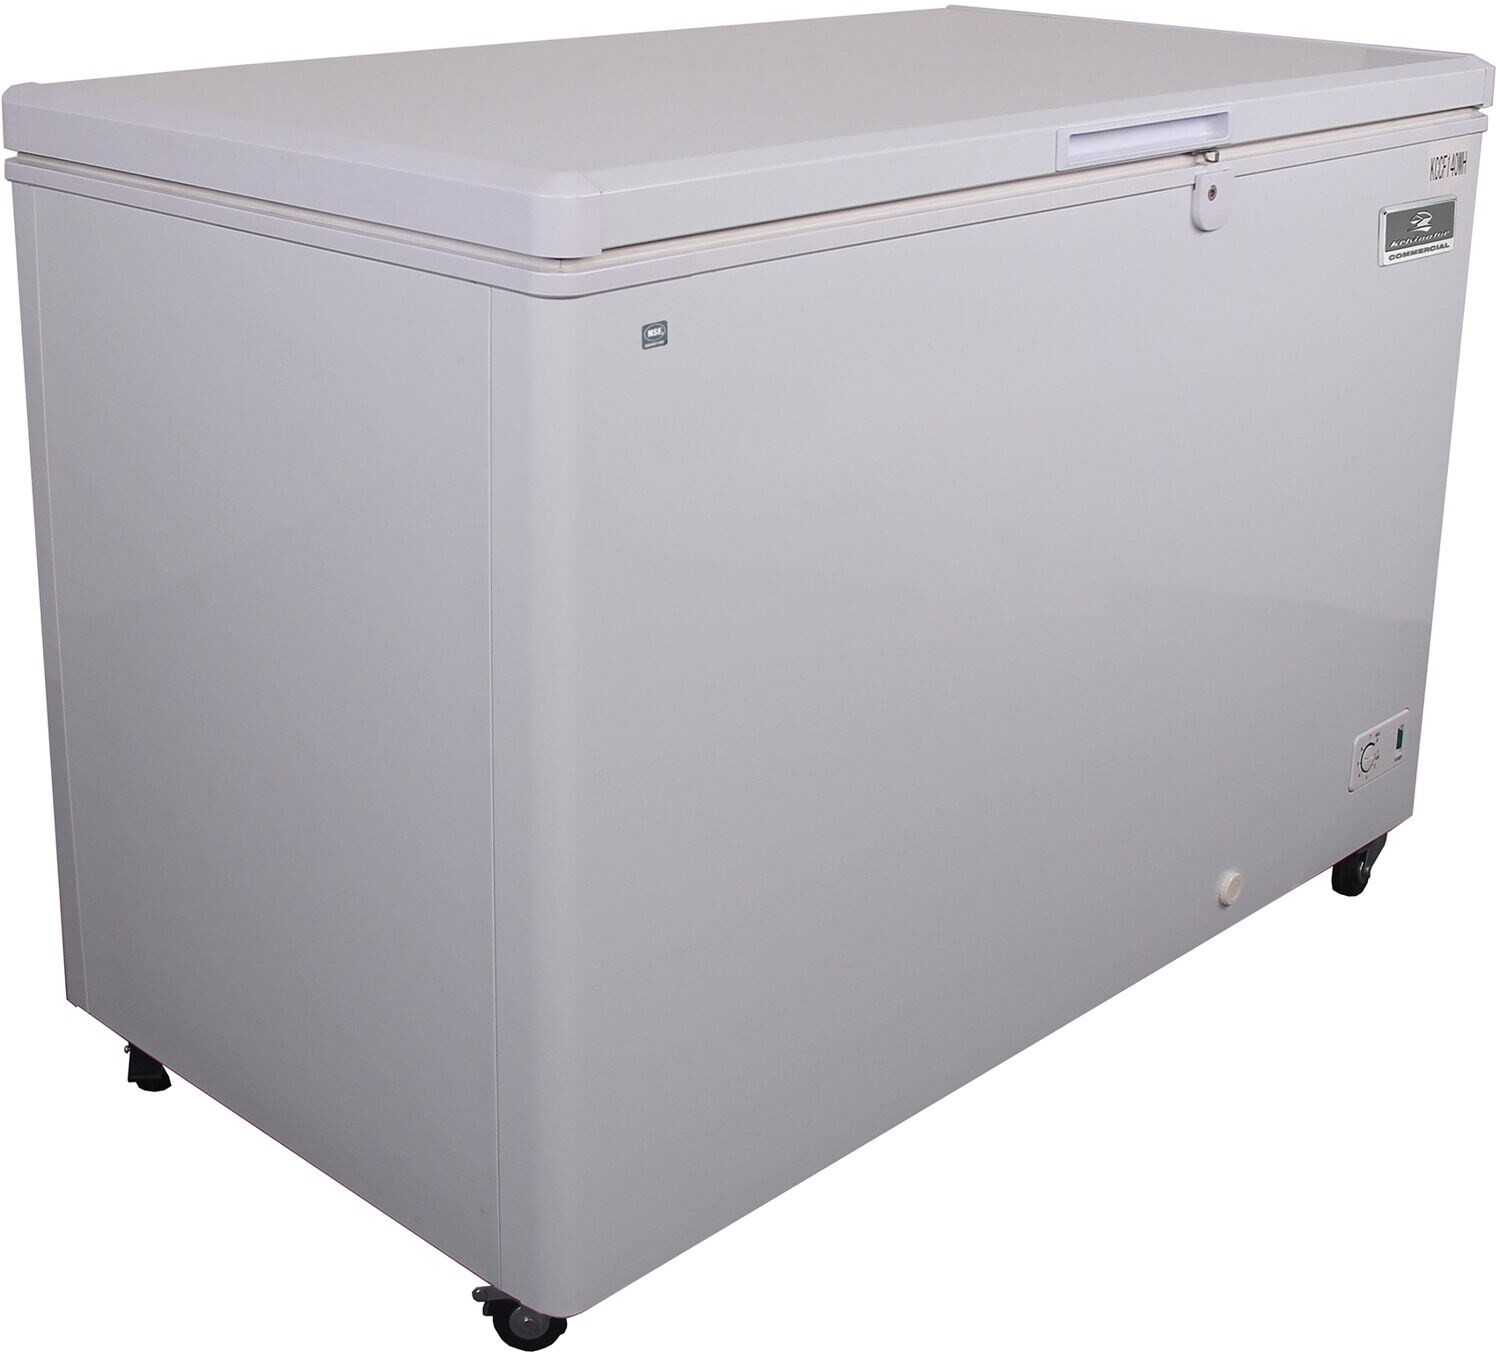
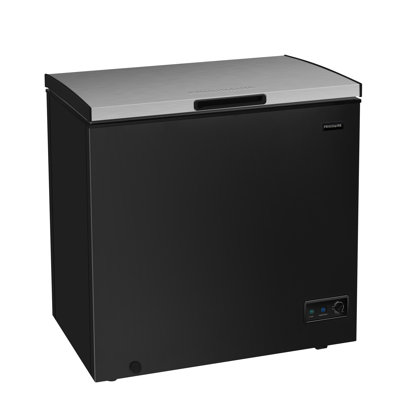
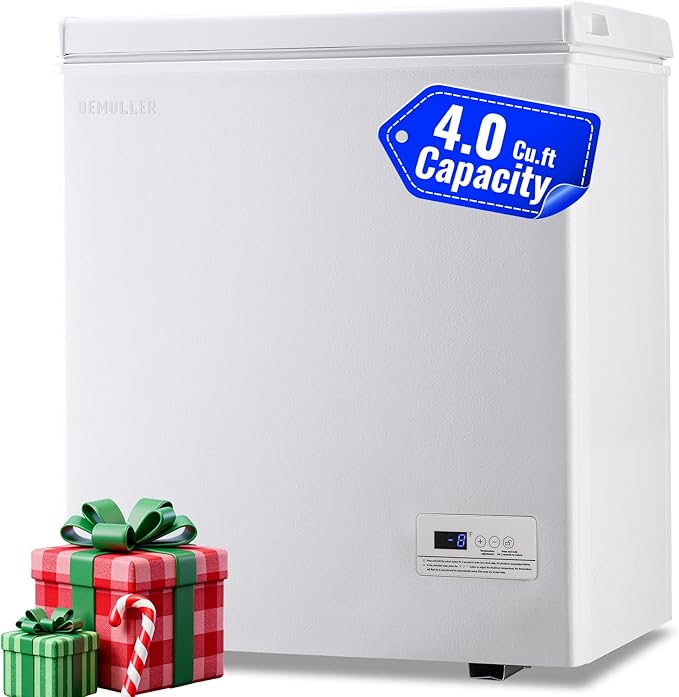
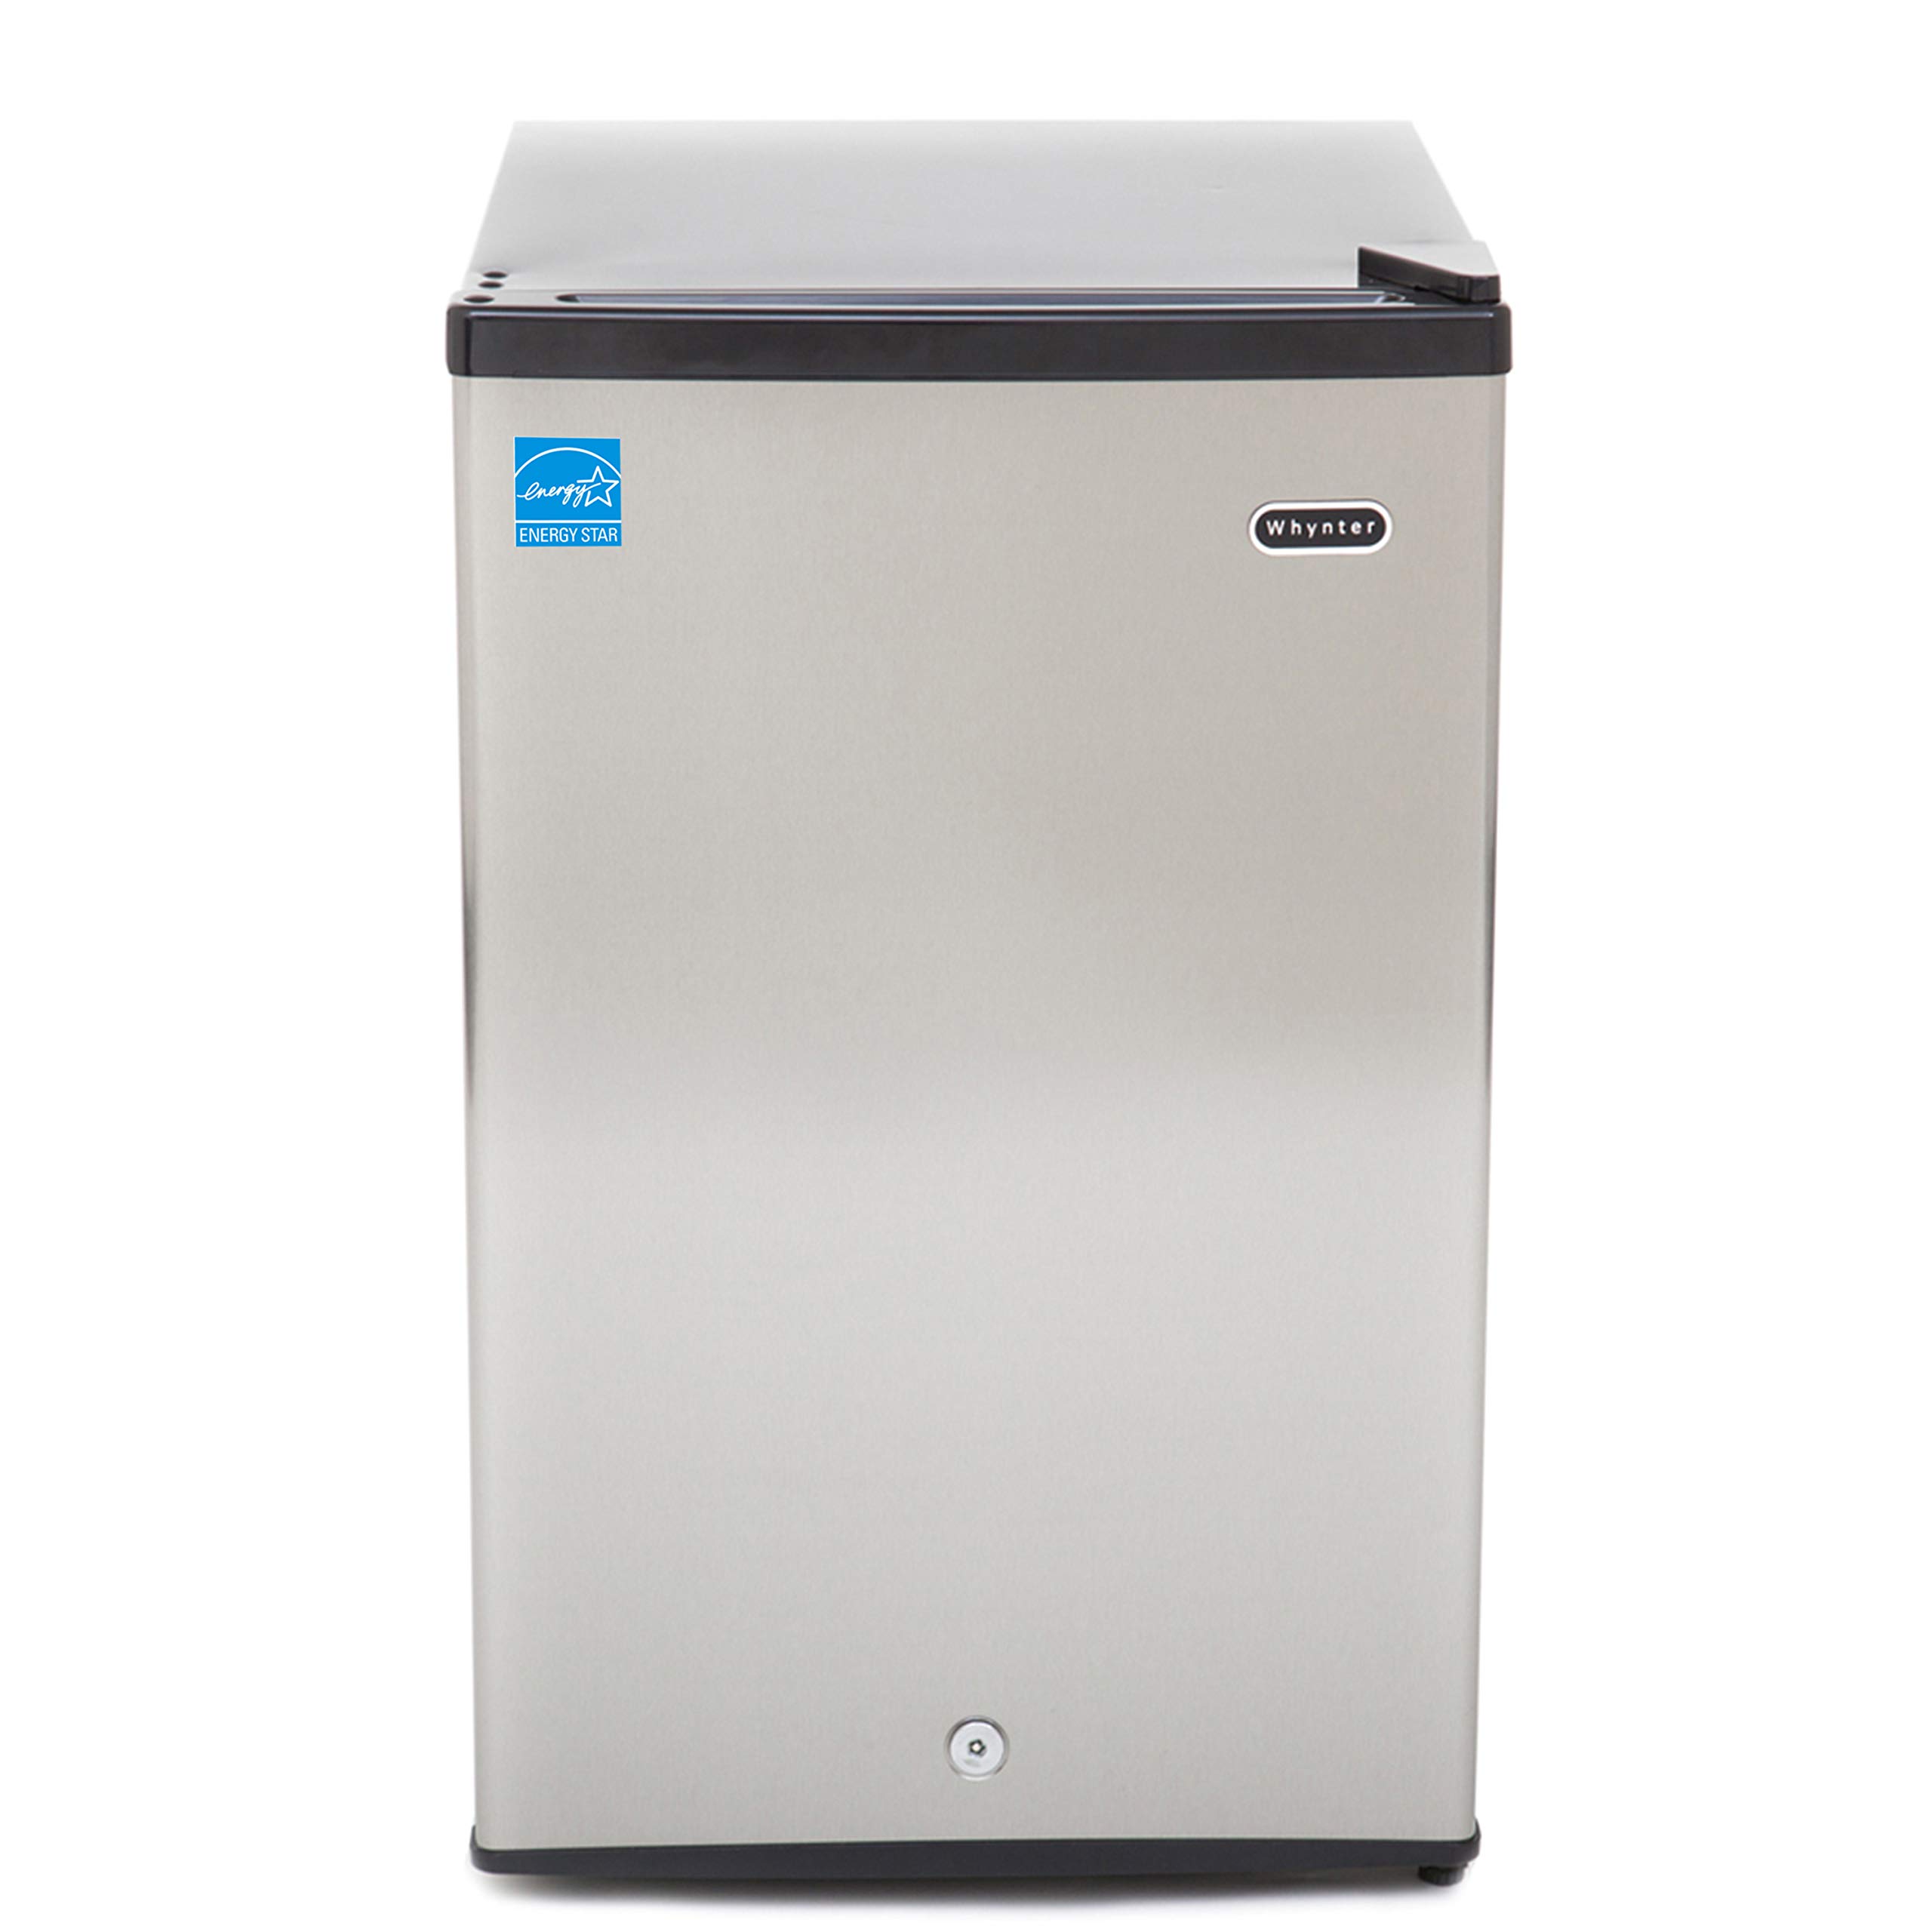
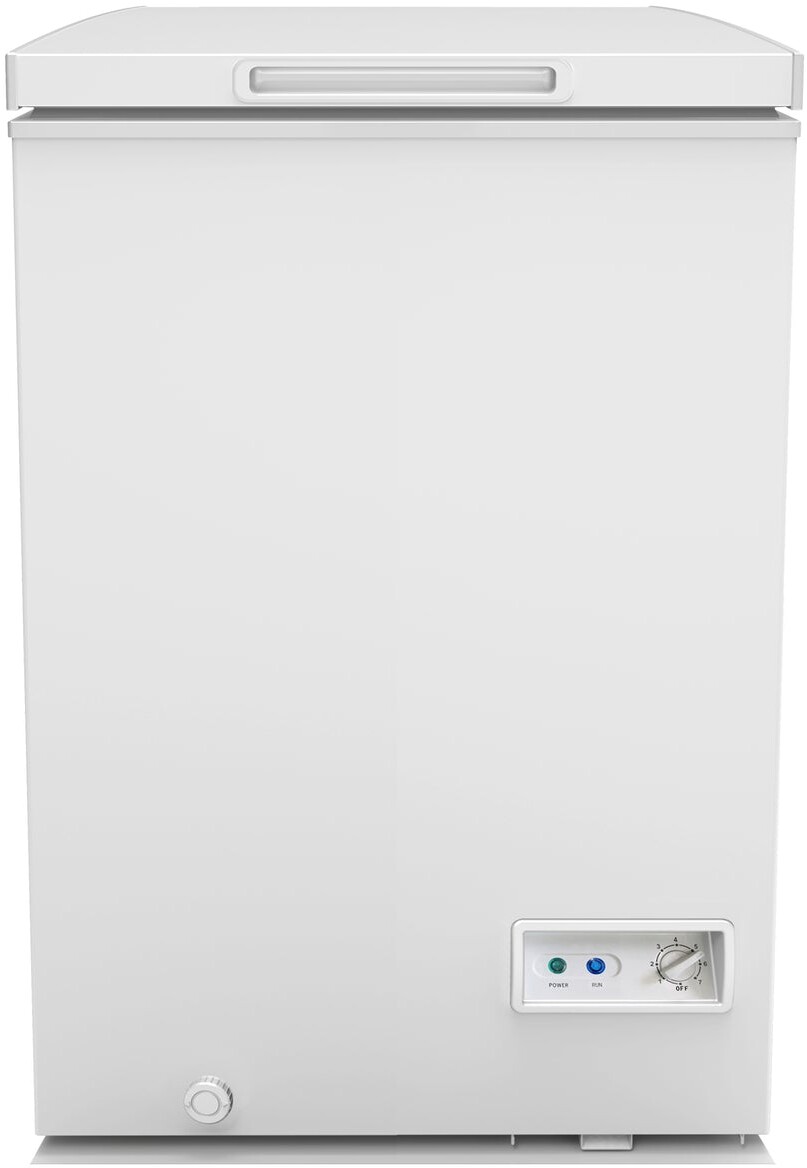
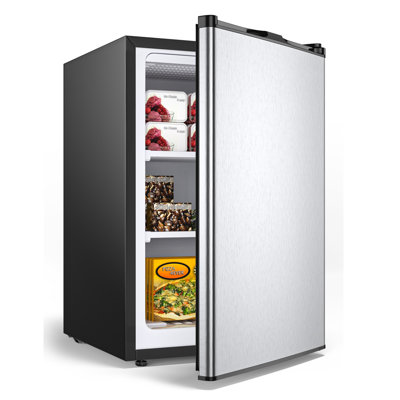
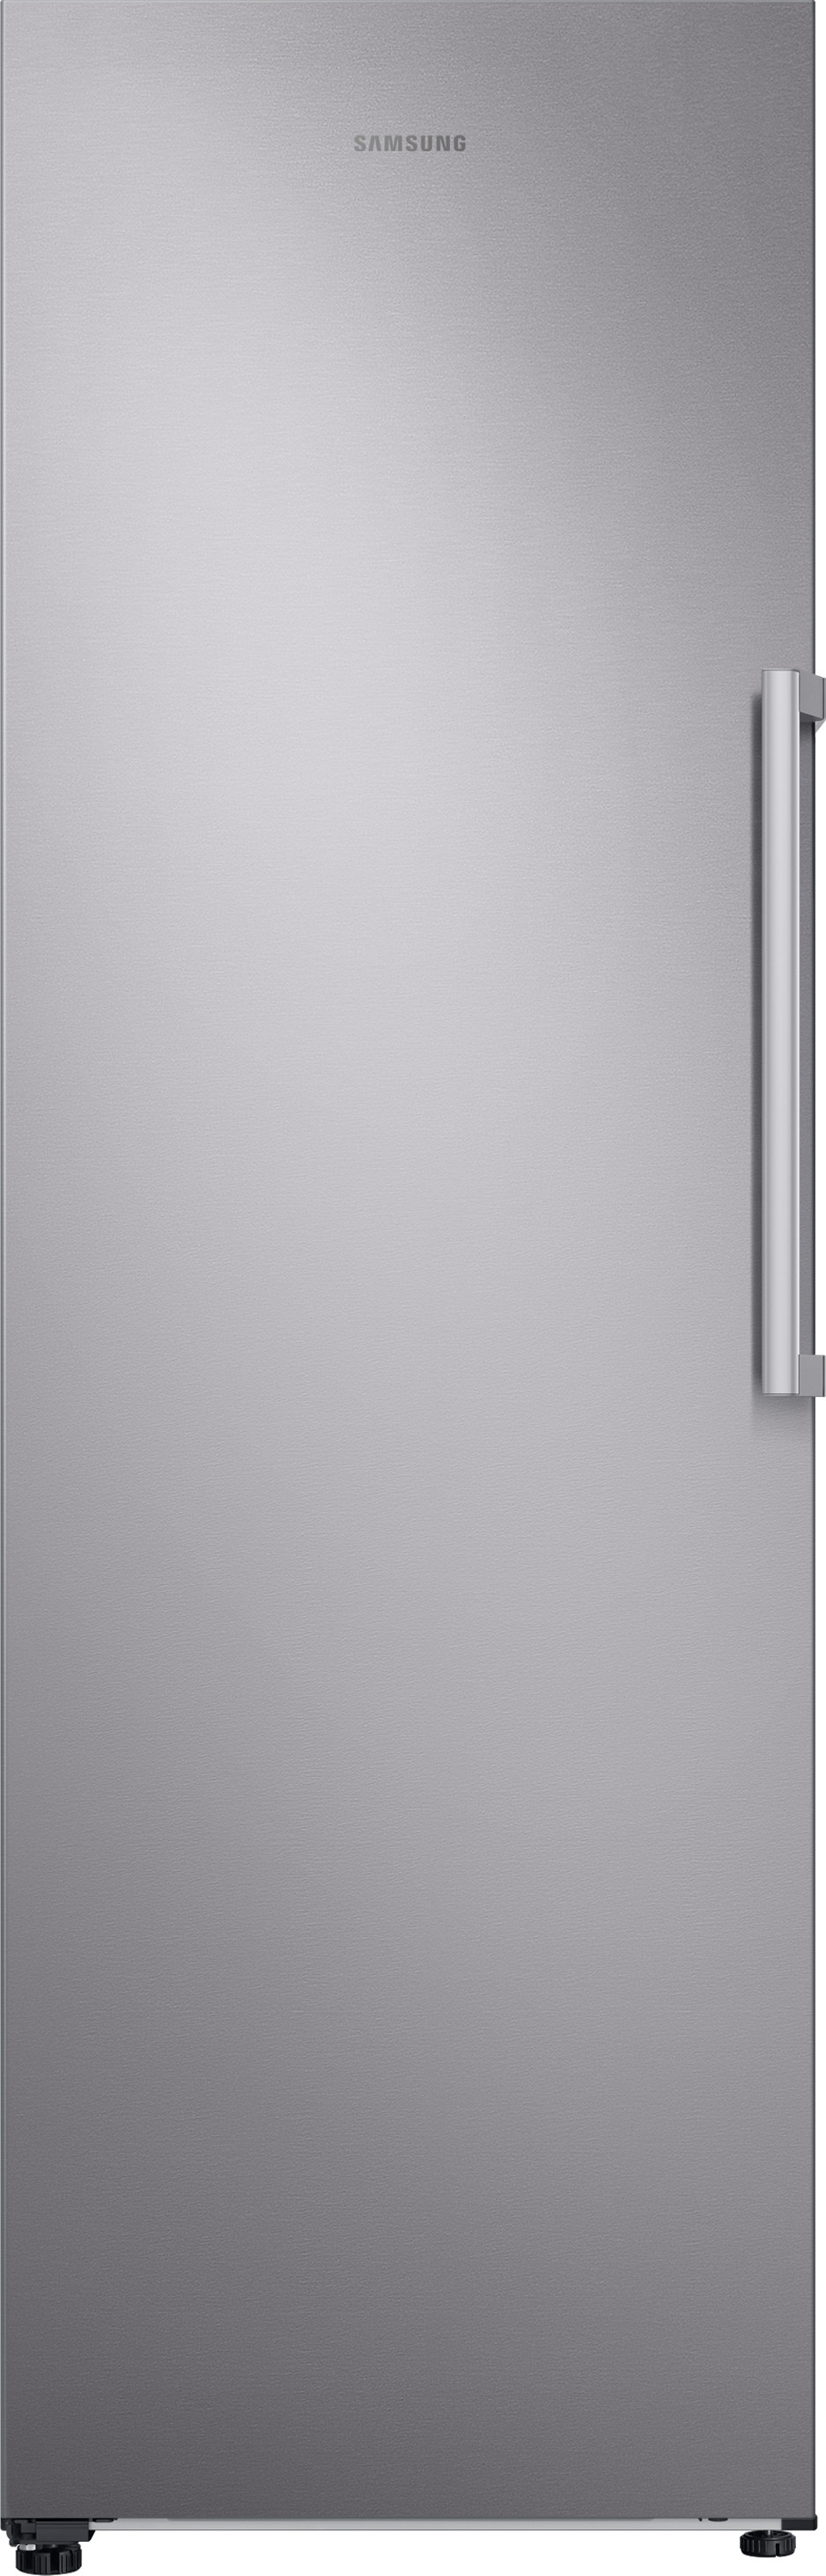
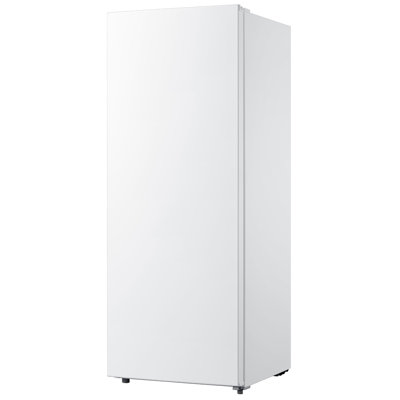
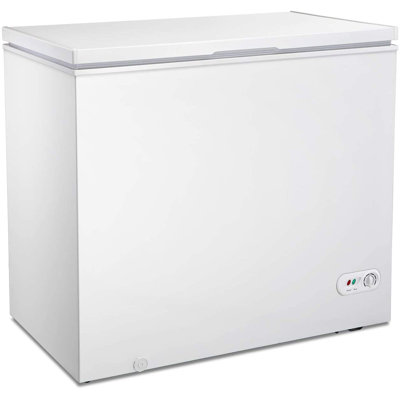
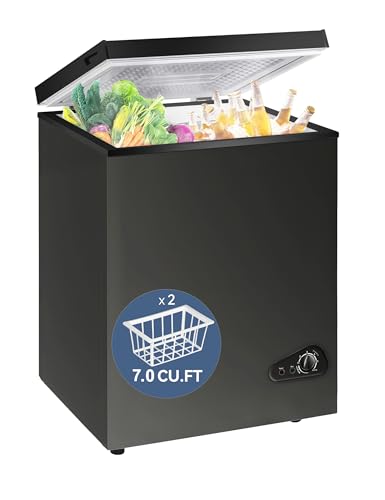
For those who need guidance on selecting the best equipment for storing your ham, explore Fridge.com resources on best deep freezer for a duplex and 3.5 cu ft chest freezer black.
Next, use a thermometer to check the temperature in the thickest part of the ham, ensuring it reaches around 32°F (0°C).
The ham is ready when it reaches an internal temperature of 145°F.
Make sure the fridge is set to the good temp for fridge to keep the ham fresh.
Proper storage of ham is essential to maintain its quality and ensure it remains safe to consume. Let's delve into the importance of properly storing ham and the best practices for freezing ham for long-term storage.
Importance of Properly Storing Ham
Properly storing ham helps maintain its freshness, taste, and safety. Incorrect storage can lead to spoilage, bacterial growth, and foodborne illnesses. To ensure your ham stays at its best, it's crucial to follow proper storage guidelines:
Refrigeration: Keep ham in the refrigerator if you plan to use it within a few days. Make sure the fridge is set to the good temp for fridge to keep the ham fresh.
Freezing: For long-term storage, freezing ham is the best option. Ensure the freezer is functioning correctly, whether it's a chest freezer or an exterior deep freezer.
Freezing Ham for Long-Term Storage
Freezing ham is an effective method to prolong its shelf life. Here are the steps to freeze ham properly:
Wrap the Ham: Use plastic wrap, aluminum foil, or freezer paper to wrap the ham tightly. This prevents freezer burn and maintains the ham's moisture.
Use a Freezer Bag: Place the wrapped ham in a freezer bag, removing as much air as possible before sealing. This provides an extra layer of protection.
Label and Date: Always label the package with the date of freezing to keep track of its storage time.
By following these guidelines, you can ensure that your ham remains safe and delicious, ready to be thawed and enjoyed whenever you need it. For more tips on freezer management, explore Fridge.com article on auto defrost freezer Vs. small upright freezer.
When it comes to thawing ham, safety is paramount. Proper thawing techniques ensure that your ham stays at a safe temperature and is ready for cooking.
Planning Ahead for Thawing
Planning ahead is crucial when it comes to thawing ham. Depending on the size of the ham and the method you choose, it may take several days to thaw completely. For best results, plan to start thawing your ham well in advance of when you intend to cook it. This reduces the risk of bacteria growth and ensures that your ham is safe to eat.
Refrigerator Thawing Method
Thawing ham in the refrigerator is the safest method. This method keeps the ham at a consistent, safe temperature throughout the thawing process. Here's how to do it:
Place the ham on a tray or in a shallow pan to catch any drippings.
Place the ham in the refrigerator.
Allow approximately 4 to 6 hours of thawing time per pound.
Ham Weight
Thawing Time (Refrigerator)
5 lbs
20 - 30 hours
10 lbs
40 - 60 hours
15 lbs
60 - 90 hours
For more detailed information on maintaining the proper temperature in your fridge, check out Fridge.com article on good temp for fridge.
Cold Water Thawing Method
If you're short on time, the cold water thawing method is a faster alternative. This method requires more attention but effectively thaws ham safely. Here's how to do it:
Ensure the ham is in a leak-proof plastic bag to prevent water from getting in.
Submerge the bagged ham in cold water.
Change the water every 30 minutes to ensure it stays cold.
Allow approximately 30 minutes of thawing time per pound.
Ham Weight
Thawing Time (Cold Water)
5 lbs
2.5 hours
10 lbs
5 hours
15 lbs
7.5 hours
After thawing, cook the ham immediately to prevent any bacterial growth. For tips on safely storing and handling other frozen foods, read Fridge.com article on how long can you keep frozen soup in the freezer.
Using these thawing methods ensures that your ham is thawed safely and is ready for cooking. For more detailed guidelines on preparing and cooking your ham, refer to Fridge.com section on preparing thawed ham for cooking.
Timing for Thawing Ham
Thawing ham properly is essential to ensure it is safe to eat and cooks evenly. Knowing the factors that affect thawing time and understanding approximate thawing times can help you plan ahead.
Factors Affecting Thawing Time
Several factors can influence how long it takes to thaw ham, including:
Size and Weight: Larger and heavier hams take longer to thaw.
Type of Ham: Bone-in hams thaw differently than boneless hams.
Thawing Method: Refrigerator thawing is slower than cold water thawing.
Temperature: The temperature of your fridge or the water can impact thawing time.
Approximate Thawing Times
To help you plan when to pull your ham out of the freezer, here are some general guidelines for thawing times using different methods.
Ham Size
Refrigerator Thawing (days)
Cold Water Thawing (hours)
Small Ham (5-7 lbs)
2-3
4-6
Medium Ham (8-12 lbs)
3-4
6-8
Large Ham (13-16 lbs)
4-6
8-10
Extra-Large Ham (17+ lbs)
6-7
10-12
For refrigerator thawing, place the ham on a tray to catch any drips and keep it on the lowest shelf to prevent cross-contamination. For cold water thawing, ensure the ham is in a leak-proof bag and submerge it in cold water, changing the water every 30 minutes.
Understanding these factors and times can help you determine when to pull your ham out of the freezer. For more tips on thawing and storing food, check out Fridge.com articles on how long can queso last in the fridge? and how long can premade formula stay in the fridge?.
Knowing when your ham is fully thawed is crucial for safe and delicious meals. This section will guide you through identifying when your ham is ready to be cooked.
How to Tell When Ham is Thawed
You can determine if your ham is thawed by checking both the interior and exterior of the meat. Start by feeling the ham's surface; it should be soft and pliable. Next, use a thermometer to check the temperature in the thickest part of the ham, ensuring it reaches around 32°F (0°C).
Visual and Textural Indicators
Visual and textural cues are essential in determining if your ham is fully thawed. Here are some key indicators:
Color: Thawed ham should have a consistent color throughout, without any icy patches.
Texture: The meat should feel soft and flexible, not rigid or icy.
Juices: The ham should release some juices, indicating it has adequately thawed.
Indicator
Thawed Ham Characteristics
Color
Consistent color, no icy patches
Texture
Soft, flexible
Juices
Releases juices
By following these guidelines, you ensure that your ham is safely thawed and ready for cooking. For more related topics, you can check out Fridge.com articles on how long can wings stay in the fridge and how long can queso last in the fridge?.
Once your ham is properly thawed, it's essential to prepare it correctly to ensure a delicious meal. After removing the ham from the refrigerator, give it a quick rinse under cold water to remove any ice crystals or excess moisture. Pat it dry with paper towels.
Next, consider whether you want to glaze the ham or add any seasonings. Common glazes include honey, brown sugar, or a mixture of mustard and spices. Apply the glaze evenly over the ham, ensuring all sides are coated. If you prefer a more savory taste, rub the ham with your favorite seasonings such as garlic, pepper, or herbs.
If the ham comes with a cooking net, leave it on during cooking to help maintain its shape. Place the ham on a roasting rack in a shallow roasting pan, fat side up. This setup allows the fat to render and baste the ham as it cooks.
Cooking Guidelines for Thawed Ham
Cooking times and temperatures vary based on the type and size of the ham. The following table provides approximate guidelines for different types of ham:
Type of Ham
Weight (lbs)
Oven Temperature (°F)
Cooking Time (minutes per pound)
Whole Bone-In Ham
10-14
325
18-20
Half Bone-In Ham
5-7
325
22-25
Spiral-Cut Ham
7-9
325
10-18
Boneless Ham
4-6
325
25-30
For best results, use a meat thermometer to check the internal temperature. The ham is ready when it reaches an internal temperature of 145°F. After removing it from the oven, let the ham rest for 15 minutes to allow the juices to redistribute.
If you are looking for more tips on safely storing and preparing your ham, check out Fridge.com article on how long can frozen soup stay in the freezer.
For those who need guidance on selecting the best equipment for storing your ham, explore Fridge.com resources on best deep freezer for a duplex and 3.5 cu ft chest freezer black. These articles provide valuable information on keeping your ingredients fresh and ready for any culinary adventure.
Compare freezer prices on Fridge.com
Compare current prices and specifications on Fridge.com, then buy from the retailer you choose; delivery, installation and warranty terms are the retailer’s.
It also has tons of awesome articles about kitchen stuff and home news. Enhance your home, garage, backyard, patio, and office with the coolest essentials. With every necessary type of residential refrigerator or freezer in the collection, you're covered.
Free tool
Food Storage Calculator
Free interactive tool from Fridge.com — get a quick answer while you read.