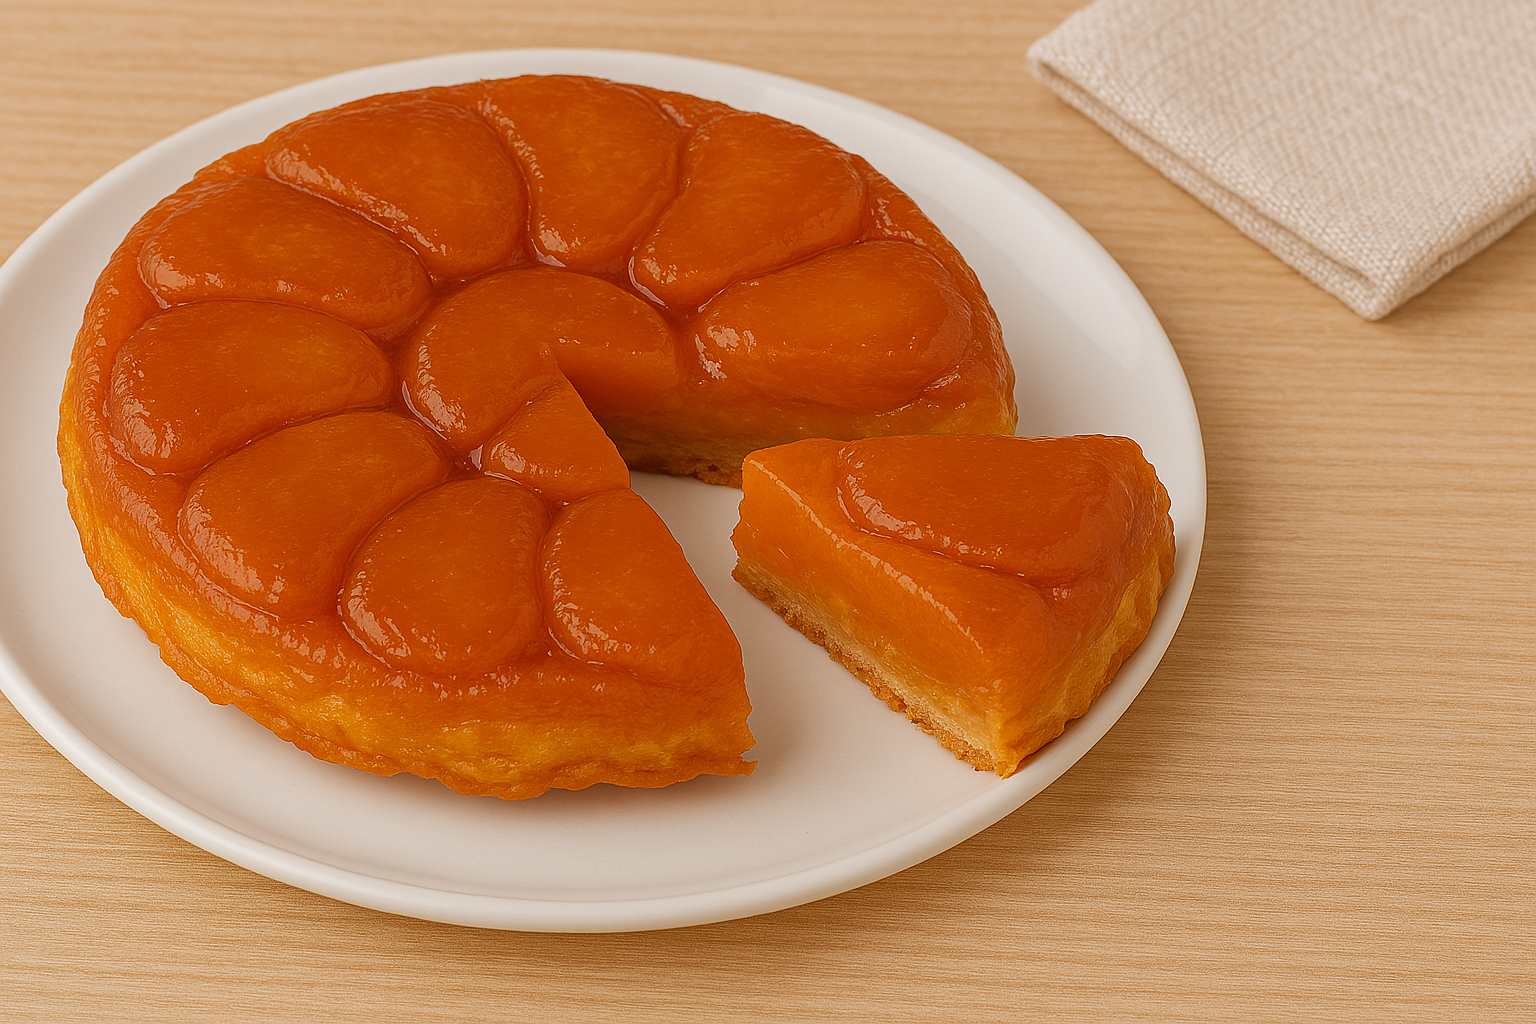
Freezing Tart Tatin: A Sweet Fix
Tart Tatin, the scrumptious caramelized fruit-in-a-pastry wonder, should be savored beyond its first slice. Freezing it isn't just a smart move—it's like having dessert on demand, ready whenever you've got a craving.
Why Bother Freezing Tart Tatin?
There's good reason to stash Tart Tatin in the freezer:
- Longer Lasting: Sticking it in the freezer beats watching it go stale in the fridge.
- Ready in a Pinch: You’ll have one less thing to worry about come last-minute invites.
- Flavor’s All There: Frozen right, it tastes just as fabulous as the day it was made.
How to Freeze Tart Tatin the Right Way
Here’s how you can freeze it without losing that fresh-baked taste:
-
Let It Chill: Let your Tart Tatin hang out till it’s cool as a cucumber—well, room temp at least. Avoiding that steamy sweat keeps the icy crystals away.
-
Wrap and Cover:
- Encase it tightly in plastic wrap, keeping those nasty freezer burns at bay.
- For real protection, slide the whole shebang into a sealed container or sturdy freezer bag.
| Step | What to Do |
|---|---|
| Let It Chill | Wait for it to cool down to room temperature. |
| Wrap with Plastic | Completely cover the tart with the wrap. |
| Use Airtight Container | Secure it further by using a sealed container or bag. |
By nailing these steps, you're guaranteeing yourself a perfect slice of Tart Tatin when the mood strikes. Convenience meets flavor, and you win with every bite!
Preparing Tart Tatin for Freezing
Freezing that scrumptious Tart Tatin of yours needs a little TLC to make sure it tastes just as yummy when you’re ready to dive into it later. Let’s break down the steps to keep it just right.
Cooling the Tart
First off, your Tart Tatin’s gotta chill out. This step is like a must-have secret weapon to fight off those nasty ice crystals that can come with freezing. To keep it tasty, here's what you do:
- Remove from Oven: Take that bad boy out of the oven and let it breathe for a solid 10 minutes.
- Cool on Rack: Place the tart on a wire rack. This lets the air do its thing around it, which helps it cool down evenly.
- Rest Time: Give it a full 1 to 2 hours to reach a chill vibe. It needs to be nice and cool before it heads into the cold zone.
Packaging for Freezing
Now that your Tart Tatin is chilled out, it's time to wrap it up like a pro so it stays as tasty as the day you made it. Here's how you wrap it tight:
- Wrap in Plastic Wrap: Snugly cover the tart with plastic wrap. Think of this as a cozy blanket that keeps air out and flavor in.
- Add a Layer of Foil: Toss in some foil for extra protection against that pesky freezer burn. Your tart’s armor is complete.
- Label and Date: Scribble the tart's name and freeze date with a marker so you’re not playing the guessing game later.
| Packaging Style | Why It's Awesome |
|---|---|
| Plastic Wrap | Keeps the good stuff inside |
| Aluminum Foil | It's like a shield against freezer nasties |
| Labeling | No head-scratching later about when you froze it |
Stick to these easy-peasy steps, and your Tart Tatin will be ready to indulge in any time you’re craving a sweet escape. If you’re curious about other ways to stash your baked goodies, check out our handy guide on keeping sticky buns oh-so-good in the freezer.
Storing Tart Tatin in the Freezer
Freezing Guidelines
So you've cooked up a scrumptious tart tatin and now you're wondering how to stash it in the freezer without losing its yumminess. Let’s make sure it stays tasty and awesome:
| Step | What to Do |
|---|---|
| 1. Pick the Right Spot | Toss it into an airtight, freezer-friendly container or wrap it tight with sturdy aluminum foil to keep that pesky freezer burn at bay. |
| 2. Piece it Out | If you're not planning to munch the whole thing at once, cut it into smaller servings before freezing. This way, you can easily grab just a slice when the craving hits. |
| 3. Don’t Forget to Date | Slap a label with the date and ‘tart tatin’ written on it. Remember, it'll be waiting for your return for up to three months. |
Stick with these tips, and that tart tatin will taste as good as new.
Thawing and Serving Tips
Ready to indulge in your frozen tart tatin? You gotta thaw it right to keep that just-baked vibe. Here’s how to enjoy every bite:
-
Chill in the Fridge: Move your frozen treat to the fridge and let it chill out overnight. Slow and steady wins the taste race by locking in those juices and flavors.
-
Counter Quick-Thaw: In a hurry? Set it on the countertop for 1-2 hours until it’s at room temp.
-
Warm It Up: Want it hot? Pop it in the oven preheated at 350°F for about 10-15 minutes to get that warm, fresh feel.
-
Serving Ideas: Tart tatin is even better with a dollop of freshly whipped cream or a scoop of vanilla ice cream. Drizzle with caramel or sprinkle some chopped nuts to really take it up a notch.
Follow these tips, and your tart tatin will be the star of the show. Hungry for more tips? Peek at our guide on freezing sticky buns without losing texture and treat yourself at home.
Making the Most Out of Frozen Tart Tatin
Time to give that frozen Tart Tatin a starring role in your kitchen. Here’s how you can treat yourself to some tasty goodness without letting any bit go to waste. Let’s transform it into a delightful dessert experience!
Creative Recipes Using Frozen Tart Tatin
That frozen Tart Tatin isn’t just dessert—it’s a starting point for all kinds of delicious culinary adventures. Check out these fun ideas:
| Recipe Idea | Description |
|---|---|
| Tart Tatin Sundae | Top warm Tart Tatin slices with a scoop of vanilla ice cream. Splash some caramel sauce over it and toss a handful of nuts for that crunchy kick! |
| Tatin French Toast | Got thawed Tart Tatin? Sandwich it between slices of French toast. Once the bread is dunked in eggs and milk, fry it up for a sweet surprise. |
| Savory Tatin Tart | Looking for something different? Add some cooked veggies and a sprinkle of cheese to your thawed Tart Tatin. Slide it into the oven until it’s a lovely golden brown. |
| Tatin Crumble Bars | Mix the thawed Tart Tatin with oatmeal and flour. Crumble it over your dessert bars and bake till crispy perfection. |
With these recipes, you’ll be saying, "Why didn’t I try this sooner?"
Reheating Suggestions
Wanna revive that Tart Tatin like it’s straight from the oven? Reheat it right! Here’s how you do it:
| Method | Instructions | Time/Temperature |
|---|---|---|
| Oven | Fire up your oven to 350°F (175°C). Pop the Tart Tatin on a foil-covered baking tray. | 20-25 minutes |
| Microwave | Place a slice on a plate, and cover it with a damp paper towel so it stays moist. | 1-2 minutes |
| Air Fryer | Set your air fryer to 320°F (160°C). Place the Tart Tatin inside and cover it with foil to keep the top from burning. | 10-15 minutes |
Master these tricks, and your Tart Tatin will taste like a fresh masterpiece every time. And if you’re curious about keeping other baked goods just as yummy, swing by our article on freezing sticky buns without losing texture. Keep baking and enjoy every bite!