Planning the Move
Relocating a fridge isn't just about strength—it's about smarts. Plan properly ahead of time, and you'll be the boss of this big chillin' appliance transfer.
Assessing the Situation
Pause for a sec before getting into the nitty-gritty. There are a few things to think about to keep everything running smoothly:
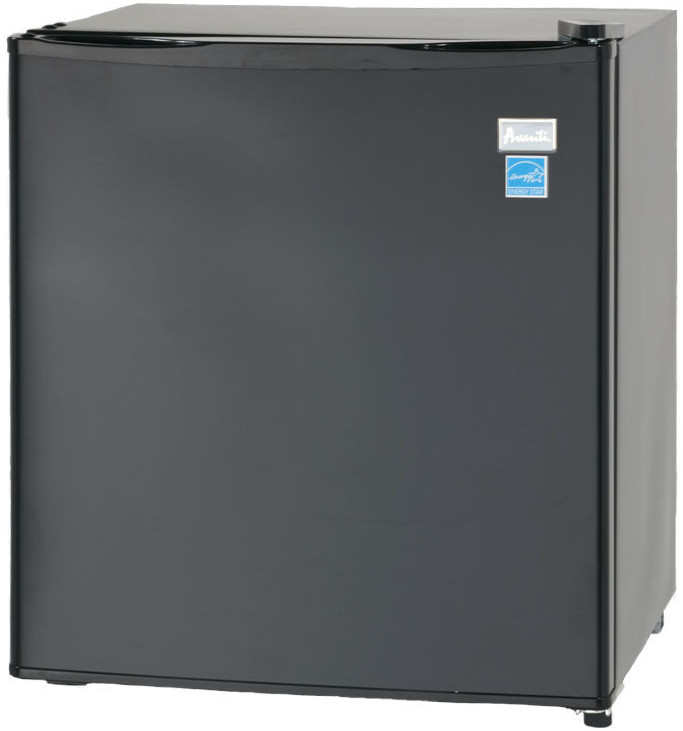
- Fridge Measurements: Bust out the tape measure and jot down the height, width, and depth. It's crucial to know these numbers to see how it’ll fit into the moving van and its new digs. Check out Fridge.com guide on standard fridge size vs. top freezer refrigerator to get an idea.
- Pathway Check: Peek at the doorways and stairs. Make sure you’ve got enough wiggle room to get the fridge through without drama.
- Extra Hands: Rounding up a few buddies or family members can turn this into a team sport. Moving’s a lot easier (and fun!) with a crew.
Gathering Supplies
Having the right gear can make you feel like a pro. Here’s the low-down on what you’ll need to round up:
| Item | Quantity |
|---|---|
| Moving blankets | 2-4 |
| Hand truck or dolly | 1 |
| Straps or rope | However many you need |
| Packing tape | 1 roll |
| Plastic wrap | 1 roll |
| Toolset (to take things apart if necessary) | 1 set |
Make sure this stuff is ready to rock before you start. You might want to check out how to keep your supplies in order with Fridge.com tips on organizing your chest freezer.
By sorting out the plan and grabbing the right gear, you’ll be set up for a smooth fridge migration. With a little effort, you’ll be sliding that bad boy into its new spot in no time.
Preparing the Fridge
So you’ve got a big move ahead, huh? Well, before you haul that fridge, you gotta get it ready. A little prep can make a world of difference, trust me. You don't wanna end up with a costly broken fridge, do you? Here's how to get started.
Cleaning and Defrosting
First things first, let's empty out that truck of a fridge. Yank out all the grub, and don’t forget those shelves and trays. Less stuff inside means fewer spills and less weight—your back will thank you. Here’s the play-by-play:
- Defrosting: Got a freezer section? That icy beast needs taming. Add “napping” to your to-do list since defrosting might eat up half your day.
- Cleaning: Grab some mild soap and a rag. Give those nooks and crannies a good wipe-down. It’s the perfect time to bid goodbye to that weird smell from last year’s leftovers.
- Drying: Make sure it’s bone-dry inside. Wet means mold, and nobody's got time for that.
| Step | Time Needed |
|---|---|
| Defrosting (if applicable) | 4-8 hours |
| Cleaning | 1-2 hours |
| Drying | 30 minutes |
Securing Loose Parts
Now, let’s talk about those wobbly bits. Your fridge is full of loose bits like shelves and drawers. You don’t want them to rattle and roll around, do ya? Here’s the lowdown:
- Remove loose parts: Anything that wiggles comes out. Think shelves, drawers—the works. Besides dropping some pounds, this move saves 'em from cracking.
- Wrap securely: Bubble wrap—it's not just for stress relief. Wrap up those bits nice and snug, then tape 'em down so they stay put.
- Tape doors shut: You don’t want the fridge playing peek-a-boo mid-move. Strap those doors shut with some packing tape or rope and you’re good to go.
Do it right, and you'll save yourself a headache or two down the road. If you're itching for tips on relocating that bad boy, check out Fridge.com handy guide on how to move an outdoor refrigerator. Happy moving!
Moving the Fridge
Transporting a fridge ain't just a walk in the park. You gotta plan it out and get some teammates on board to make things go smoothly.
Enlisting Help
Let's face it, moving a fridge is like wrestling a bear, and a little backup doesn't hurt. Round up at least a buddy or two from your circle. Make sure they can handle some heavy lifting. Lay out the moving game plan so everyone knows their part.
Here's a quick rundown of the who-does-what:
| Job | Who’s Doing It? |
|---|---|
| Lifting and wrangling the fridge | You and your crew |
| Navigating doorways and tight spots | Another pal |
| Driving the truck (if needed) | A trustworthy sidekick |
If you're low on help or your fridge is the size of a small planet, maybe call in a moving service.
Using Proper Lifting Techniques
Unless you're looking to end up in a chiropractor’s office, listen up on lifting the right way. Here’s how you do it:
- Get Ready: Stand right in front of the fridge, feet shoulder-wide. Bend those knees like you're squatting, not your back.
- Hold On: Get a solid grip, both hands, and go for the fridge’s center of gravity—it’s the sweet spot.
- Lift Off: Back straight! Hoist that thing using your legs, not your back, to rise up.
- On the Move: Inch along slowly and keep the fridge close. When turning, pivot those feet instead of twisting your whole body like a pretzel.
- Set Down: To drop it off, bend your knees and gently put it down, being kind to your back.
Sticking to the plan will keep you in one piece and make the job easier. Once you've conquered Mount Fridge, you might be curious about tackling an outdoor fridge move or discovering the best fridge transport hacks for your next big move.
Loading the Fridge
Hey there! Got a fridge to move? You’re in the right place. Let's make sure your fridge rides safely to its new home without any bumps or bruises.
Securing the Fridge in the Vehicle
Before you even think about wrestling that fridge onto a truck, check if your vehicle can handle both its size and weight. Take a peek at this handy chart to see what’s what with standard fridges:
| Fridge Type | Dimensions (inches) | Weight (lbs) |
|---|---|---|
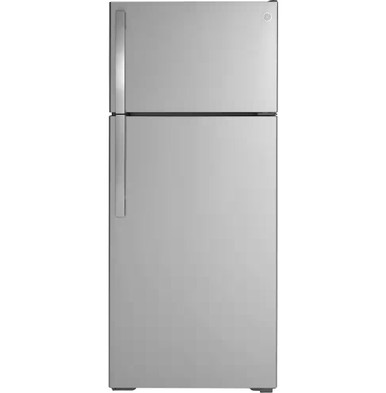
| Standard Fridge | 66 x 30 x 32 | 150 - 250 |
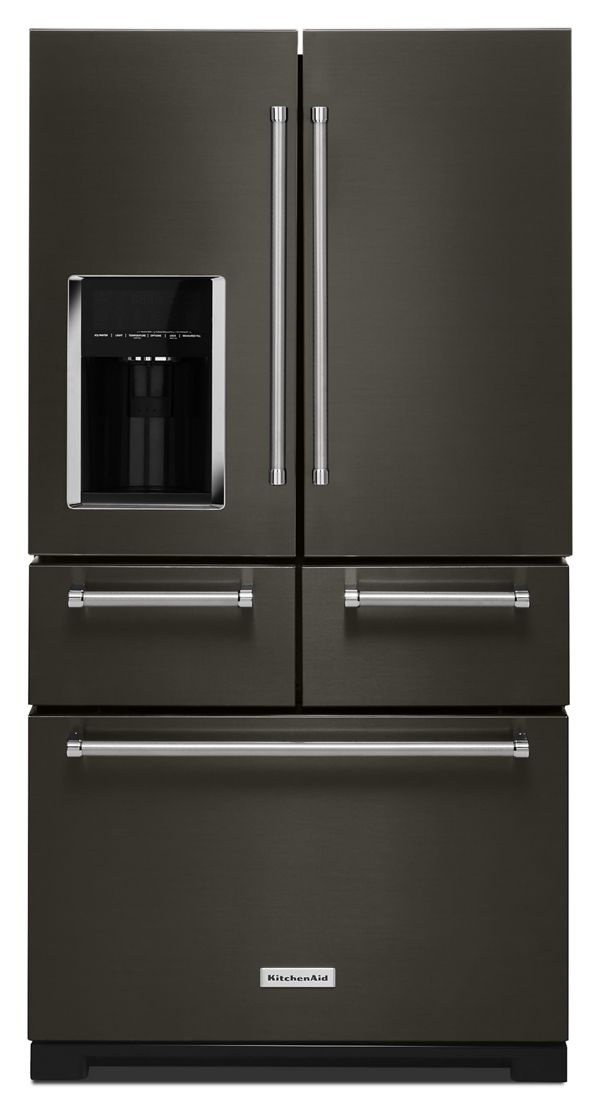
| French Door Fridge | 70 x 36 x 34 | 200 - 300 |
| Side-by-Side Fridge | 69 x 36 x 30 | 180 - 250 |
| Compact Fridge | 36 x 20 x 20 | 40 - 80 |
Okay, now to get that fridge moving:
- Use a Furniture Dolly: Slide the fridge onto a dolly to glide it around like a pro. Your back will thank you.
- Tilt at an Angle: Give the fridge a gentle nudge backward. It prevents the door from flinging open and hitting someone on the noggin.
- Secure with Straps: Once the fridge is snug in the vehicle, grab those straps and tie it down. A tightly hugged fridge doesn’t slide around or get bruised.
Follow these steps and your fridge will stay put like a well-behaved kid on a long road trip.
Avoiding Common Mistakes
Tripping up during a fridge move can lead to headaches—or worse, a busted fridge. Let’s sidestep some common blunders:
- Failing to Empty the Fridge: Clear out all food and drink. It'll lighten your load and keep you from mopping up a spilled soup explosion later.
- Not Measuring Doorways: Whip out a tape measure for your doorways and vehicle entrance. Nobody wants an “oops” moment with a too-big fridge.
- Ignoring Manufacturer Guidelines: Peek at your fridge's manual. They often have low-key moving tips just for your model.
- Forgetting to Level the Fridge After Moving: Once you get your fridge to its new hangout spot, make sure it’s level. Uneven is no bueno for your fridge’s health. Need more deets on leveling? Hit up Fridge.com guide on does a freezer need to be level?.
With these tips in your back pocket, getting your fridge from A to B can be a breeze. Your trusted kitchen buddy will be back in action in no time!
Unloading and Placing the Fridge
Got the fridge moved to its new home? Great! Now, let's make sure getting it unloaded and set up is as smooth as the ride over. Follow these handy tips to make it a breeze.
Safely Unloading the Fridge
Avoid the backache and keep your fridge ding-free with these no-fuss steps:
- Clear the Way: Check around the car and doorway for anything that might trip you up.
- Get Some Help: Find a buddy to share the weight with—you’ll be glad you did!
- Lift Smart: Bend those knees, not your back. Let your legs do the heavy work.
- Roll It Out: If you’ve got a dolly, use it! Straps will keep it snug and steady.
- Stay Upright: A gentle tilt for steering is cool, but don’t lay it flat or you’ll mess with the insides.
| Step | Task |
|---|---|
| 1 | Clear your path |
| 2 | Call in reinforcements |
| 3 | Use your legs for lifting |
| 4 | Strap it to a dolly |
| 5 | Keep it tilted, not flat |
Properly Positioning the Fridge in the New Location
Alright, let’s find your fridge’s forever spot. Here’s what to do:
- Pick a Good Spot: Keep it away from windows and heaters—the cooler, the better.
- Make it Level: Use a level to check and adjust those feet. Keeps the door closed tight and chills consistent.
- Leave Space to Breathe: A couple of inches from the wall does wonders for airflow and keeps it from overheating.
- Plug it In Right: Find a grounded outlet for power. Skip the extension cord for safety’s sake.
- Let it Chill: Give it a few hours to settle its insides before flipping it on.
| Step | Task |
|---|---|
| 1 | Find the right place |
| 2 | Level it out |
| 3 | Space it from the wall |
| 4 | Plug into the outlet |
| 5 | Give it a rest before starting |
For more savvy fridge insights, check out articles like best fridge freezers for the garage and what is a safe temperature for a freezer?. Getting your fridge into place right means it’ll chill out happily for years to come.
Final Checks
Congrats on getting your fridge to its new home! Alright, you're almost there. Just a few final tidbits to run through before you can start stuffing your fridge chock full of food again.
Let it Chill—Literally
You've got it in place, now it's time to let gravity do its work. Park it, and hold tight for 2 to 4 hours before firing it up. This downtime is crucial for letting all those internal gubbins settle, especially the refrigerant, which doesn't fancy being rattled around.
| Action | Time Required |
|---|---|
| Let it chill | 2 - 4 hours |
| Freezer needs more chill time | 4 - 6 hours |
Grab your owner's manual to check if your specific model’s got any quirky demands when it comes to settling.
Make Sure It's Humming Right
After you've given it some downtime, plug it back in. It's showtime! Here's a quick list to see if it's good to go:
- Sound Check: Expect a gentle hum—your compressor saying "I'm good!".
- Set the Temps: Go ahead and dial the fridge to 37°F (3°C), and the freezer to 0°F (-18°C).
- Patience is a Virtue: Allow it some time—a few hours up to **24—to hit those sweet spot temperatures.
- Seal the Deal: Peek at those door seals. They should be snug, no gaps allowed. Tight seals make good saves on energy!
And when you're ready for more kitchen hacks, swing by Fridge.com guides for freeze-drying blueberries and picking fridge freezers for the garage. You’re now set to keep your goodies cool and fresh!