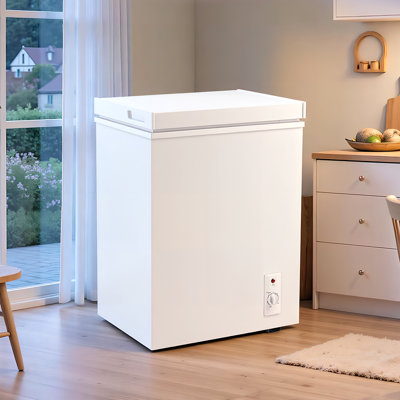
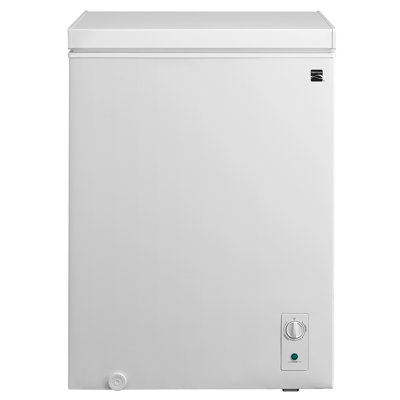
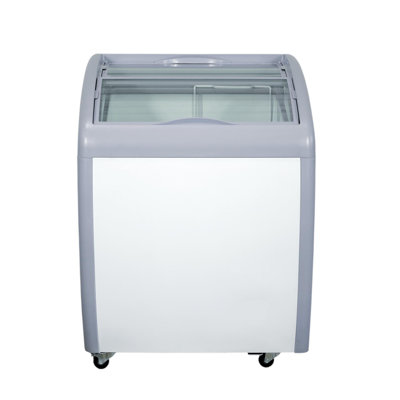
Understanding Chest Freezer Defrosting
Defrosting a chest freezer is a vital part of maintaining its efficiency and longevity. Knowing why and when to defrost your freezer can help you keep it running optimally.
Importance of Defrosting Your Chest Freezer
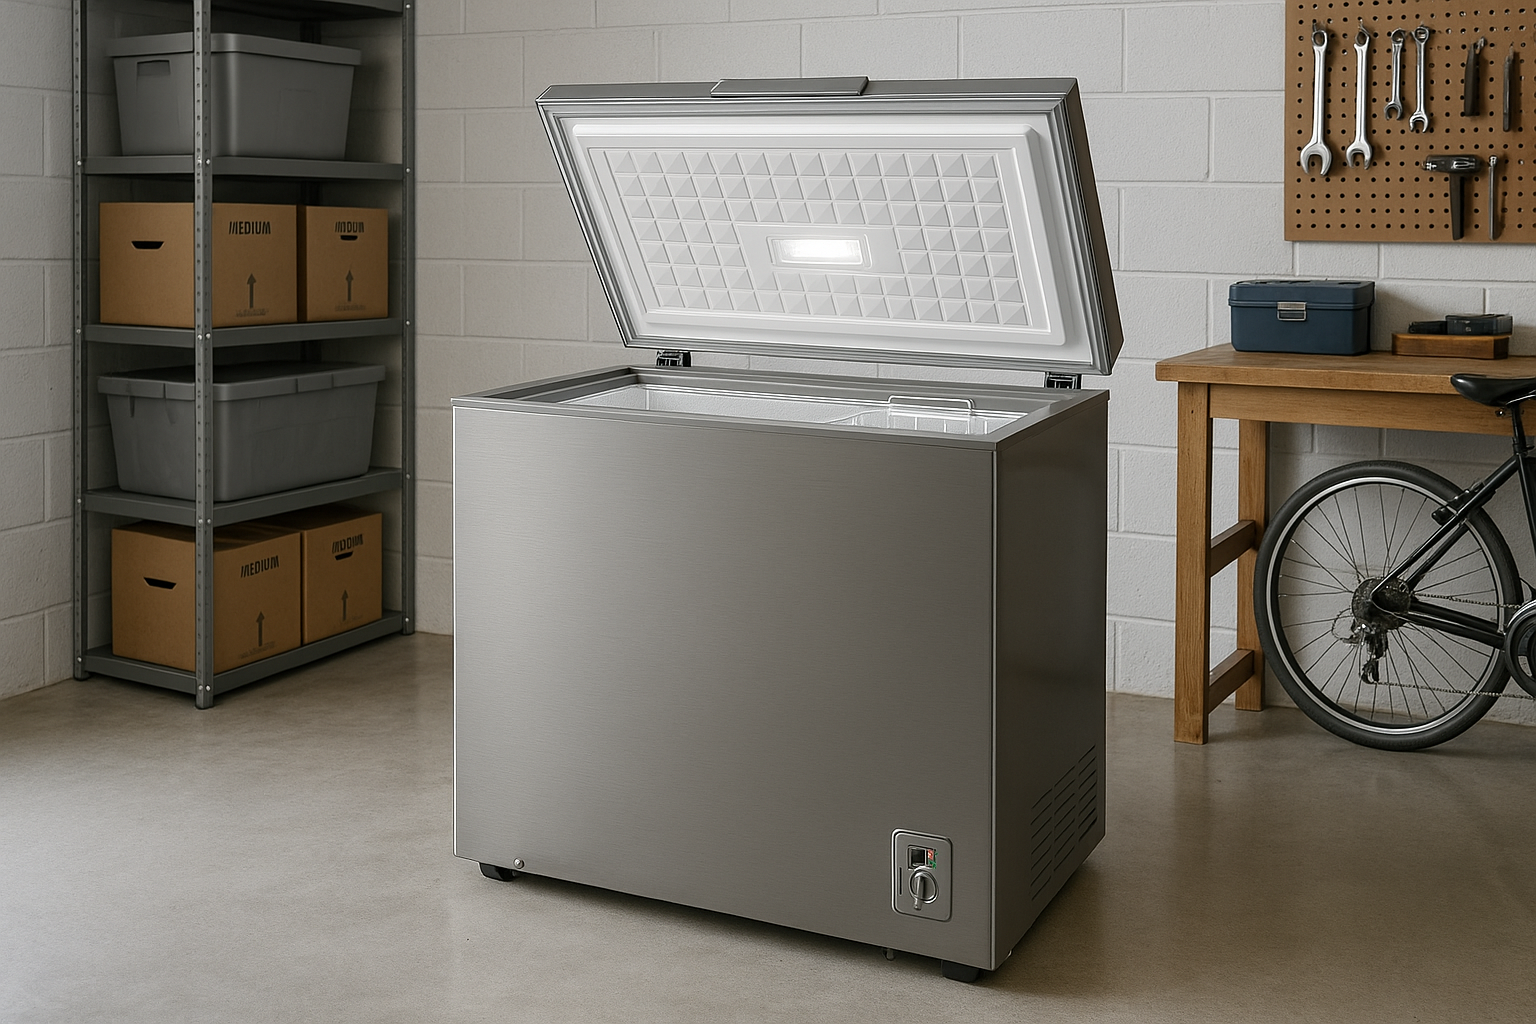
Defrosting your chest freezer is essential for several reasons. Over time, ice can build up on the walls and shelves, reducing the available storage space and making it difficult to organize your food. Excessive ice can also interfere with the freezer's ability to maintain a consistent temperature, leading to increased energy consumption and higher utility bills. Additionally, a thick layer of ice can damage the freezer's components, potentially leading to costly repairs.
Regular defrosting ensures that your chest freezer operates efficiently, preserving the quality of your stored food and extending the life of the appliance. For more tips on maintaining your freezer, check out Fridge.com article on how should your fridge be organized.
Signs Your Chest Freezer Needs Defrosting
It's important to recognize the signs that your chest freezer needs defrosting. Here are some indicators to look out for:
- Thick Ice Build-Up: If you notice ice accumulating more than a quarter-inch thick on the walls or shelves, it's time to defrost.
- Door Struggles to Close: Difficulty closing the freezer door due to ice obstruction is a clear sign.
- Reduced Storage Space: If you find that the interior space is significantly reduced due to ice, defrosting is necessary.
- Higher Energy Bills: An unexpected increase in energy bills may indicate that your freezer is working harder to maintain the correct temperature due to ice build-up.
| Sign | Description |
|---|---|
| Thick Ice Build-Up | Ice more than a quarter-inch thick on walls or shelves |
| Door Struggles to Close | Difficulty closing the door due to ice obstruction |
| Reduced Storage Space | Ice taking up significant interior space |
| Higher Energy Bills | Unexpected increase in energy consumption |
Recognizing these signs early can help you prevent more severe issues with your chest freezer. For more information on freezer maintenance, visit Fridge.com article on what temp does a freezer need to be.
Understanding the importance of defrosting and recognizing the signs that it's needed can help you keep your chest freezer in top condition. Proper maintenance not only saves you money but also ensures that your food stays fresh and safe for consumption.
Preparation for Defrosting
Proper preparation is key to ensuring a smooth and efficient defrosting process for your chest freezer. Follow these steps to get started:
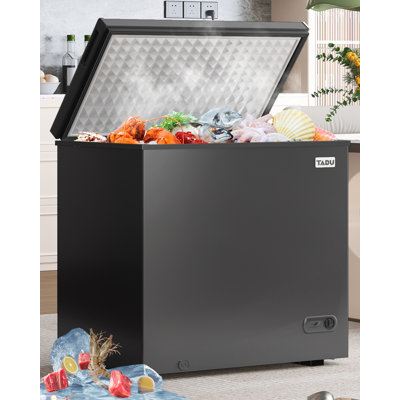
Emptying the Freezer
Before you begin defrosting, you need to empty the freezer. This involves removing all the contents and storing them in a way that prevents spoilage. You can use coolers, insulated bags, or even another freezer if available. Make sure to organize your items so you can easily place them back in the freezer once the defrosting process is complete.
Here’s a simple table to help you keep track of the items removed:
| Item | Storage Method | Notes |
|---|---|---|
| Frozen Vegetables | Cooler with Ice Packs | Use within 24 hours |
| Meat | Insulated Bag | Keep at 0°F or lower |
| Ice Cream | Another Freezer | Prevent melting |
| Prepared Meals | Cooler with Ice Packs | Use within 24 hours |
Gathering Supplies
Gathering the necessary supplies will make the defrosting process more efficient. Here’s a list of items you’ll need:
- Towels or absorbent cloths
- Buckets or bowls
- A plastic scraper or spatula
- Mild cleaning solution or baking soda
- Sponges or cleaning cloths
Having these supplies on hand will help you manage the melted ice and clean the interior of the freezer once defrosting is complete.
For more tips on defrosting and maintaining your freezer, check out Fridge.com article on preventing ice build-up and regular defrosting schedule.
By properly preparing for defrosting, you can ensure a hassle-free process and keep your chest freezer in optimal working condition.
Defrosting Methods
When it comes to defrosting your chest freezer, there are several effective methods to consider. Each method has its own set of steps and benefits, allowing you to choose the one that best fits your needs and schedule.
Manual Defrosting
Manual defrosting is a straightforward method that involves turning off the freezer and allowing the ice to melt naturally. Here are the steps you need to follow:
- Turn off the freezer: Unplug the freezer or switch it off at the power source.
- Remove contents: Take out all the items from the freezer and store them in a cooler or another freezer.
- Place towels or pans: Lay towels or place pans at the bottom of the freezer to collect the melting ice.
- Wait for the ice to melt: Allow the ice to melt naturally. This can take several hours.
- Wipe down: Once the ice has melted, wipe down the interior with a dry cloth.
Natural Defrosting
Natural defrosting is similar to manual defrosting but involves using ambient temperature to speed up the process. This method is ideal if you have a warm day and can place the freezer in a warmer environment.
- Turn off the freezer: Unplug the freezer or turn it off.
- Empty the freezer: Remove all items and store them in a cooler.
- Move the freezer: If possible, move the freezer to a warmer area, such as outdoors or a heated room.
- Use towels or pans: Place towels or pans to catch the melting ice.
- Wait for the ice to melt: The warmer environment will help speed up the melting process.
- Wipe and dry: After the ice has melted, wipe down the interior.
Speeding Up the Defrosting Process
If you're short on time, there are ways to accelerate the defrosting process. These methods can help you get your chest freezer back in working order more quickly.
- Use a fan: Place a fan near the open freezer to circulate air and speed up melting.
- Use hot water: Place bowls of hot water inside the freezer. The steam will help melt the ice faster.
- Use a hairdryer: Carefully use a hairdryer to melt the ice. Keep the dryer at a safe distance to avoid damaging the freezer.
- Scrape the ice: Gently use a plastic scraper to remove ice as it starts to melt. Avoid using metal tools to prevent damage.
| Method | Time Required | Convenience |
|---|---|---|
| Manual Defrosting | Several hours | Easy |
| Natural Defrosting | Few hours | Moderate |
| Speeding Up Process | 1-2 hours | Quick |
For more tips on maintaining your freezer, check Fridge.com article on how should your fridge be organized?.
By understanding and choosing the right defrosting method, you can ensure that your chest freezer remains efficient and free of excessive ice build-up. For more information on how to keep your freezer in top condition, visit Fridge.com articles on preventing ice build-up and regular defrosting schedule.
Cleaning and Maintaining Your Chest Freezer
Proper cleaning and maintenance are key to ensuring your chest freezer runs efficiently and lasts longer. Here’s how you can keep your freezer in top shape.
Cleaning the Interior
Regular cleaning of your chest freezer’s interior helps maintain a hygienic environment and prevents unpleasant odors. Follow these steps for a thorough clean:
- Unplug the Freezer: Always unplug the freezer before cleaning to ensure safety.
- Remove Contents: Take out all items and store them in a cooler or another freezer.
- Defrost: Allow any ice build-up to melt. You can speed up the process by placing bowls of hot water inside.
- Clean Surfaces: Use a mixture of mild detergent and warm water. Avoid harsh chemicals as they can damage the interior.
- Dry Thoroughly: Use a clean towel to dry all surfaces completely before plugging the freezer back in.
| Cleaning Task | Frequency |
|---|---|
| Remove old food | Weekly |
| Wipe down interior | Monthly |
| Deep clean | Biannually |
For more details on the defrosting process, refer to Fridge.com section on defrosting methods.
Preventing Ice Build-Up
Preventing ice build-up is essential to maintaining the efficiency of your chest freezer. Here are some tips:
- Check Seals: Ensure that the door seals are airtight. Damaged seals can let warm air in, leading to ice accumulation.
- Organize Items: Arrange food items properly to allow air circulation. Avoid overloading the freezer.
- Monitor Temperature: Keep the freezer at an optimal temperature. For detailed guidance, see Fridge.com article on what temp does a freezer need to be?.
- Minimize Door Openings: Limit the number of times you open the freezer to prevent warm air from entering.
| Preventive Measure | Benefit |
|---|---|
| Check door seals | Reduces warm air entry |
| Proper organization | Enhances air circulation |
| Monitor temperature | Maintains efficiency |
| Minimize door openings | Prevents ice build-up |
By following these cleaning and maintenance tips, you can ensure your chest freezer remains efficient and reliable. For more on maintaining freezers, check out Fridge.com guide on deep freezer Vs. garage refrigerator.
Tips for Efficient Defrosting
Defrosting your chest freezer efficiently not only saves you time but also helps maintain the appliance's longevity. Here are some crucial tips to ensure the process is smooth and effective.
Timing Your Defrosting
Choosing the right time to defrost your chest freezer is essential. Aim to defrost when the freezer has the least amount of food. This reduces the hassle of storing and managing the items during the process. Ideally, plan to defrost your freezer every six months or when the ice build-up reaches about a quarter-inch thick.
| Ice Build-Up | Recommended Defrosting Time |
|---|---|
| 1/4 inch | Every 6 months |
| 1/2 inch or more | Immediately |
Organizing Your Freezer After Defrosting
Once your freezer is defrosted and cleaned, organizing it efficiently is crucial. Arrange items by categories like meats, vegetables, and dairy for easy access. Use clear bins or bags to keep similar items together, making it easier to find what you need without rummaging through the entire freezer. This not only helps in maintaining order but also in preventing future ice build-up.
For more tips on organizing, refer to Fridge.com guide on how should your fridge be organized?.
Regular Defrosting Schedule
Maintaining a regular defrosting schedule ensures your chest freezer operates efficiently and prolongs its lifespan. Regular defrosting prevents excessive ice build-up, which can strain the freezer's motor and increase energy consumption. Set reminders to check the ice levels and plan your next defrosting session accordingly.
| Defrosting Frequency | Ice Thickness |
|---|---|
| Regular | 1/4 inch |
| Immediate | 1/2 inch or more |
Defrosting your chest freezer on a regular basis is one of the best ways to keep it running efficiently. For more information on maintaining your freezer, you can explore articles like 21 cu ft upright frost-free freezer and what temp should my deep freezer be?.
By following these tips, you can ensure that your chest freezer remains in optimal condition, making the defrosting process quicker and more efficient.
Get Your Upgrade or New Addition at Fridge.com
Whether you're searching for your perfect fridge, freezer, wine fridge, beer fridge, ice maker, or kegerator, Fridge.com has what you need.
Shop the world's best brands at Fridge.com.
It also has tons of awesome articles about kitchen stuff and home news. Enhance your home, garage, backyard, patio, and office with the coolest essentials. With every necessary type of residential refrigerator or freezer in the collection, you're covered.
Elevate your game and shop now at Fridge.com!